While this year we’ve rarely crossed our paths with great crested grebes, last year presented numerous opportunities to explore color contrast between these beautiful birds and their surroundings.
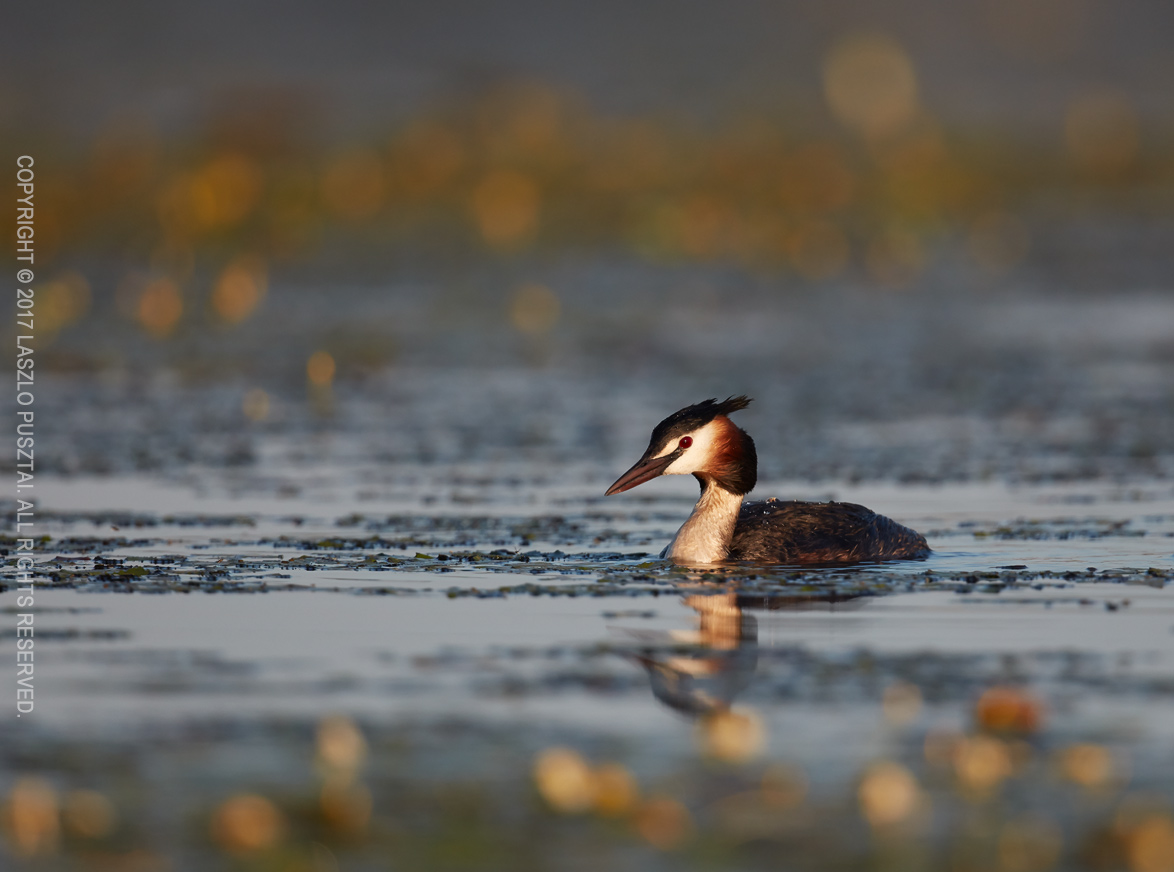
Grebe on the Marked Waterway
It was funny to observe that grebes travelled mostly between the flower strips, as if it was some kind of waterway marking.
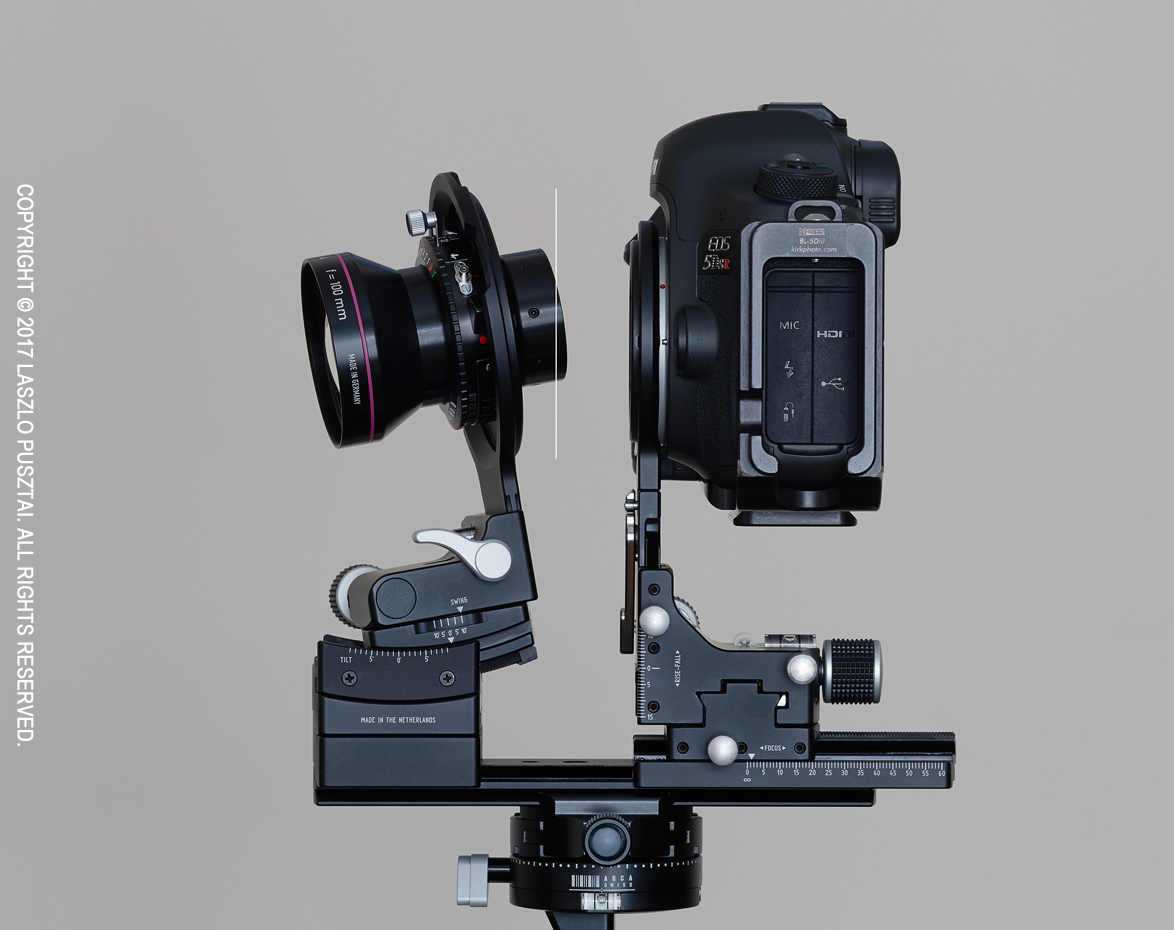
The 5DS R produces magical environmental portraits, and the 500mm paired with the 1.4x teleconverter is about the perfect focal length for this purpose. If you haven’t done so, check out my former post on using this rig for grebe photography.