RAW File Bit Depth Changes with ISO

Let’s begin with the fact. The usable bit depth of your RAW file depends on the ISO used to shoot the image.

I discovered this while working on the RAW histogram feature in Kuuvik Capture. To make the RAW histogram usable, we have to scale the data coming from the RAW file. This scaling ensures that the left side of the histogram represents pure black and the right side represents pure white. Technically scaling is done by first subtracting the black level from each pixel, then mapping pixel data from the [0, white saturation] interval into the [0, 1] interval.

Black level is the value your sensor emits when no photons reach a given pixel. This is calculated utilizing a black masked area along the edges of the sensor (see my former post on this).

White saturation is the value from the given pixel when it’s completely full – that is more photons reaching the pixel will not generate a higher value. This depends on physical attributes of the sensor. We do a series of measurements for each sensor to determine its value. The higher the white saturation the more tones your RAW file contains.

What surprised me during the initial white saturation measurements is that with most of Canon’s cameras this value changed as I changed the ISO. Some cameras even present different white saturation in different exposure modes (Av and M for example).

The following graph shows the result from these measurements converted into usable bit depth for four cameras up to ISO 6400.

bit-depth-vs-iso-2For the mathematically inclined, usable bit depth is calculated with the formula:

\(\log_2 (w – b)\)

Where \(w\) is the white saturation and \(b\) is the black level.

The roughly 0.3 bit difference between the lowest and highest values doesn’t seem that large at first sight, but this means that you lose 15% of the tones at ISO 640 compared to ISO 800. To put it another way it’s a 1/3 stop difference.

Implications

Avoid non-full-stop ISOs.

The truth is that both ISO 500 and ISO 320 are exposed at ISO 400, putting a 1/3 stop “digital exposure compensation” value into the RAW file. For the ISO 320 setting this produces an overexposed image, which should be pulled down 1/3 stop. The downside is that you lose 1/3 stop of both tonal and dynamic range. The upside is that there will be less perceived noise, which can be helpful in some situations (and which is the basis of lots of false myths)

Avoid ISOs < 200 on crop-sensor Canons.

As you can see on the graph above, bit depth on these machines are less below ISO 200 than on or above it.

What about the 1D X?

Some of the 1-series bodies are not prone to the 1/3 stop bit depth loss. For example the 1D X starts to show this behavior at ISO 12800. The 1Ds Mark III produces the exact same bit depth at each ISO. And the 1D Mark IV works like the 5D Mark III.

So my practice is to use just full-stop ISOs and forget about ISO 100 on crop-sensor bodies.
The Expendables: Canon 650D + 40/2.8 Pancake

I haven’t touched an APS-C Canon since 2006. After using a D60 for three years, I made its last image in 2005. I have been using full frame and APS-H since then. However, I bought a 350D in 2006, which I sold immediately after the first shoot – although image quality was good for the time, I really disliked everything else about the camera.

So why I have a 650D then? The answer is simple: we needed a cheap EOS for software testing. A camera that I won’t bemoan if we happen to kill its shutter after a year or so or amortize it any other way. The 500 EUR 650D seemed to fit the bill. And I bought a 40mm f/2.8 STM pancake lens with it – both for fun and for regular testing use.

Although I had no intention to use the camera for image making, I brought it to a Sunday walk last weekend. This post is about my impressions about both the camera and the lens.

The Camera

What touched me the most is the touch screen interface. It really helps to make an otherwise crippled and awkward physical interface usable. It really surprised me when I picked up a camera last fall how usable it is. Somehow I like it more than the 60D and the 6D. Touch controls are well implemented, but a dedicated graphics processor would help to make it iPhone-fluid. Some operations are low end Android-sluggish (like flipping through images and pinch zooming). It is self-explanatory and works quite intuitive. I only miss one feature: double-tap to switch between 100% and fit zoom levels. To tell you the truth I would love to see this touch interface on my 5D Mark III.

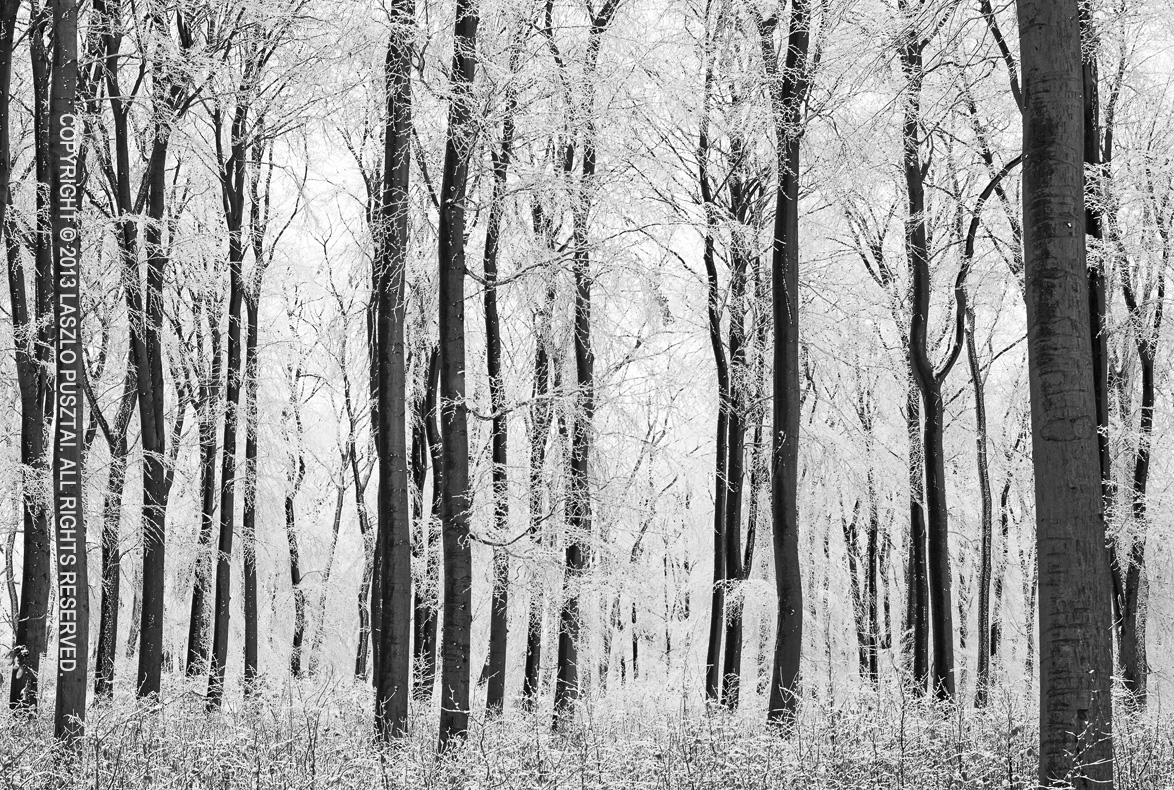
Frozen Forest

Image quality is not something to rave about: it is the usual contemporary, diffraction limited at f/7, but still usable up to 30×45 cm prints thing. Something I’m not really a fan of. But as I said, it’s still usable for making medium-sized prints.

I haven’t used a plastic camera body in years, and I can attest that magnesium alloy can be really cold in sub-zero environments. But I was able to carry the 650D around without a glove! It actually felt warm after hours of walking around in the winter forest. This was a positive surprise.

Another surprise was how it drives lenses. First I thought that something went wrong and the lens will fall apart… But I found these unusual noises to be normal with two copies of the model, as well as the 600D. I’m still in fear to put on my more expensive lenses.

Actually I quite like this small camera and will borrow it from testing for casual weekend walks. Who knows, it’s always good to have a camera with me.

The Lens

It is a gem. Small, light, inexpensive (at 150 EUR), and delivers great image quality. My first experience wasn’t so good, however. Just after picking it up right from the bag, the lens refused focusing. Some weird noise came from the AF mechanism, but no focusing. Removing and re-attaching the lens helped. Back at home I quickly checked the net about what the hell is going on here, and found that the lens needed a firmware update. Oh yeah, now you can upgrade lens firmware without bringing them to a Canon service center! This is good. But notice that you need a 650D, 5D3 or 1DX for this.

Wall at an Abandoned Rocket Base

Image quality is really good on the 650D, so I became interested in putting this small wonder on my 5D3 next time. Just to see whether its up to the quality of my favorite cheap prime trio.

The new stepping motor (STM) focusing is slow and noisy. Don’t expect something you used to with USM. But it seems accurate. Manual focusing is another story. I don’t like focus-by-wire lenses. Call me old school, but I prefer the physical connection between my hand and the focused distance. The focusing ring is also tiny, but the whole lens is tiny, so nobody can expect a huge ring here.

I will keep this lens in my bag most of the time. Weight is not an issue, and it delivers great images. Absolutely recommended for everyone.