The eagle-eyed among you may have spotted “import” related stuff on the screen shots of my previous post. Yes, Kuuvik Capture 5.6 brings memory card import to the table. In fact, you can import folders and file from whatever source you like, but memory cards get a special treatment.
Actually this is a feature I made for myself. I prefer to cull the thousands of images from my bird shoots in Kuuvik Capture for its sheer speed, but bringing the images into the app was quite a bit of pain: download the files manually and run a script in Terminal to rename them before Kuuvik Capture is opened.
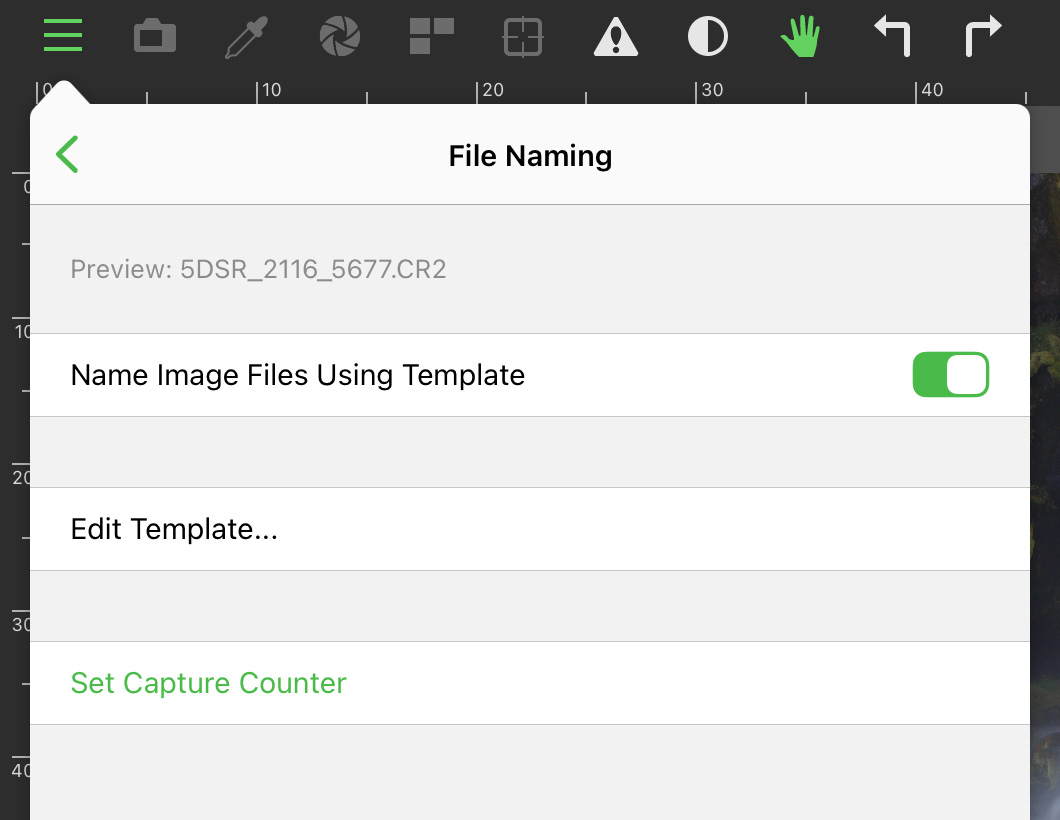
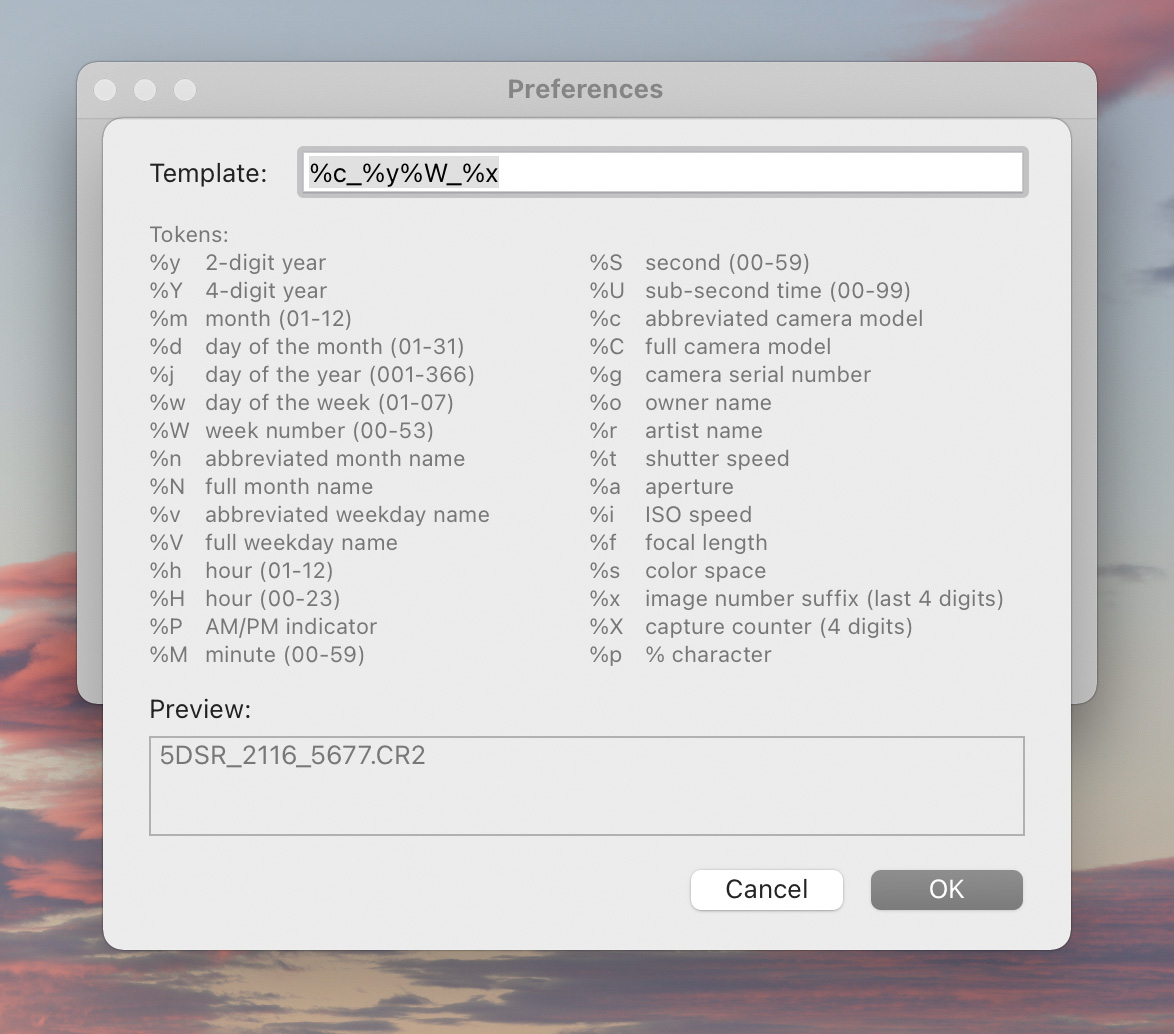
With the import feature you can download the images right into your open session. And the filename template is used, so you’ll have all the files named properly without any further intervention.
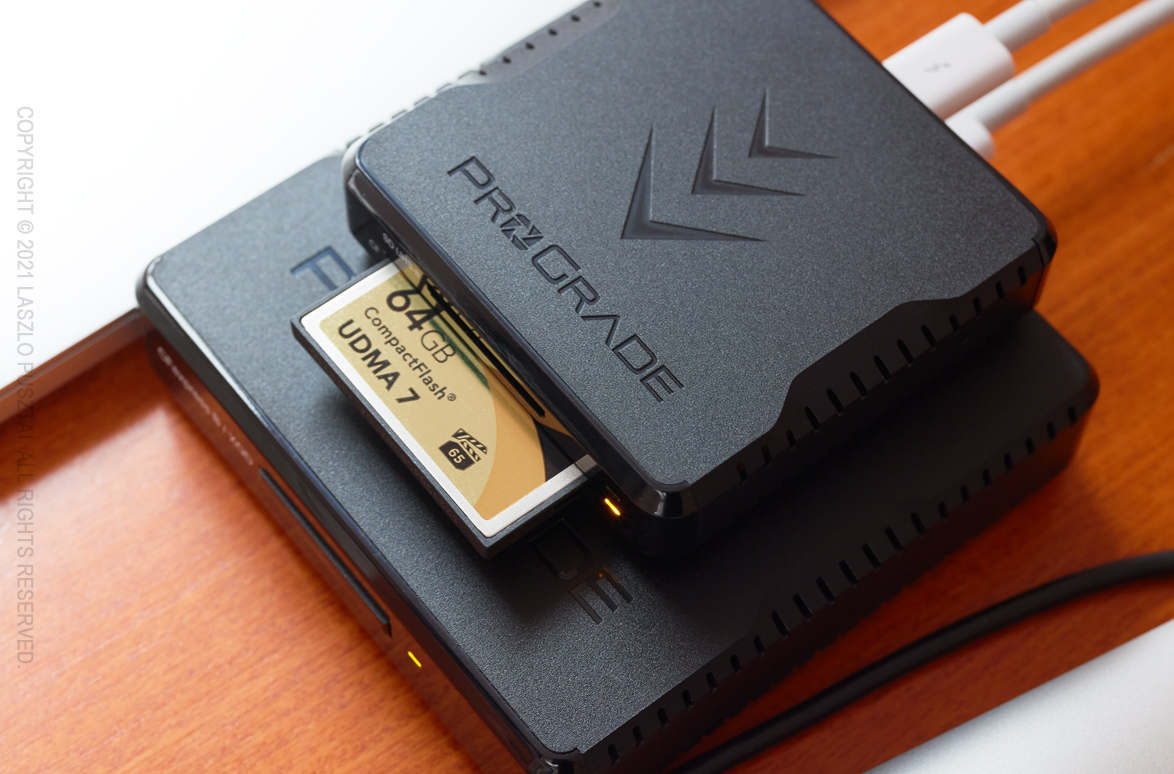
My Card Reader Setup
I’m using multiple cameras, and end up having images on both CompactFlash and CFexpress cards 99% of the time. So it’s important to me that the new import feature can import multiple cards in one go.
Personally I’m using ProGrade Digital readers (Thunderbolt 3 for CFexpress cards) and Apple’s Thunderbolt 3 cables to connect them to the right side Thunderbolt 3 ports of my 15″ MacBook Pro, as depicted above. These cables also work as USB3, and having two identical cables prevent the need to always check which one should go where.
Note that I’m illustrating the import feature with multiple cards. If you are importing a single card, then obviously you’ll select that single card only. All other aspects are the same.
To begin, open or create a session where you want your images to be placed. Then bring up the import panel by clicking Import Images… in the File menu (or press Ctrl+Command+I).
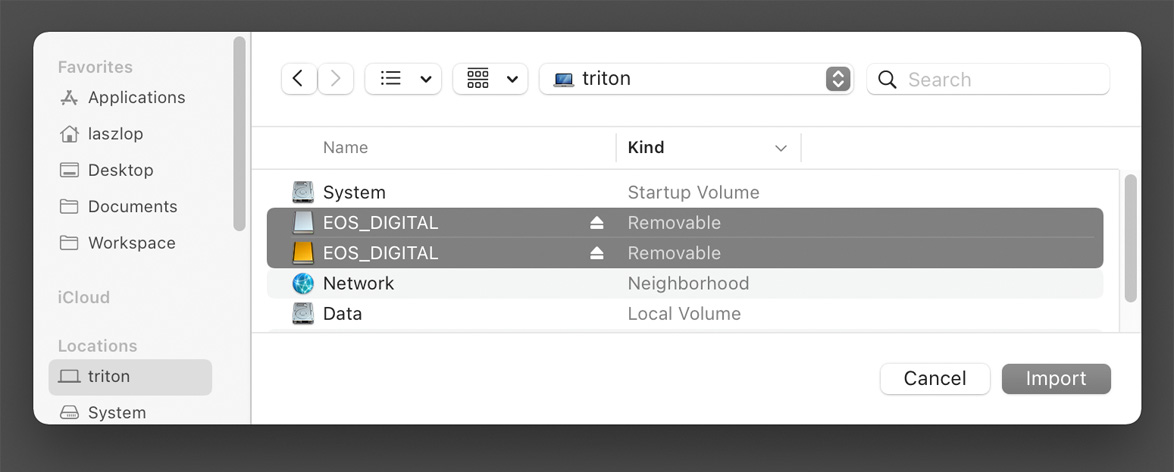
Selecting Multiple Cards for Import
The trick to import multiple cards is to select all of them under your “computer” location, which can be found at multiple places: on the Locations section of the sidebar, and on the drop down list at the top of the panel (mine is named triton on the screen shot above). If you formatted the cards in-camera (which I always highly recommend), then they will be named EOS_DIGITAL. Once all the cards are selected, just click Import.
Cards are imported one after another – not in parallel. If you have the Image Browser visible, you’ll see the new images popping into the session.
What if you just want to import a few images selectively? Go into the actual image folder on your card and select the desired files before clicking Import.
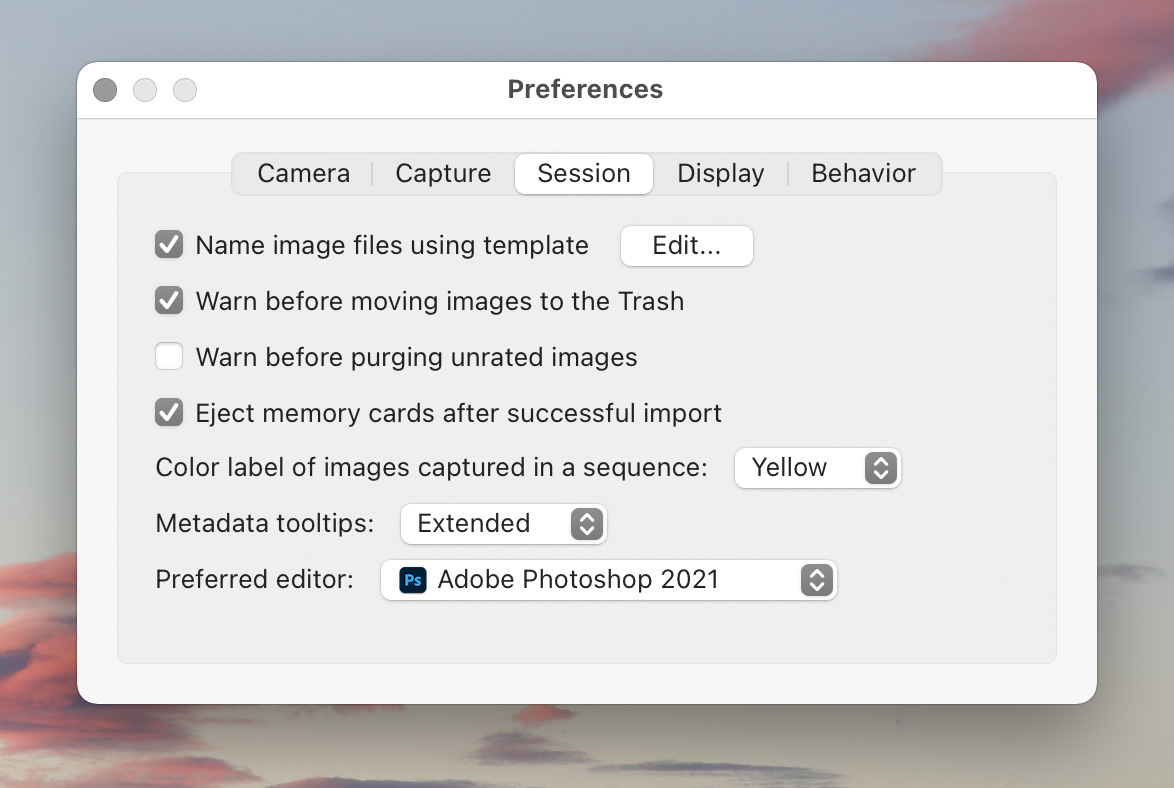
Now there’s another thing that’s a royal PITA when importing cards: ejecting them. Unless properly ejected, the card’s contents can be corrupted as you might pull it when a write operation is still in progress. To help with this, we have a new option called Eject memory cards after successful import on the session preferences page. This is off by default, but when activated, memory card from which you have imported images will be automatically ejected. This applies to whole card imports, or even if you imported just a handful of images. Cards will not be ejected if an error occurs during the import.
And that’s it. This feature already saved me tremendous amount of time, and I strongly think you’ll have the same experience.
Importing is only available in the Mac version of Kuuvik Capture.
The v5.6 update is free for existing Kuuvik Capture 5 users. We also offer an upgrade from 2.x-4.x to version 5. New users can buy the app in the respective App Store. Don’t forget that the Mac and iPad versions are sold together – buy any of them and you’ll get the other for free!
 The capture counter starts from the number of images already in the currently open session, and is incremented with each capture. Note that shooting RAW+JPG pairs count as a single image.