Look what did arrive to the workshop this morning!
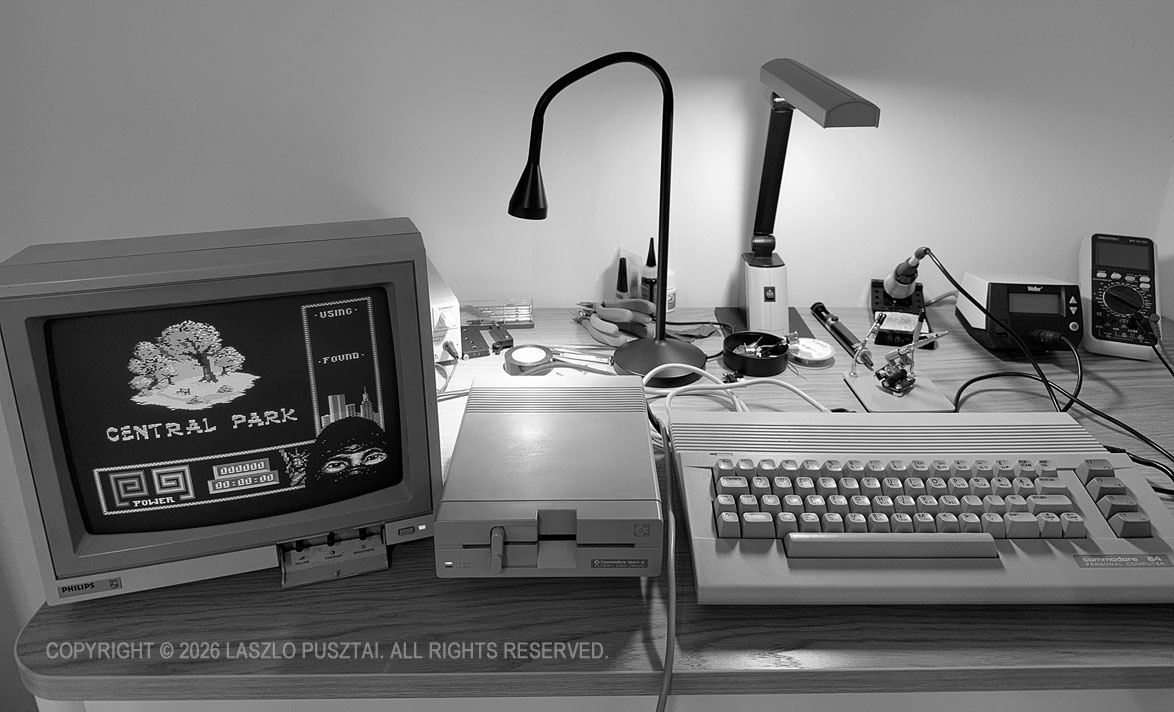
The black & white picture hides the yellowed cases to show this great computer system in a worthy light.
Got my latest Commodore 64 salvaged from my parents’ house initially for the SID chip, which may find a new home in my C64 Ultimate as soon as the new machine arrives. Or I may just source another 8580 (well, actually a pair) as my old Commodore system is in a surprisingly good condition, and it might be worthwhile to fully restore it. Apart from severely yellowed cases, everything seems to work properly.
It’s mind-blowing that a computer that hasn’t been switched on for 35+ years starts up and just works without any issues.
And it’s even more amazing that floppy disks recorded 35-40 years ago still hold the flux and I could load everything I tried without any errors. The 3M disk sleeves look as if they were just purchased yesterday.
I wonder if I will find the source code for my earliest projects… The C64 represents the sole era of my life which isn’t properly archived.
I’m sure I will play a game or two, but the C64 Ultimate is destined to the synth corner in my studio. I’ll let you know more as the project unfolds.