Improved Wi-Fi Pairing in ShutterCount and Kuuvik Capture

The recently released Kuuvik Capture 6 and ShutterCount 6 brings a very convenient feature for those who use both apps on the same Mac or iOS device with Wi-Fi connection to a Canon camera.

Previously only the Mac’s/iPhone’s/iPad’s name was programmed into the camera’s menu by default, and in case you used multiple wireless tethering apps with the same camera, you had to manually edit the names to be able to distinguish between the apps.

Now we prefix the device’s name with an app identifier. Kuuvik Capture is referred to as “KC”, ShutterCount as “SC” and ShutterCount Pro as “SCP”.

App and device names as programmed into the camera’s menu by our apps.

These names are generated and programmed into the camera’s menu during the pairing process, but as always, you can change them in the camera afterwards.

Kuuvik Capture 6 and ShutterCount 6 are available for your Mac and mobile device in the respective App Store. These updates are free for existing ShutterCount (all versions) and Kuuvik Capture (5.0 or later) customers.

The EOS R Diary : Remote Release Options

Seascapes tend to cry for long exposures. When I spend a week-long vacation on a small island, it’s definitely something I do a lot. And for this I need three things: a good tripod, a neutral density filter and some kind of remote release. The tripod (especially one suitable for travel) was a subject of my previous post. For ND filters I use LEE products for a very long time (I may write about them). But let’s concentrate on the remote release for now.

EOS R + EF 35 f/2 IS + LEE ProGlass IRND (15 stop if memory serves)

Exposure time for the above image was 80 seconds in bulb mode. Fortunately the R has a built-in bulb timer (although its user interface leaves me wanting), so you don’t have to time the shot manually (or use a TC-80N3 or equivalent controller). But triggering the exposure (long or short) is way more convenient, and less prone to camera shake, with a remote.

I have a Canon TC-80N3 for as long as I can remember. Unfortunately the R has an E3 socket, and getting an N3 to E3 adapter seems to be harder than flying to the Moon. Since I already got a BR-E1 bluetooth remote for the M50 (haven’t really used that camera before selling it and haven’t used the BR-E1 once with the M50), I thought that I would be able to use it with the R.

Technically yes, you can. But the Canon bluetooth (as well as the infrared) remote control user interface is so ill designed that you don’t really want to use it. The issue is that you are forced to set the 2s self timer/remote drive mode, otherwise the remote will not work. It is a royal pain to change it every time I switch between tripod mounted and handheld shooting (which happens a lot on vacation-type trips). Plus there’s no half-press on the remote’s button, which I use to exit image preview after a shot has been taken. It should work exactly like the normal cable release, and there’s no excuse why it isn’t.

So this led me to the good old Canon RS-60E3. It’s tiny, inexpensive, weighs nothing, needs no battery, doesn’t generate electrosmog, and works exactly as you would expect it to work. What a relief after struggling with the bluetooth remote for a week! As an added bonus, the RS-60E3’s plug does not protrude from my Kirk L bracket. I highly recommend it (and also recommend to stay away from the BR-E1, unless you absolutely need to go wireless for triggering the camera from a longer distance).

Of course you can use a proper tethering app, like Kuuvik Capture. That is what I normally do, but no one wants to lug around an extra notebook on a vacation. Then there is the Canon Camera Connect app, which I don’t use because I don’t agree to Canon’s privacy policy, and because no Canon app lives up to my expectations (that’s why Kuuvik Capture was born).

I’m currently very happy with the RS-60E3. I’m sure it won’t last a decade, but it’s cheap enough so that I don’t care. Will just buy another if this one breaks.

  ☕ ☕ ☕

Did you enjoy this post? Consider buying me a coffee if so.

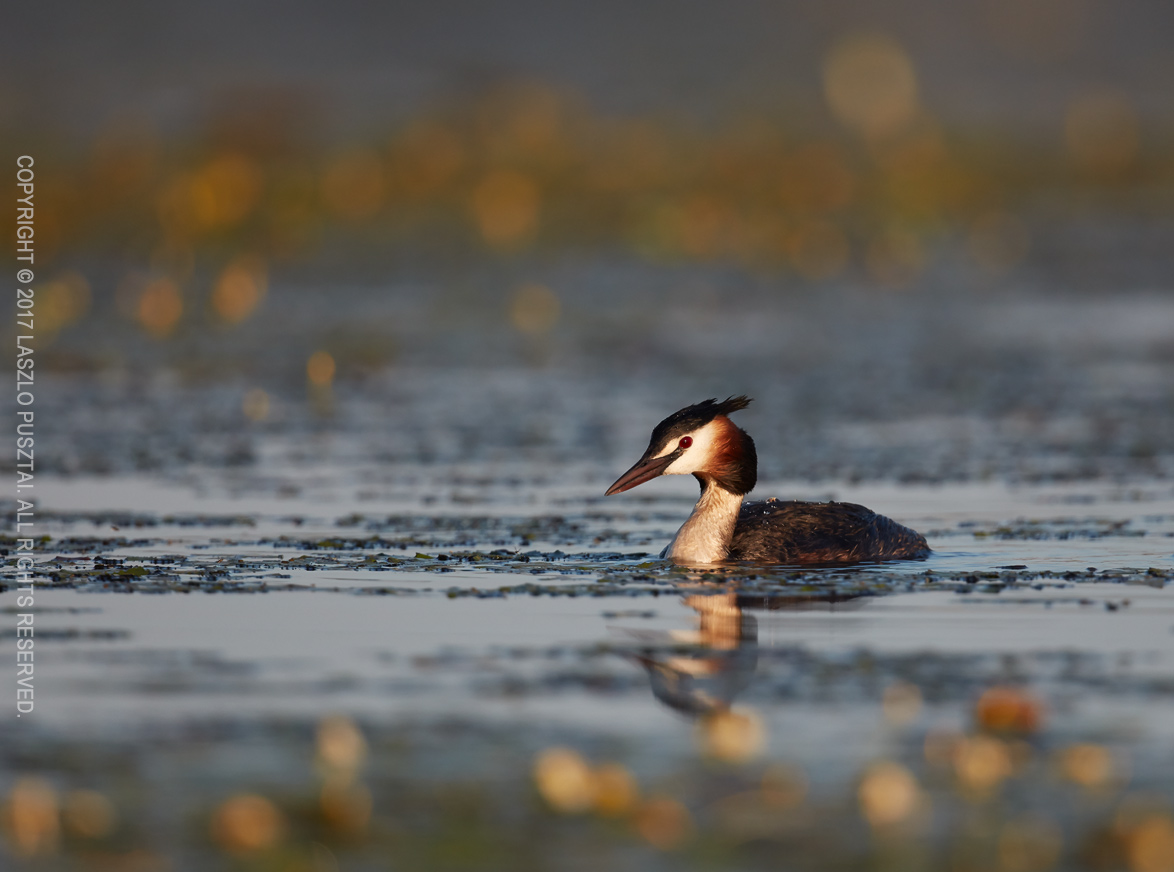
Grebe on the Marked Waterway

While this year we’ve rarely crossed our paths with great crested grebes, last year presented numerous opportunities to explore color contrast between these beautiful birds and their surroundings.

Grebe on the Marked Waterway

It was funny to observe that grebes travelled mostly between the flower strips, as if it was some kind of waterway marking.

The 5DS R produces magical environmental portraits, and the 500mm paired with the 1.4x teleconverter is about the perfect focal length for this purpose. If you haven’t done so, check out my former post on using this rig for grebe photography.

The EOS R Diary : Customizing Controls

I highly regard the contemporary Canon DSLR user interface design. It provides a great experience out of the box, with just the right amount of customization abilities. The EOS R clearly inherits a lot from this. And it is good. But is also inherits from the PowerShot / EOS M cameras, and from the prevailing over-customization mania, which isn’t.

Late Fall Sunset – EOS R + RF 50/1.2

All three of my current DSLRs (1DX II, 5DS R, 7D II) are configured to have the exact same control layout, so that I can pick any of them and everything is in the place I expect it to be. My goal with customizing the EOS R is to make it as much identical as possible to my DSLR setups.

Please keep in mind that this customization is designed for my still (mainly landscape) photography. I don’t shoot video.

If you haven’t done so, it is now time to read chapter 5 and chapter 7 of the EOS R user manual. I’m not going to replicate what’s there, and how to set the mentioned options.

Dials

The mail dial controls aperture in manual mode, as I use Av and M modes 99% of the time, so I prefer aperture to be on the same dial. Its direction is reversed, so that turning it to the right will add more light.

The quick control dial is used to set shutter speed in manual mode. Otherwise it is used to set exposure compensation. Its direction is reversed, too (there’s one setting that applies for both dials). As a side note, I disregard any camera with a dedicated exposure compensation dial that cannot be used for anything else. I’m glad Canon finally abandoned that concept even on the M series.

Feedback to Canon: +/- 3 stops of compensation range isn’t always enough. It should be +/- 5 stops, like on any recent single digit Canon DSLR.

The lens control ring is configured to set ISO, but only while metering is active. The ring on the RF 50/1.2 is a tad too loose to be used without an interlock. There’s one drawback for the latter: auto ISO cannot be set with the control ring this way.

Focus ring rotation behavior (ill-named as sensitivity in the menu) is linked to rotation degree. Honestly, I wouldn’t have bought the camera without this option. I find it totally impossible to manually focus with the rotation speed sensitive behavior.

Buttons

The EOS R team did a great job with minimizing the number of physical buttons. Well, actually went one button too far with removing seldom used stuff.

I strongly believe that metering and AF should be on separate buttons, so the shutter release half-press only initiates metering on my cameras. AF ON turns focusing on, with a side effect of also initiating metering. But the general idea is to be able to release the shutter without AF, and this configuration makes it possible.

M-Fn has AE lock and hold assigned. Like on all my cameras. This is really handy when shooting frames for a stitched image and want to ensure the same exposure for the entire series, but also enjoy automatic exposure setting to get into the ballpark of the final exposure.

In general, I prefer to place all-point, auto point selection AI Servo AF to the * button, but unfortunately it’s not an option on the EOS R. So it toggles between one shot and servo AF for me.

I configured the AF point button to switch directly between AF methods. This is something I use a lot, and I also limit AF methods to face+tracking, single, expand area (both) and zone AF.

Cross keys are set to move the AF point around, with the center Q/SET button set to reset the AF point position to the center of the screen. The erase button has the exact same functionality, but its way more natural to press the center of the cross keys to move to the center instead of finding another button.

While we are here, there are a few things where I would welcome a change in further firmware releases.

Feedback to Canon: During picture taking the erase button has the fixed functionality of resetting the AF point to the center. This is rather cumbersome, as I described above. Instead, the erase button should have assignable functionality during picture taking, for example one can assign the depth of filed preview to it (since there’s no physical DoF preview button on the camera – the place I think Canon went too far with button removal).

Feedback to Canon: During image playback, every single contemporary single digit DSLR can be configured to use the SET button as a magnification button. I would welcome this option on the R, or at least an option to be able to switch the SET button’s functionality with the magnify button.

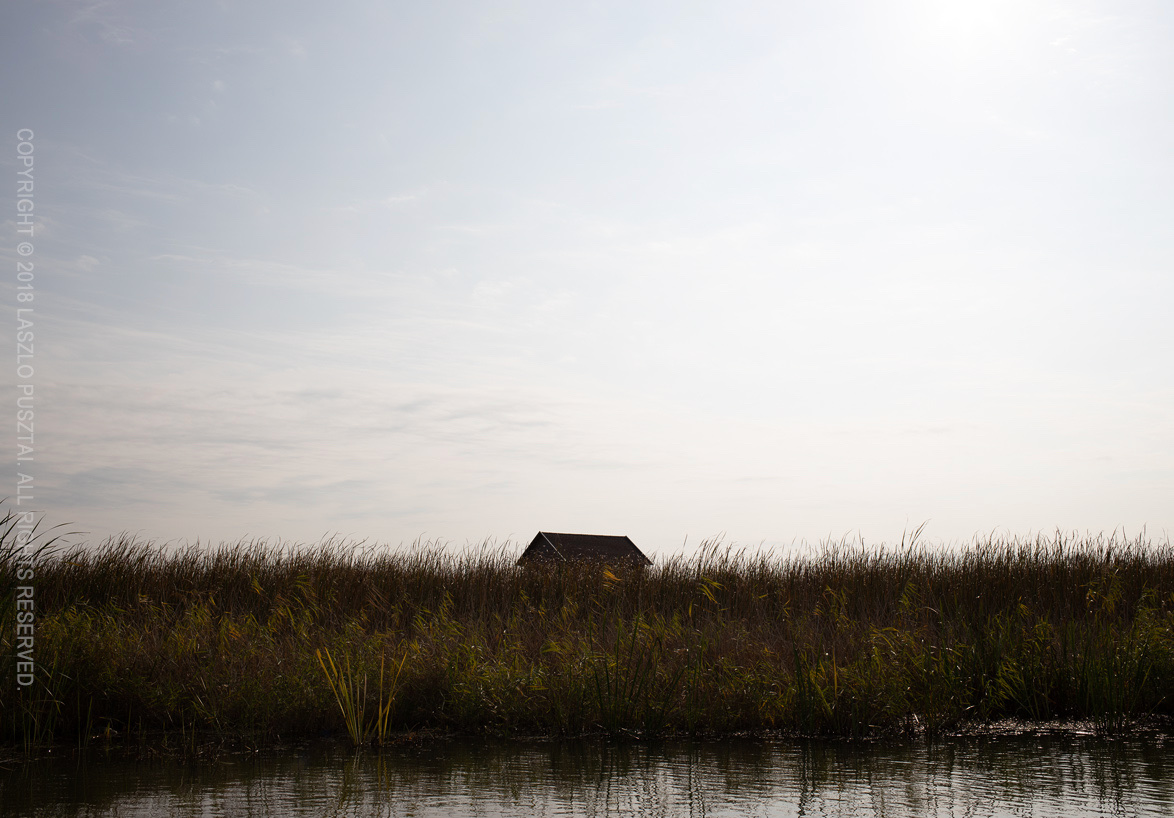
The Mosquito Hut – EOS R + EF 35/2 IS

MODE is left at its default function. Let me stop here for a moment. There is sizable hysteria around Canon’s choice of the mode button instead of the mode dial. Well, the MODE button comes from 1-series DSLRs. And it is rather convenient if you shoot tethered. For example you can switch the shooting mode from within Kuuvik Capture. Try to do that with a mode-dial-equipped camera when it is mounted 4 meters high. Yes, I do prefer to have a MODE button.

I’m glad that there’s a video record button, and that I’m not shooting video. This button is a key element of my customization. It’s assigned function is DIAL FUNC. The R lacks the usual camera-top buttons like WB, drive mode, ISO, etc. DIAL FUNC is an amalgamation of those. After pressing the DIAL FUNC button, you can choose between different functions with the quick control dial, as well as different values of the chosen function with the main dial. Up to five functions can be selected for DIAL FUNC. I have ISO (for cases when the attached lens have no control ring, and for selecting auto ISO), drive mode, and metering mode (I usually leave it on evaluative, but there’s no way to set it via the menu).

And finally, the LCD illumination button is used for just that. No inadvertent switching between different top LCD information modes, thank you.

Touchable Thingies

A controversial topic, I must admit. Yes, the M-Fn Bar is a gimmick, and I would prefer a display mode selection switch in the same place. But touch and drag AF is genuinely useful. Actually so much, that I constantly find myself reaching for the LCD even on the 5DS R and 1D X II…

So let’s see first how I configure touch and drag AF. Positioning is relative, as I wasn’t able to develop a muscle memory for absolute positions. And only the right side of the screen is active, as I want to drag the AF point with my finger, not with my nose.

The M-Fn Bar is arguably a thing that needs to be worked around. It’s safety lock is upsetting, but without it you’ll definitely change settings inadvertently. But there’s a solution! The multi-function lock that I never ever used on any of my cameras before the R. So the LOCK button locks the M-Fn Bar for me (only works during shooting, and NOT during playback, though).

During picture taking, the M-Fn Bar’s assigned function is to zoom in and out on live view. This is a seldom used function for me on a travel camera. And on a tripod, I can safely disengage the lock with no fear to make an uncorrectable error.

During playback the right side of the control toggles between one and zero star rating.

Conclusion

The EOS R is a rather minimalistic camera. This isn’t bad. On the contrary, I enjoy shooting with it mostly because it lets me focus on the bare essentials. I know from experience how much thinking goes into making a camera minimalistic. So hats off for the EOS R team.

But you definitely have to think about your needs and configure the camera for those. The all too common “I want it all, just in case” thinking will not work here.

  ☕ ☕ ☕

Did this post help you? Consider buying me a coffee if so.