Backyard Alpenglow

Earlier this week we spent a couple of days in Rauris, Austria. Tuesday we had great weather, so late afternoon we went out to scout a location for some alpenglow shots. Spent about an hour driving around the village, but found nothing. Alps are to the south from there, and the deep valley walls mask most of the snow-covered peaks.

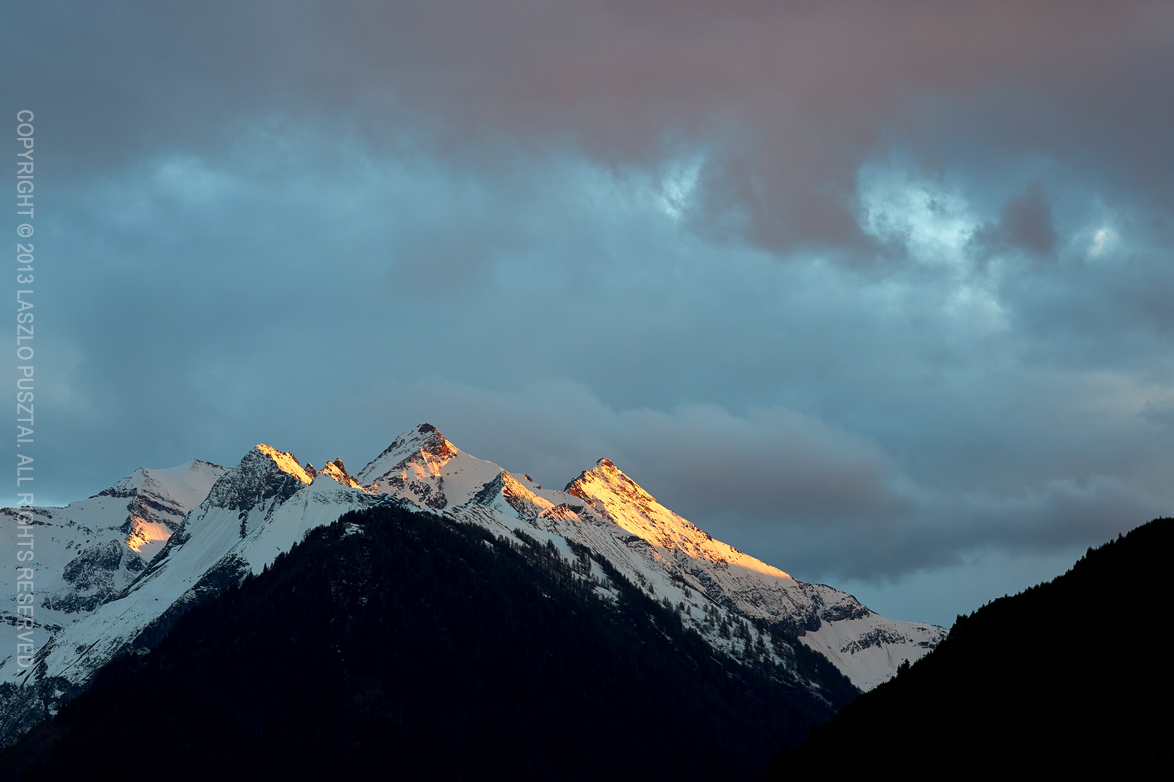
We gave up and went back to the hotel, just to find out that the ideal spot for an alpenglow shot was the corner of the parking lot! This is the resulting image.
Backyard Alpenglow

Backyard Alpenglow

After finishing this image, I was about to pack my gear and head into the hotel to enjoy the dinner and some beer. But the light show wasn’t over! I find the combination of monochromatic show/hills with vivid sky/clouds really pleasing.

Evening Light
Evening Light

Canon 135mm f/2 as a Quasi-Macro

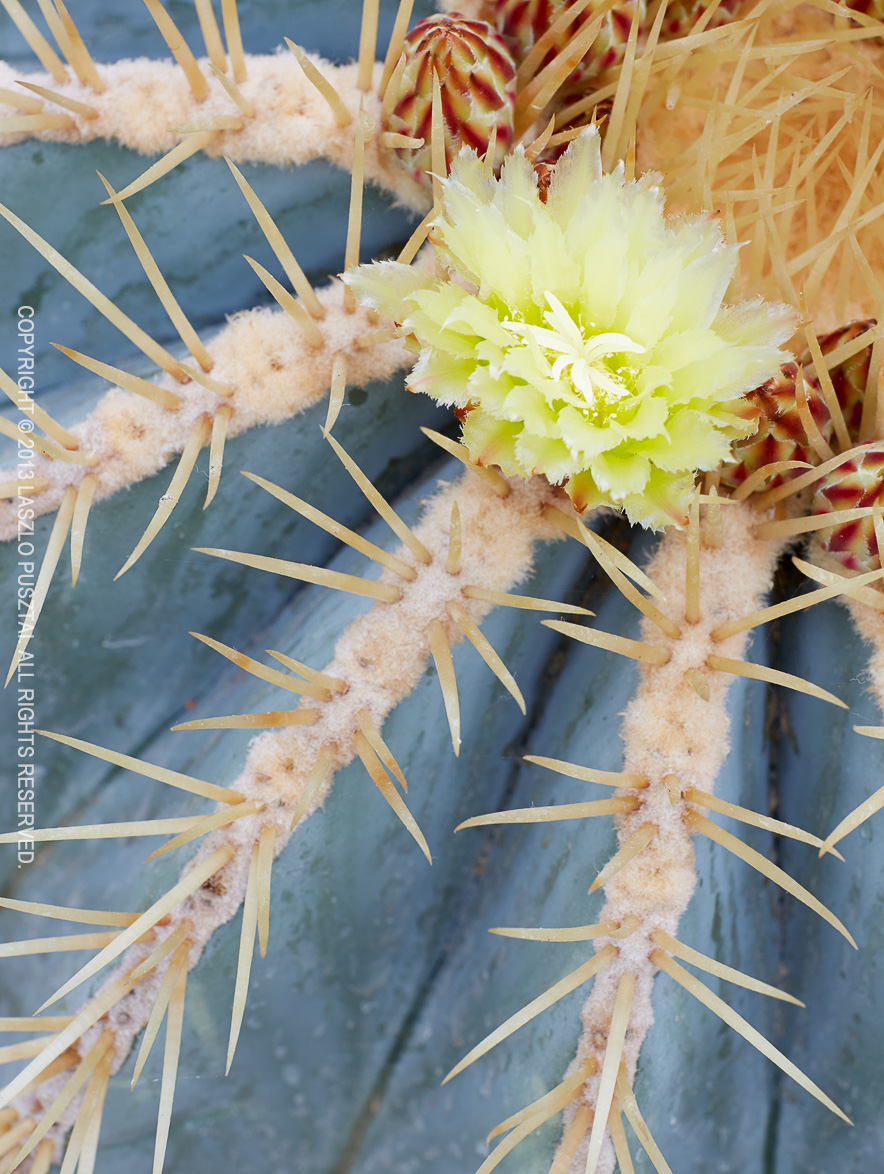
I was eager to try out my new 135/2, so I headed to a nearby arboretum to see if I can find something interesting there. I was lucky as the cacti are at the beginning of their blooming period, and I could photograph a few flowers.

The First Flower

The First Flower

I’m not a macro guy, but the 135 f/2 + 25mm extension tube combination worked pretty well, as you can see on the image above. Besides being a great lens in every aspect, the ability to use the 135 as a quasi-macro lens is a big bonus. I’ll definitely go back soon to shoot more cactus flowers.

Zooming Out – The Move to an All-Prime Setup

I have been shooting with Canon’s L series zoom lenses (the 17-40, 24-70 and 70-200 IS to be exact) for almost a decade. Everything seemed fine, I made several great images with them. The seduction began on a cold January night in Norway two years ago – I tried a friend’s TS-E 24. I was immediately sold. So much that I didn’t want to put the 24-70 on the camera any more. Bought a TS-E 24 later that year and the 24-70 started to collect dust.

Floors

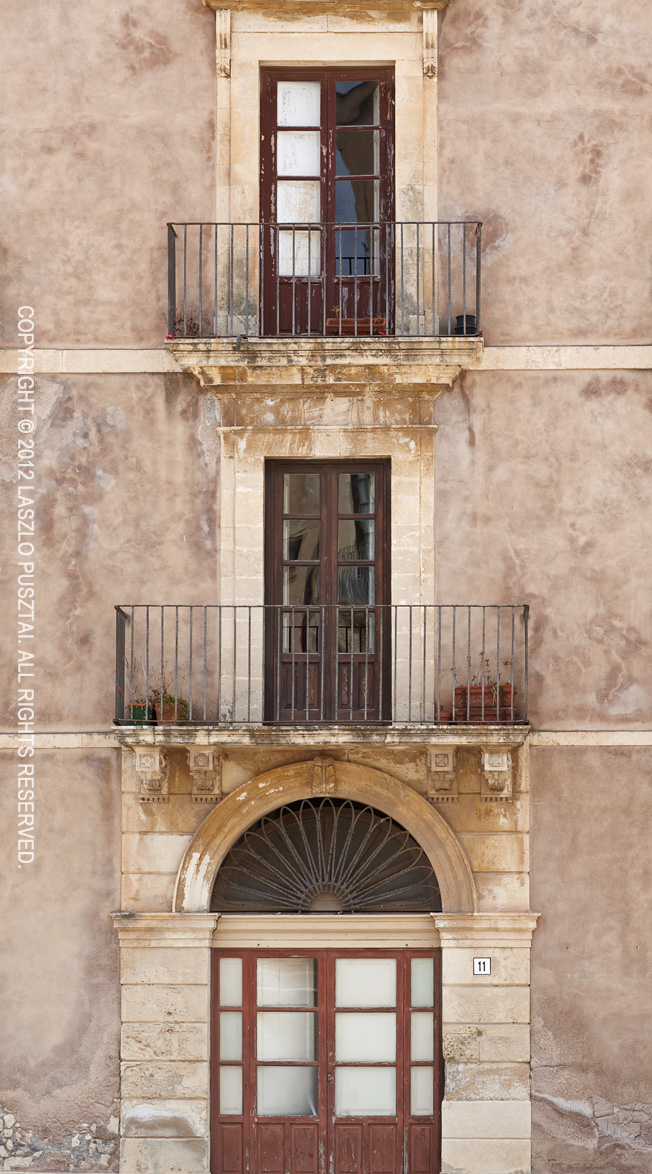
Floors, 100mm f/2 on a 5D Mark II

The final nail in its coffin was a vacation in Sicily last year. To travel light and be able to enjoy the vacation itself besides shooting, I bought three primes. In addition to having image quality that puts the 24-70 into shame, I really loved to work with them.

There was something that inspired my creativity – maybe the discipline of not being able to easily change the shot’s angle of view and forcing me to move around, maybe the freedom from having to think about focal length choices. I don’t know, I just like the process and the results.

Last year I sold both the 17-40 and the 24-70 and just used the two 24s and the 50. And an interesting thing started to materialize: instead of thinking about which focal length should I use I started to see in 24mm and in 50mm. When I realized this I regularly threw the “travel 100” into my bag. And I preferred it to the 70-200.

The final decision to replace the 70-200 was born last weekend. After going through my former images and checking which look do I prefer on the long end I ended up with a conclusion I find shots in the 150-250mm range uninteresting, and that the 70-200 was more in line with my vision on cropped sensor bodies than on full frame. From here the decision was pretty straightforward: get a 135mm f/2L.

I ordered one on Saturday and selling my 70-200. The lens arrived yesterday (isn’t Amazon great?) and I’m waiting for an opportunity to put it through its paces. The cactus and palm house of my favorite botanic garden will open this weekend, and I’m planning a visit next week. I’ll post my experiences.

So my current setup consists of the 24/2.8, 50/1.4 and 100/2 travel trio and the TS-E 24 II, 50/1.4, 100/2, 135/2 quartet for regular use. I plan to add a TS-E 17 and a TS-E 90 instead of the 100/2 when Canon updates the current 90 (I don’t like the fixed placement of tilt/shift axes).

Unfortunately I start to find the 300mm focal length interesting again. And the only option there is the 300/2.8 IS II. Which is heavy and expensive… So I’m hesitant at the moment.

All in all, if you aren’t shooting in a rush, and can move around, I highly recommend to give a try to Canon’s relatively inexpensive and great fixed focal length lenses. They might shake up your vision and photography – just they did with mine.

The Expendables: Canon 650D + 40/2.8 Pancake

I haven’t touched an APS-C Canon since 2006. After using a D60 for three years, I made its last image in 2005. I have been using full frame and APS-H since then. However, I bought a 350D in 2006, which I sold immediately after the first shoot – although image quality was good for the time, I really disliked everything else about the camera.

So why I have a 650D then? The answer is simple: we needed a cheap EOS for software testing. A camera that I won’t bemoan if we happen to kill its shutter after a year or so or amortize it any other way. The 500 EUR 650D seemed to fit the bill. And I bought a 40mm f/2.8 STM pancake lens with it – both for fun and for regular testing use.

Although I had no intention to use the camera for image making, I brought it to a Sunday walk last weekend. This post is about my impressions about both the camera and the lens.

The Camera

What touched me the most is the touch screen interface. It really helps to make an otherwise crippled and awkward physical interface usable. It really surprised me when I picked up a camera last fall how usable it is. Somehow I like it more than the 60D and the 6D. Touch controls are well implemented, but a dedicated graphics processor would help to make it iPhone-fluid. Some operations are low end Android-sluggish (like flipping through images and pinch zooming). It is self-explanatory and works quite intuitive. I only miss one feature: double-tap to switch between 100% and fit zoom levels. To tell you the truth I would love to see this touch interface on my 5D Mark III.

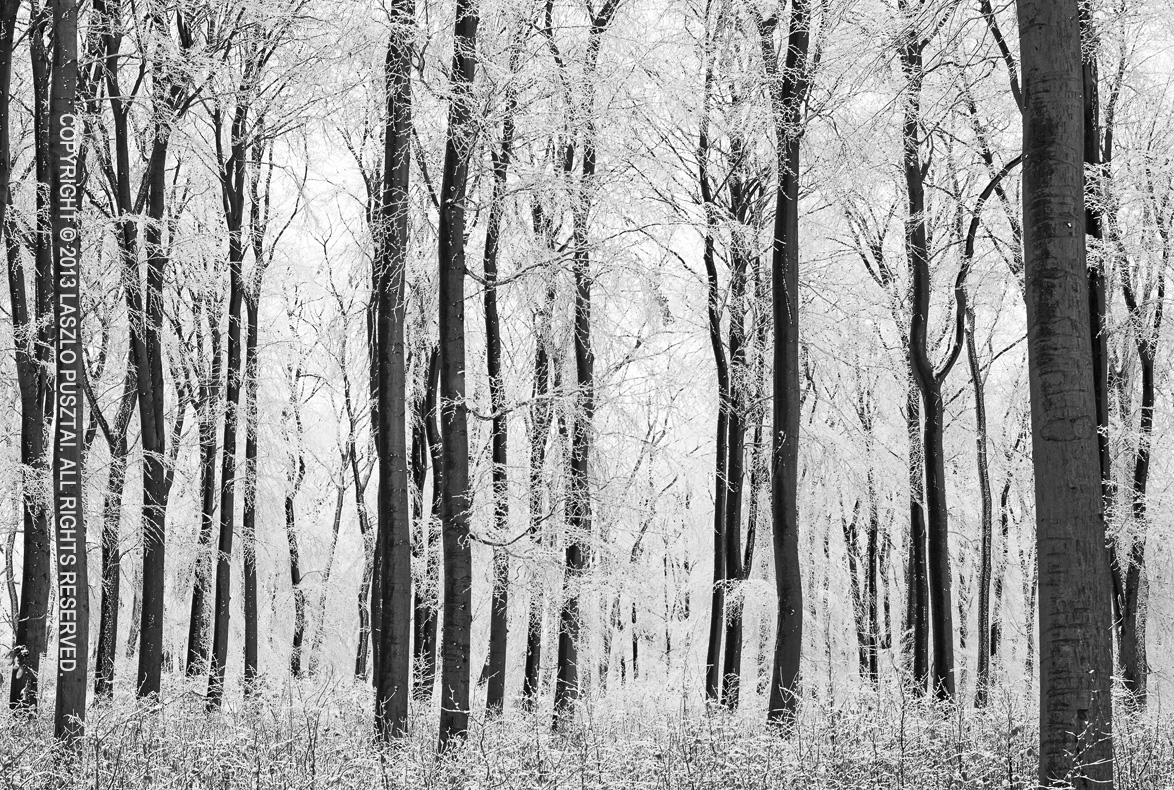
Frozen Forest

Image quality is not something to rave about: it is the usual contemporary, diffraction limited at f/7, but still usable up to 30×45 cm prints thing. Something I’m not really a fan of. But as I said, it’s still usable for making medium-sized prints.

I haven’t used a plastic camera body in years, and I can attest that magnesium alloy can be really cold in sub-zero environments. But I was able to carry the 650D around without a glove! It actually felt warm after hours of walking around in the winter forest. This was a positive surprise.

Another surprise was how it drives lenses. First I thought that something went wrong and the lens will fall apart… But I found these unusual noises to be normal with two copies of the model, as well as the 600D. I’m still in fear to put on my more expensive lenses.

Actually I quite like this small camera and will borrow it from testing for casual weekend walks. Who knows, it’s always good to have a camera with me.

The Lens

It is a gem. Small, light, inexpensive (at 150 EUR), and delivers great image quality. My first experience wasn’t so good, however. Just after picking it up right from the bag, the lens refused focusing. Some weird noise came from the AF mechanism, but no focusing. Removing and re-attaching the lens helped. Back at home I quickly checked the net about what the hell is going on here, and found that the lens needed a firmware update. Oh yeah, now you can upgrade lens firmware without bringing them to a Canon service center! This is good. But notice that you need a 650D, 5D3 or 1DX for this.

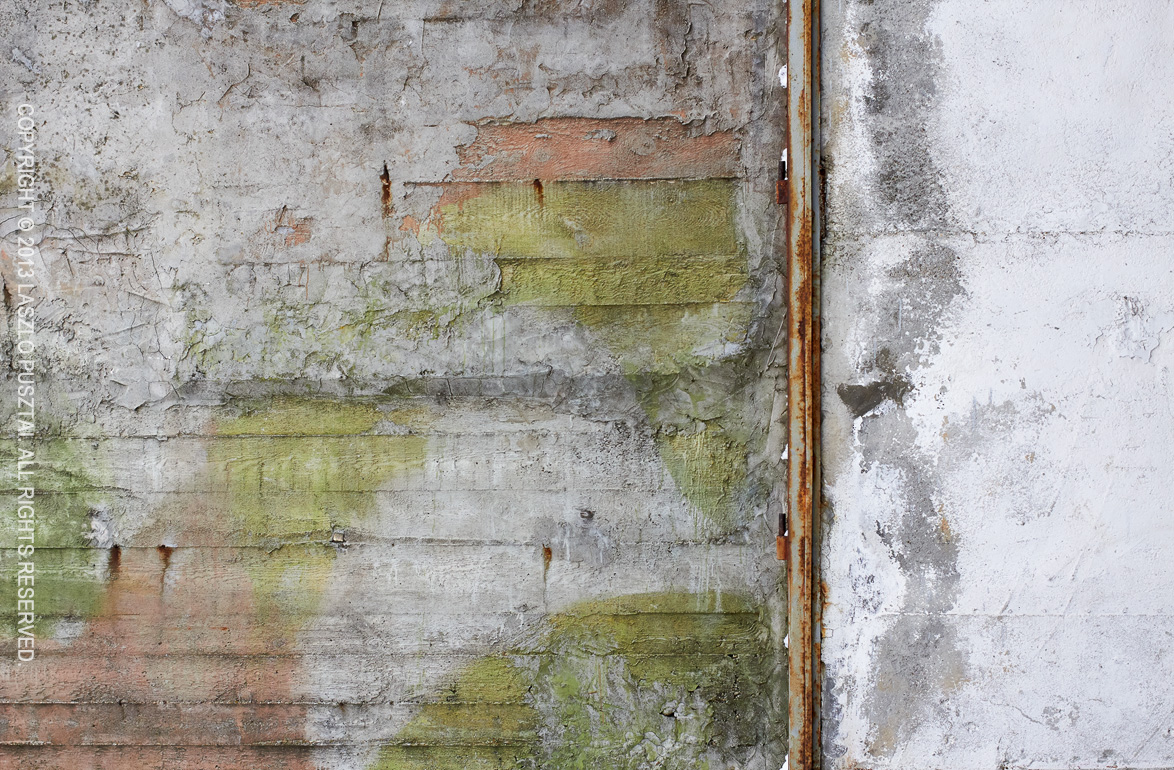
Wall at an Abandoned Rocket Base

Image quality is really good on the 650D, so I became interested in putting this small wonder on my 5D3 next time. Just to see whether its up to the quality of my favorite cheap prime trio.

The new stepping motor (STM) focusing is slow and noisy. Don’t expect something you used to with USM. But it seems accurate. Manual focusing is another story. I don’t like focus-by-wire lenses. Call me old school, but I prefer the physical connection between my hand and the focused distance. The focusing ring is also tiny, but the whole lens is tiny, so nobody can expect a huge ring here.

I will keep this lens in my bag most of the time. Weight is not an issue, and it delivers great images. Absolutely recommended for everyone.

Practical Limits of Enlargeability

I have been asked numerous times about how big a print can be made from a digital image. Up until recently, the answer was quite easy: one would need a 200 PPI or higher resolution image for matte papers and 210 PPI or higher for semigloss surfaces. Canvas is a much more forgiving medium, one could go much lower with careful processing. My biggest enlargement, from a 4.5 megapixel original, was printed on Hahnemühle FineArt Canvas in 36 x 100 cm size. This was shot with an 1D Mark II, so this is a 35x enlargement. The print was made at 90 PPI. Yes, this was a result of several hours of careful editing and a matching media choice.

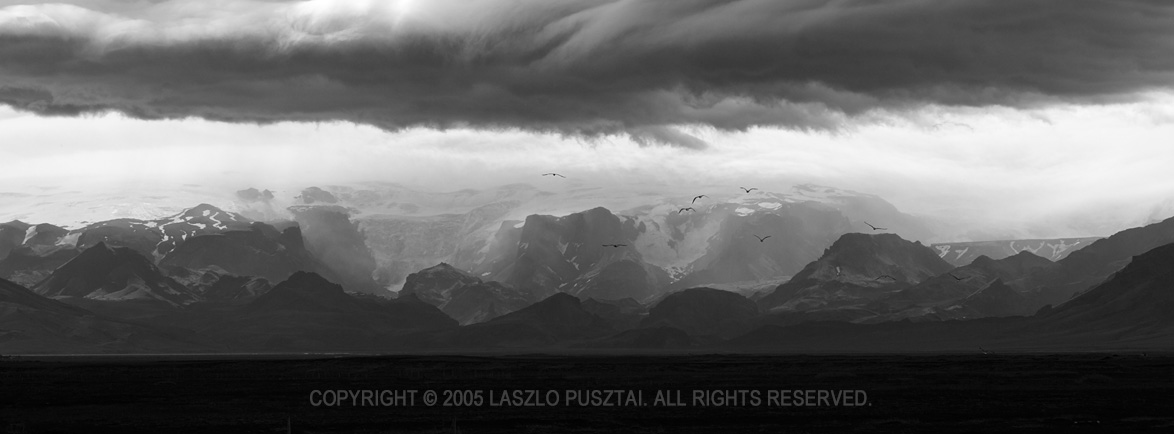
This is a crop from a 8MP image. The biggest print that still looks great is 38×100 cm. But this is an exception in enlargeability, not the norm. Subject matter really helps here.

Of course high resolution is a must for hyper-realistic prints. Posters can be made at much lower resolutions. But I’m not interested in making posters at all. I even wrote an app (PrintCalc), that can calculate all this resolution requirement stuff for you.

To put it another way, digital prints were limited by the sensor’s resolution.

In these days, however, we face another limits. Diffraction, depth of field and lens quality. Let’s take a Canon 5D Mark III for example. The full frame sensor at 22MP starts to get diffraction limited below f/10. The 7D at 18MP is visibly diffraction limited at f/8. The problem is worsened if you want big prints. One often overlooked attribute of depth of field is that it gets shallower as you make bigger enlargements. But you can’t stop down to increase depth of field at your will, because diffraction kicks in. This might, or might not be a problem depending on subject matter.

For landscapes, diffraction puts an upper limit to practical enlargement ratio. You can only go larger if you use a bigger sensor. For other subjects, where you can shoot at wide apertures, this isn’t that big of a problem, so you are limited by the number of pixels. Speaking of the number of pixels: DxO’s new “perceptual megapixels” ranking is a good indicator what kind of resolution a lens can give you. You can increase sensor resolution, but the lens will still be a limiting factor. Think about this perceptual megapixel number as the one you can use as the basis of maximum print size calculations. Look at the best lest they tested to date: Canon’s EF 300mm f/2.8L IS II USM. It can fully utilize a 21MP sensor, but you’ll end up around 14MP on a 18MP APS-C sensor (the 7D).

So it’s easy to see that blindly increasing sensor resolution in any given format above lens capabilities and so much that is severely affects usable apertures is not the smartest thing.

What is that practical limit? I found that about 20 times enlargements (in linear dimensions) make great hyper-realistic prints, keeping ill-effects at a minimum. This translates to about 50 x 75 cm (20 x 30″) for full frame and 30 x 45 cm (12 x 18″) for APS-C. Regardless of megapixels. Of course you’ll need to hit the 200-210 PPI minimum, which is about 11-12 MP for APS-C and 23-24 MP for full frame. But increasing the sensor’s resolution beyond these points will only allow to reap the benefits of oversampling, and not really allow bigger prints at the same quality (not to mention increased storage requirements).

Want bigger? There’s only one way with today’s technology: increasing sensor surface. Basically we have to paths in pursuing bigger recording area:

  • Go medium format. Digital 645 will give you images that can be printed at 80 x 110 cm (30 x 40″) – from an 50 MP or larger file. This costs a lot.
  • Stitch several images together. I routinely use my TS-E 24mm lens to get images equivalent in size to a medium format sensor (36 x 48 mm). This is more work, but at the fraction of the cost of medium format.

20x enlargements are far better than you could achieve (in high quality) from film. This is actually at least one format size better (full frame 35mm beating 645). But remember that every technology has practical usage limits, and make them work for you – don’t blindly believe manufacturers’ marketing stuff.

Inside Out

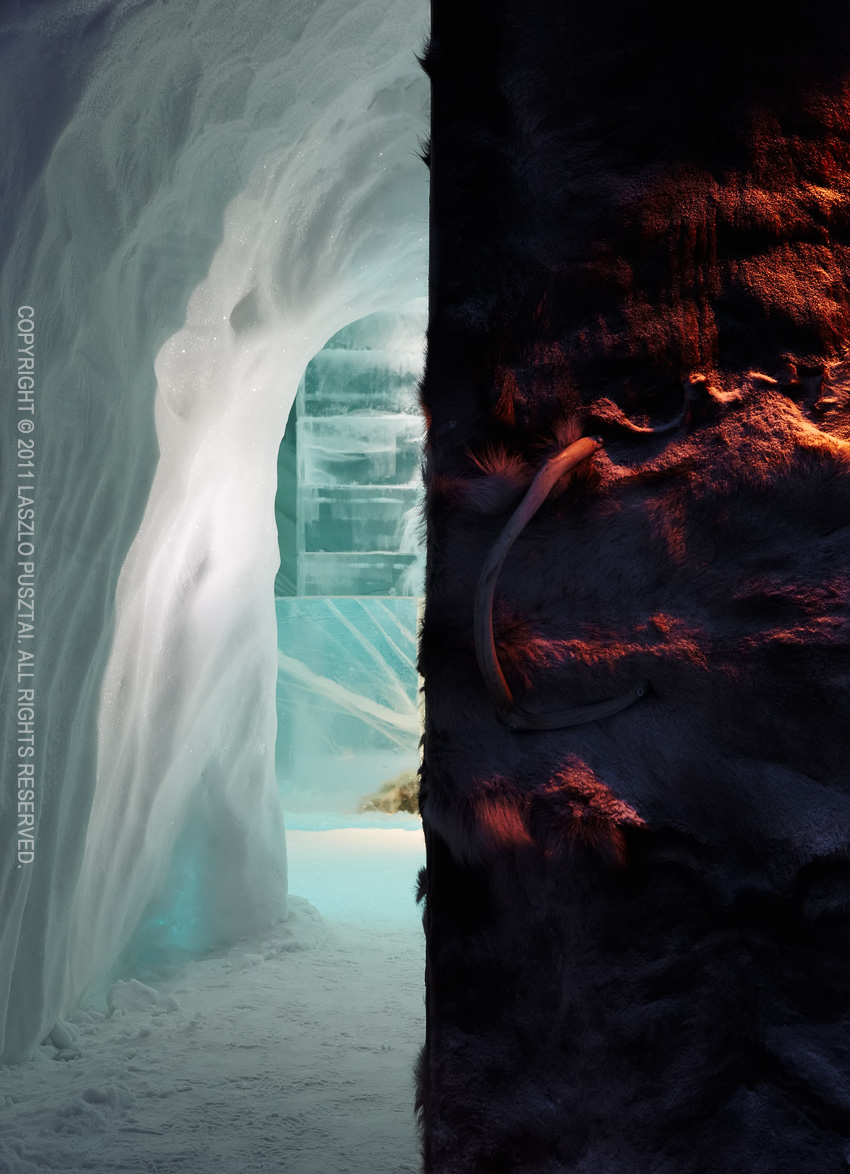
During winters warm colors and the warmth of fur is associated with the inside of a house, while cool colors and ice means the freezing, hostile world outside. This image was taken at the front door of the Ice Hotel in Kiruna, Sweden. I love the way it reverses the inside-outside association. Happy holidays!

Inside Out