Opportunities for astrophotography are few and far between: one needs clear, Moonless, windless nights; something interesting to shoot and a couple of hours spare time. I had no such opportunity for more than a year, and was keen to try a few new pieces of gear I got in the meantime.
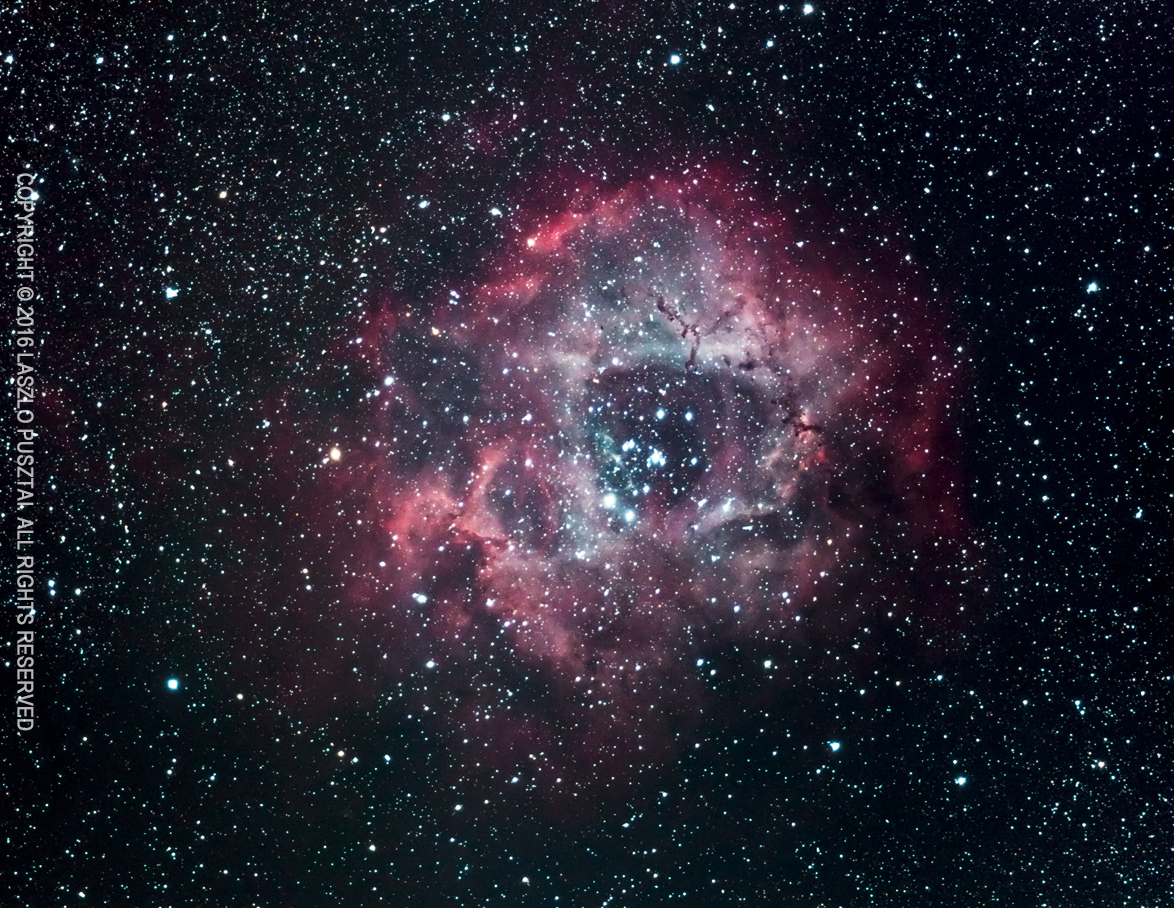
Rosette Nebula
The above image was the first light for my 5DS R (performed very well, it seems to be sensitive to hydrogen alpha wavelength range without the overly reddish appearance of astro converted cameras), 500mm f/4L IS II and the IDAS LPS-D1 light pollution suppression filter (did an admirable job – the above image was shot from our backyard in the countryside). Well, I would expect this level of performance from a filter costing over 250 Euros in 52mm size…
A stack of six exposures, 4 minutes each with another 4 minutes for the dark frame subtraction. 4m was the upper limit dictated by tracking precision that night (even 5m exposures were not skyfog limited). Had to throw away another four frames because of wind gusts. Shot at ISO 1600. The frames were converted in Capture One 10 (moved to C1 from DxO Optics Pro because I get much more details this way) and then processed in Photoshop.
All in all, I’m very satisfied with the result and looking forward for the next opportunity.
 In a
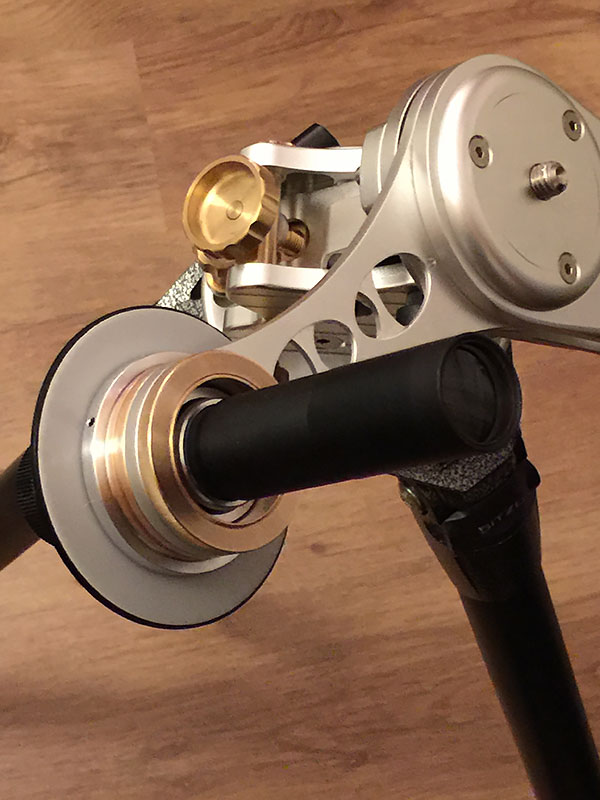
In a 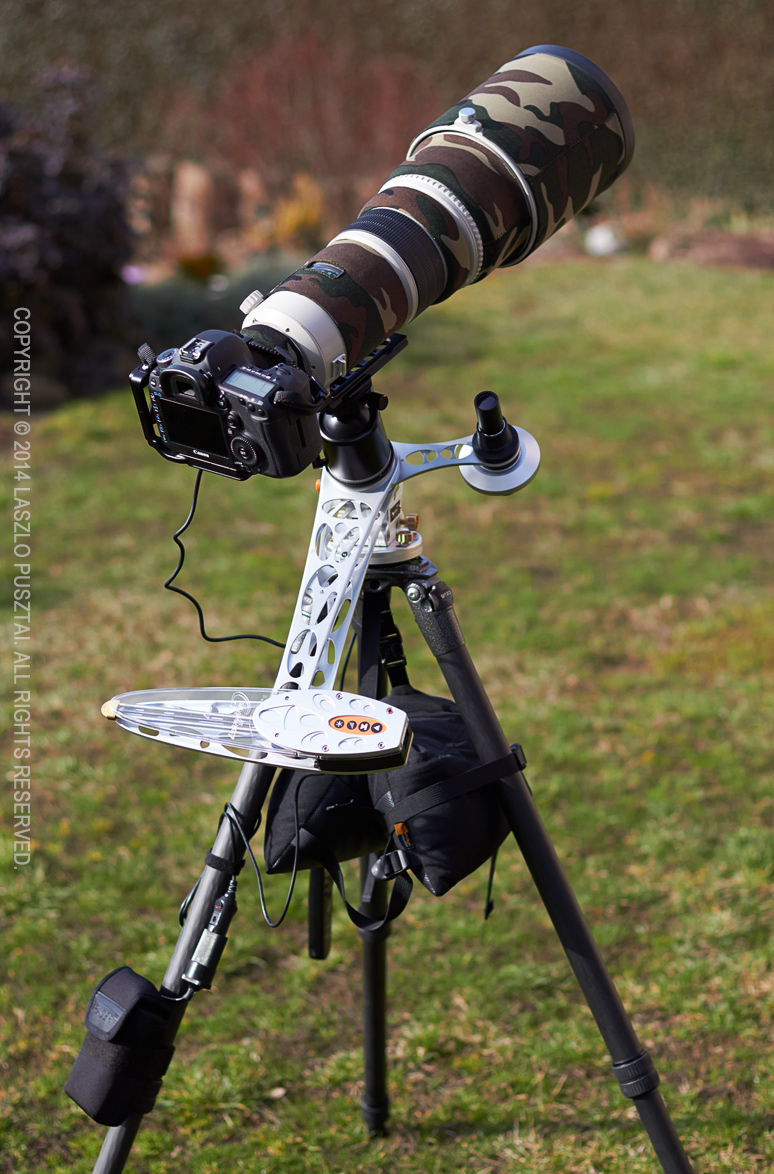 My current rig (with the 500 installed) is on the left. Let’s forget about the camera and lens for this post’s sake, and concentrate on what’s below them.
 And that was a competing tracker’s polar scope, from the Vixen Polarie.