Kwiketta is a new group of little utilities that launch their associated targets directly under Rosetta, the Intel processor emulation on Apple Silicon Macs. And while doing so, they pass all files dragged to their icons or passed to them other ways, like using the Open With menu item in Finder, to the target.
That is, a Kwiketta app works and acts exactly like its target, allowing you to selectively launch either the native, Apple Silicon version (using the target directly) or the Intel version (using Kwiketta) of the target.
Why is This a Big Deal?
I still rely on PhotoKit plugins for Adobe Photoshop. Unfortunately PixelGenius closed its business and ceased further product development years ago.
So, to be able to use these plugins, I have to launch the Intel version of Photoshop on my shiny new M1 Max Macbook Pro. There are two problems with that. First, I don’t always want the Intel version, because it’s slower, etc. Second, switching between the native Apple Silicon and Intel versions is a royal pain in the back: open the Get Info panel for Photoshop and toggle the Open using Rosetta checkbox.
I wanted a solution that, unlike fiddling with the aforementioned checkbox, doesn’t completely destroy my creative workflow. And this is why the first Kwiketta app, Kwiketta for Adobe Photoshop, was born.

How To Use
As you can see on the screen shot above, I put Kwiketta for Adobe Photoshop right next to Adobe Photoshop on my dock. If I click the Photoshop icon, the Apple Silicon Photoshop will launch. If I click the Kwiketta for Photoshop icon, then the Intel version of Photoshop will launch, complete with my Intel-only plugins. Simple as that.
Or you can drag files to the Kwiketta icon and they will pop into the Intel Photoshop. You got the idea.
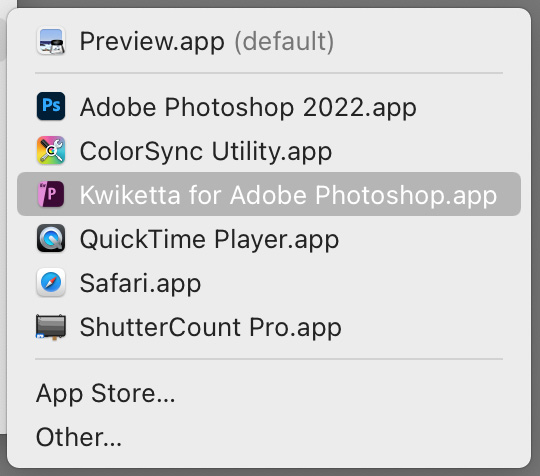
A Kwiketta item also appears on Finder’s Open With menu of all file types that Photoshop supports.
You can use Kwiketta for Adobe Photoshop almost everywhere you would be able to use Adobe Photoshop. For example you can set it as an external editor in Lightroom Classic.
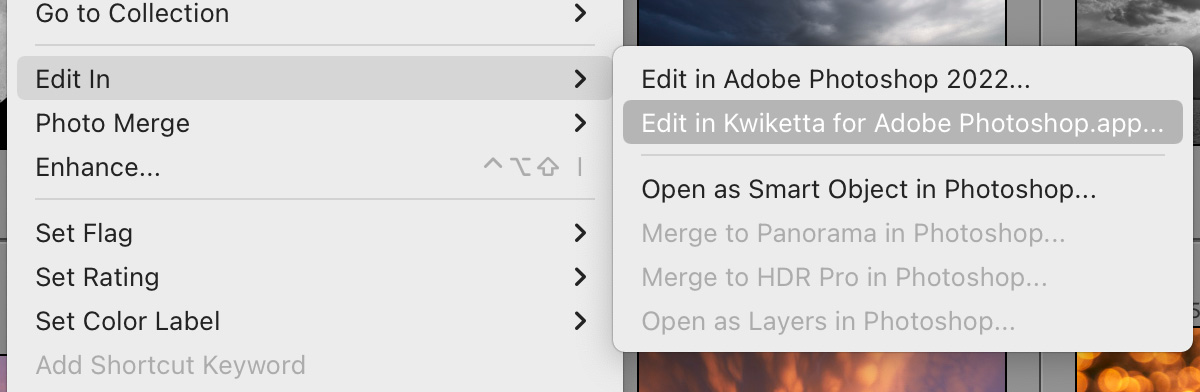
This is what I do because my regular export to web workflow relies heavily on Intel-only plugins, and this way I can initiate it right from Lightroom Classic.
Configuration
There are a few things you can set on the app’s Preferences dialog. The splash screen and automatic updates speak for themselves.
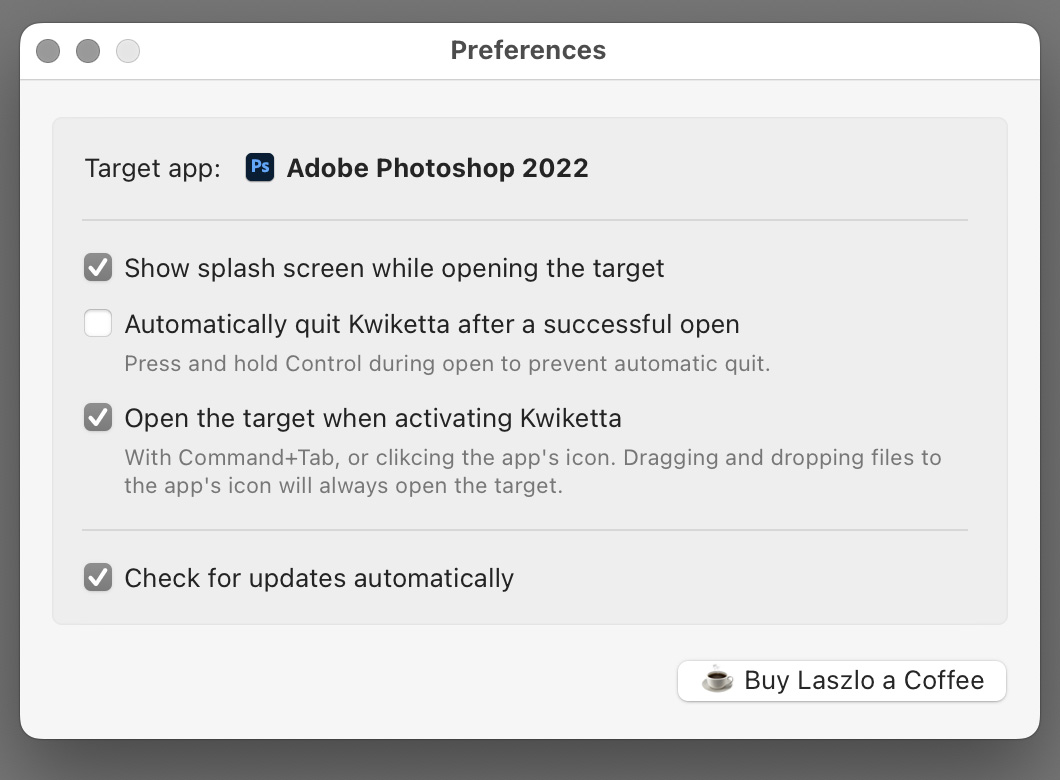
But I have to talk about the other two options.
Kwiketta can operate in two modes: it can remain running after the target has been launched (the default behavior out of the box), or it can automatically quit. The Automatically quit Kwiketta after a successful open option controls this.
In the default, remain running mode, Kwiketta will automatically relinquish control to Photoshop when you activate it. In my view this ensures a natural workflow (since the sole purpose of Kwiketta is to open the Intel target and the pass control to it). But if that bothers you, uncheck the Open the target when activating Kwiketta option.
You can always get into the Preferences dialog by right clicking the Kwiketta icon on your dock and choosing Preferences… from the menu.
Support for Apps Other Than Photoshop?
Photoshop was what I needed this app for, so naturally it was my first choice. But let us now what other app(s) would you like to get supported.
Availability
Kwiketta is available for free from DIRE Studio’s web site. You heard that right: it is free. DIRE Studio bears the costs associated with the app’s distribution.
But software does not grow on trees, and I had invested a lot of time into the development of this app. So consider honoring my work with buying me a coffee if Kwiketta helps you.
☕ ☕ ☕


