Kuuvik Capture 6.1 Available Now

We’ve released a minor update to Kuuvik Capture earlier this week. It brings Canon EOS R7 support and mostly OS compatibility updates.

On the Mac the app follows the system-wide renaming of Preferences to Settings in macOS 13. Plus, you can now set the app’s appearance (that is, light or dark) independent of your Mac’s system setting.

The new Appearance setting in the Mac version

On iPadOS 16 this release restores the ability to use the actual device name during pairing.

In the new operating system Apple finally fixed the severe issues that plagued multi-touch in iPadOS 15, so we’ve updated our touch detection code to take advantage of the corrected behavior.

The iPadOS bug where the OS may fail to properly close the app before updating it, and subsequently, not knowing which one to run, greets users with a pitch black screen, affects Kuuvik Capture as well. The fix is quite easy: force quit and restart the app (both copies) to wipe corrupted state information. See our knowledge base article for detailed instructions.

The update is free for existing users, and is available on the respective App Store.

Ultralight Tethering with Kuuvik Capture

With the release of Kuuvik Capture for iPad, a decade-old dream started to unfold: enjoying all the benefits of tethered shooting out in the field without the burden of carrying around a notebook.

Once the very first beta of the app was ready, a quest for the optimal iPad size and a lightweight mounting solution had begun. It took several weeks of research to arrive at a solution that I’m using for the last year.

My Cambo Actus digital view camera with the Canon EOS R5 acting as the recording medium controlled by Kuuvik Capture running on an iPad Air 4. The image shows one of the app’s unique features: multi-point simultaneous live view.

The iPad had to have a USB-C port and large enough screen while keeping the weight down. Quite early during the development we’ve realized that the sweet spot is the ~11″ size. At the end I chose the Air 4 as it weighs a little less than the Pro, costs less, and for a dedicated tethering controller the Pro doesn’t provide anything worthwhile over it.

Storage-wise 64GB is plenty for me, especially since I don’t have to shoot a myriad of images to compensate for possible errors. With Kuuvik Capture I only keep the perfect ones. 64GB also turned out to be more than enough for a 5-hour Perseid shooting session, where I shot a ton of long exposure images.

Mounting the iPad was a headache, though. Generally I’m not happy with buying stuff made by Chinese copycats, but it turned out that nobody else makes any competent iPad holder… So I ended up getting a Sunwayfoto PC-01 tablet bracket.

Attaching the iPad bracket to the tripod was an easier job to accomplish with products from reputable European and US manufacturers: my choices being the Manfrotto 386B-1 nano clamp and RRS’ BC-18 micro ball head.

You can see the completed mounting solution below.

The lightweight mounting solution.

The torque the whole iPad assembly exerts on the ball head’s screw is significant, and could easily loosen it from the Manfrotto clamp. So a drop of Vibra-Tite Blue 121 or Loctite Blue 242 removable threadlocker is highly recommended to avoid issues down the road.

You don’t want your iPad to land on a sharp rock after all…

Another possible source of inconvenient moments is the nano clamp itself. If you don’t tighten it enough. Or if it breaks… iPad meets a sharp rock situation again.

To mitigate this risk, I’m using a simple security tether between the tripod and the iPad bracket.

Security tether.

It is just a Think Tank Red Whip and a small carabiner.

Speaking of tethers, I have to talk about the cables that connect the iPad with my cameras. In plural, since I’m using a 5DS R and a R5 for tethered shooting, both having different USB connectors.

We learned through the years of supporting camera connectivity apps that you should avoid cheap Chinese junk cables and adapters. They are unreliable and most of the time do not work at all. We maintain a list of certified cables and adapters, and can’t stress enough the importance of high quality cabling.

With the R5 I’m using the cable that was included in the box, and with the 5DS R Cable Matter’s 1m long USB-C to Micro B 3.1 cable is my preferred choice.

Why not Wi-Fi? Well, Canon’s Wi-Fi connectivity implementation is a pain to use and is significantly slower than USB. Not to mention that I prefer not to be surrounded by Wi-Fi smog while enjoying nature.

The whole mount packs relatively flat, which I can slip into an outer pocket of my backpack or shooting vest. Even the iPad fits easily into a side pocket of my old Domke vest.

iPad holder and mount packed flat.

How light it is?

The holder and the mount (as shown above) plus the security tether weighs 357 grams. Add 458g for the iPad Air 4 and 83g for the two cables. 898g in total. Not bad for a pro-level tethering solution.

You may have noticed, but I’d like to mention it explicitly: with Kuuvik Capture you don’t need additional boxes, batteries, etc. Just the iPad and a USB cable. Or the camera’s built-in Wi-Fi in case wireless floats your boat.

I’m really happy with this solution, which perfectly augments the app’s ease of use.

Honestly, I feel like I’m cheating when shooting with this rig. It’s so easy to accomplish previously complex tasks, such as obtaining perfect focus with high-megapixel cameras or exposure evaluation. Not to mention the sheer joy of seeing just-captured images on a large screen.

  ☕ ☕ ☕

Did you enjoy this post? Consider buying me a coffee if so.

Kuuvik Capture 5.6 : The Filename Template

I’m using the same image file naming scheme for more than a decade, and always wanted Kuuvik Capture to generate file names fitting into this scheme automatically, avoiding a later renaming step. Finally I was able to allocate some time to make it happen: version 5.6 allows you to name captured files according to your liking.

This feature is off by default, you can activate it by turning the Name image files using template session preference on.

Kuuvik Capture 5.6 Session Preferences

The first time you click on the check box the app will bring up the template editor to actually set a template – which can be later modified by clicking the Edit… button.

The template is a simple text field where you can use tokens to insert different snippets of information. For example %Y will be replaced by the 4-digit year of the image’s date. We opted for this approach instead of a graphical drag & drop one so that you can copy and paste the template easily for backup purposes or for sending it to somebody else.

As you can see on the screen shot below, there are quite a few tokens to choose form.

The Filename Template Editor

Most tokens extract information from the image file (date, time and metadata tokens fall into this category). It is important to note that date/time tokens use the date/time in the image and not the Mac’s clock. Month and day names, as well as the AM/PM indicator, use names according to the current language setting of your Mac.

I recommend you to experiment with the different tokens, and watch in the Preview field what kind of filenames your template is going to produce. The preview uses the current date/time and metadata from a hypothetical 5DS R image, so you’ll always see the same metadata field contents there.

To avoid collisions, you want to create a template that generates unique names. Besides using a time with sub-second accuracy, you have two counter fields to ensure this. One of them is the last 4 digits of the original filename that the camera generated, and the other is a 4 digit capture counter.

The capture counter starts from the number of images already in the currently open session, and is incremented with each capture. Note that shooting RAW+JPG pairs count as a single image.
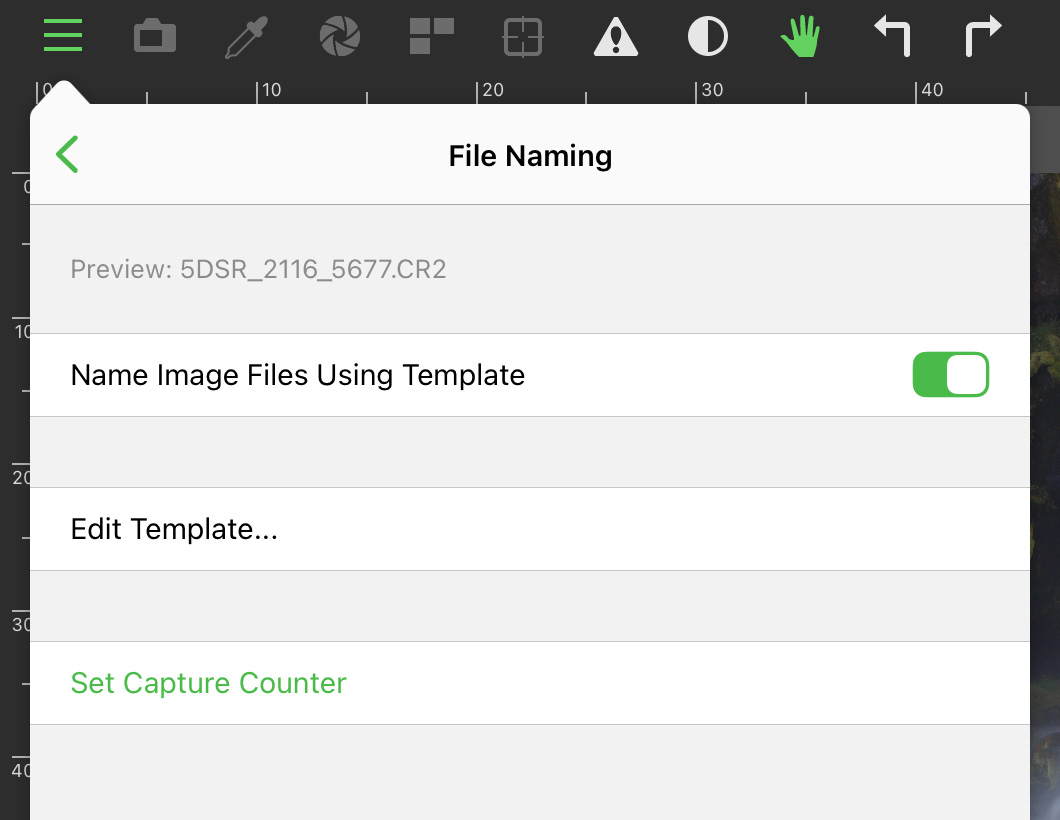
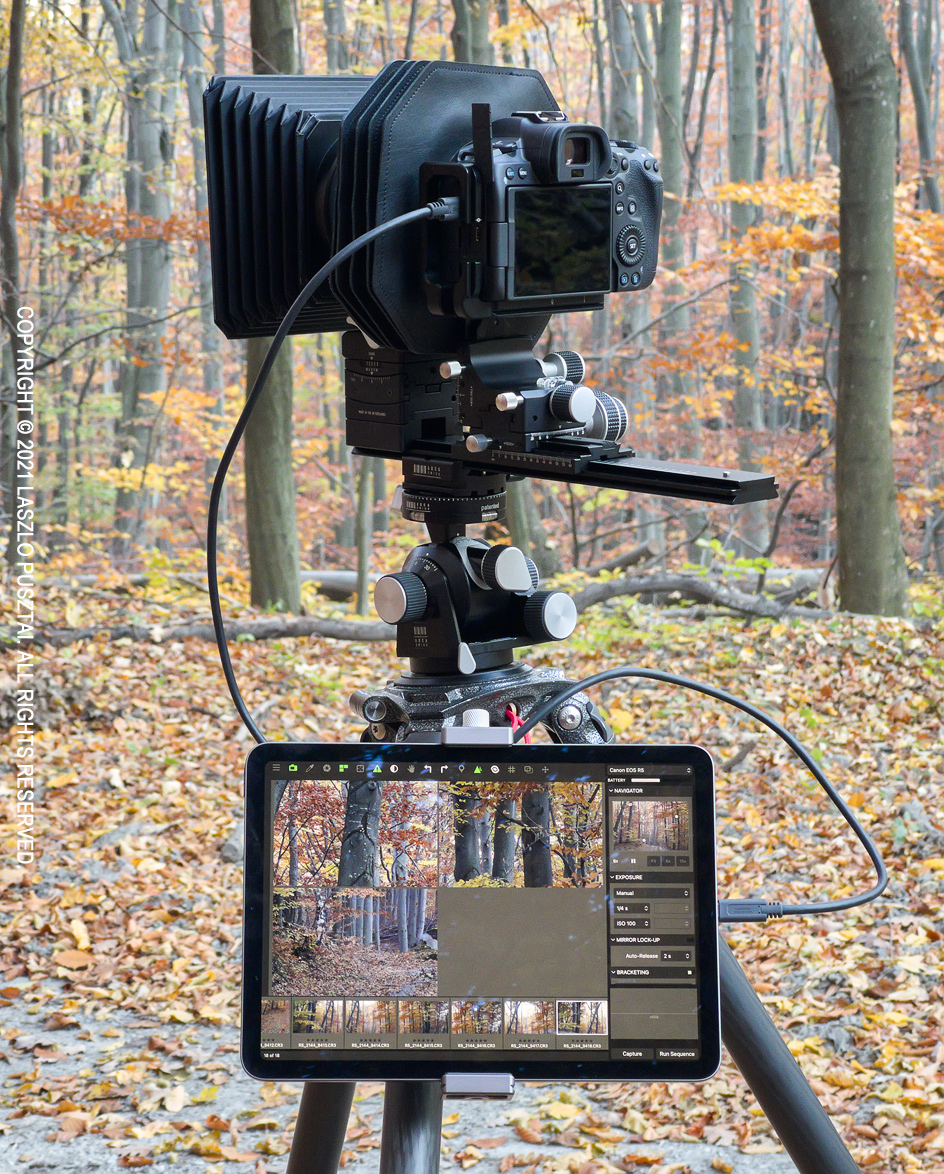
Should you need to change the counter, simply use the Set Capture Counter… command in the File menu, or press Ctrl+Command+C.

The capture counter will wrap over from 9999 to 0000, in a similar fashion to the 4 digit suffix does in camera generated names.

Differences on iPad

On iPad you have the exact same functionality, but can be accessed a bit differently: all template-related settings can be manipulated from the File Naming page that opens from the Session tab of the menu.

File Naming Settings on iPad

In the template editor the iPad keyboard is also extended with function keys to be able to easily enter special characters, like the percent sign or the underscore.

Availability

The update is free for existing Kuuvik Capture 5 users. We also offer an upgrade from 2.x-4.x to version 5. New users can buy the app in the respective App Store. Don’t forget that the Mac and iPad versions are sold together – buy any of them and you’ll get the other for free!

Resetting Tethering-Related Privacy Permissions on a Mac

Apple’s ill-designed and negligently implemented USB tethering permission checking is responsible for 90% of the support requests we receive these days. In this post I’ll discuss how to reset these permissions to restore access to USB connected cameras.

It is ill-designed, because: a) Instead of a single, clearly defined permission, it asks users for two seemingly unrelated ones: “Photos” and “Removable Volumes” on a Mac; “Camera” and “Files and Folders” plus a third tethering confirmation prompt on iOS. This is untidy and confusing, and people tend to deny them causing trouble down the road. b) It grossly violates the “principle of least privilege” by granting apps access to resources they have nothing to do with, and even don’t need at all.

The negligent implementation is clear from the very existence of this post, as well as a former one describing how Apple’s buggy code caused months of headache, brand damage and extra support costs last year.

Before you ask, I have reported these things to Apple countless times, even offered my help, but they continue to show zero interest in cleaning up this steaming manure pile. It wouldn’t be a problem if we weren’t forced to use Apple’s frameworks for USB communication, but we are.

The privacy permissions database itself is also a fragile component that tends to get corrupted randomly. Fortunately there’s a tool called tccutil designed to manage the database. This is a command line tool, so launch Terminal before proceeding.

First, you are advised to reset permissions for a given app. The app is specified with its “bundle id”, a unique name that identifies it for macOS.

The command to use for our ShutterCount app is:

tccutil reset All com.direstudio.ShutterCount

For ShutterCount Pro:

tccutil reset All com.direstudio.ShutterCount.pro

For Kuuvik Capture 5:

tccutil reset All com.direstudio.KuuvikCapture.5

And for earlier Kuuvik Capture versions:

tccutil reset All com.direstudio.KuuvikCapture

Everything is case sensitive, so I recommend to copy and paste the command into Terminal (and of course press Enter at the end). I also recommend disconnecting your camera and rebooting your Mac before issuing the command.

If that doesn’t help, you can try resetting the database more aggressively with:

tccutil reset All
tccutil reset Photos
tccutil reset SystemPolicyRemovableVolumes

If the reset was successful, your Mac should prompt for Photos and Removable Volumes access the next time you launch the app and connect a camera via USB.

If these steps doesn’t resolve the problem then I would suggest sending a problem report from within the app: click Report a Problem in the Help menu. Then complete and send the email. I would strongly recommend that you also complain to the party responsible for the issue: Apple, via its product feedback form.

I would like to note that Wi-Fi / Ethernet connections are not affected, because those do not rely on Apple’s code, but are handled entirely by mine.