Last weekend I had a little time to play with the Otus 1.4/28. I was at Lake Tisza, but the light was suboptimal to put it mildly. So I decided to make a test shot to check how focus stacking will work with the Otus 28.
Why would you need focus stacking in the first place with such a wide angle? Well, if you have a brutal 50 megapixel sensor, with a lens that’s sharper in the corners than most lenses in the center, you don’t want to throw that resolution away by stopping down below the diffraction limit.
For this test I ended up using f/6.3 and taking 6 slices.
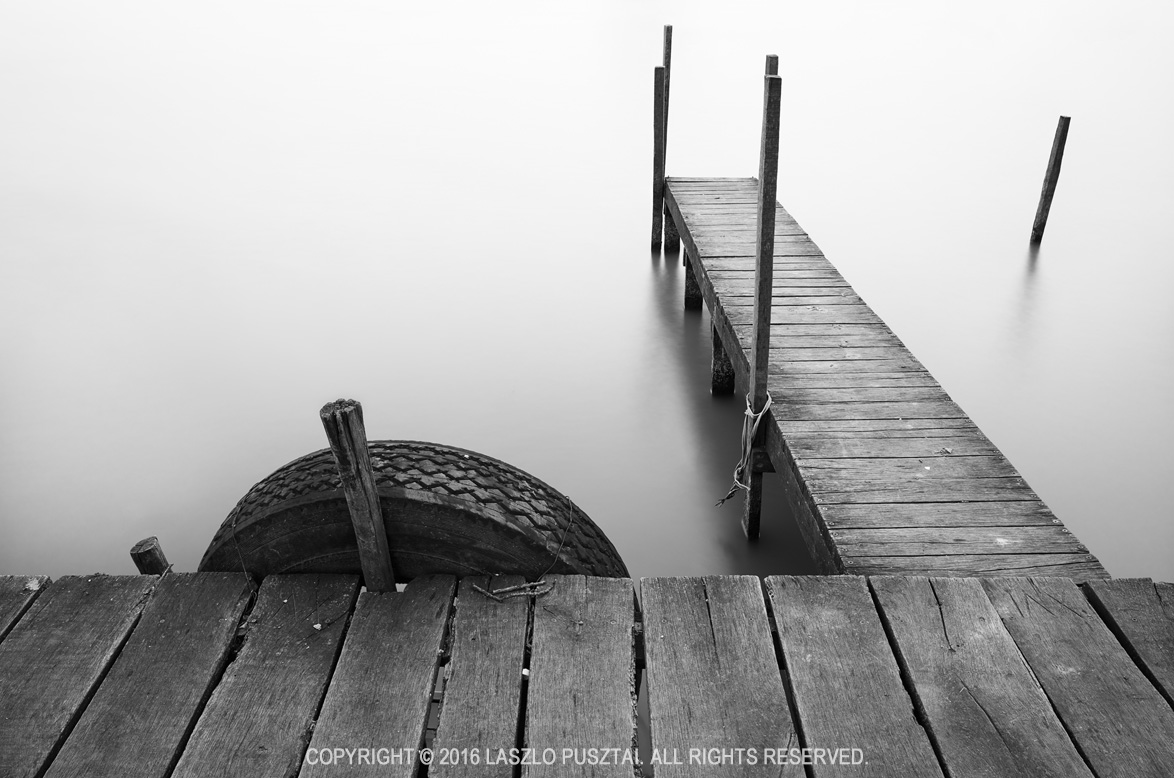
Early Spring Pier, Lake Tisza
It was a quite a bit windy, and I wanted to smooth out the waves using the 10-stop LEE Big Stopper. I had to realize that I ran out of gaffer tape (unfortunately the Big Stopper on the Otus 28 leaves quite a gap at the sides), so I used my heavy cotton dark cloth to keep unwanted light from hitting the front element.
The dark cloth covered the entire camera, but it was quite easy to focus on the 11″ screen of my MacBook Air using Kuuvik Capture. The images were focus stacked in Photoshop CC.
And the result? Perfect front-to-back, corner-to-corner sharpness. It’s simply amazing.
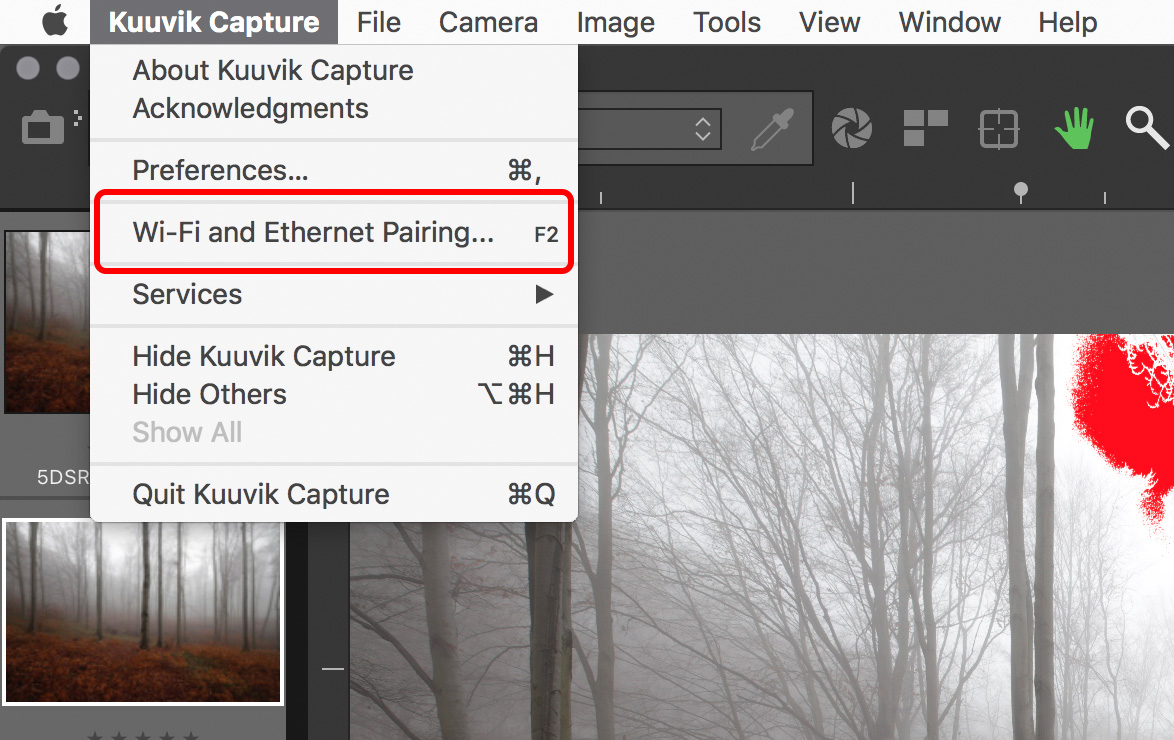


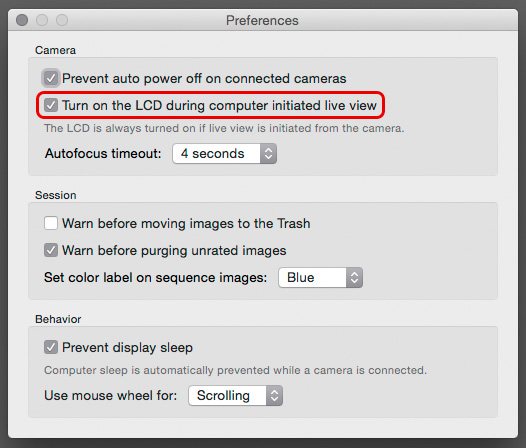 First, a new preference is added to control whether the camera’s LCD is turned on when you start live view from within Kuuvik Capture.
 I’m proud to announce that Kuuvik Capture 2 is now