Wide Converters in Mark II Artist’s Viewfinder

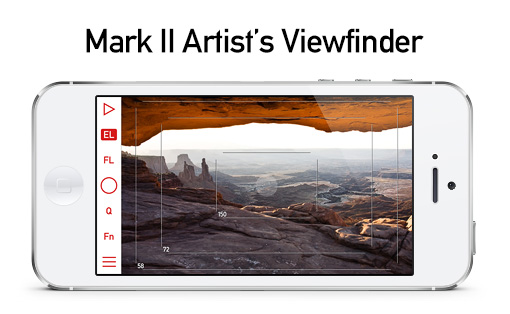
Today we announced the beta of Mark II Artist’s Viewfinder. With the Mark II we took a new direction on how we handle wide converter lenses. In the past we just multiplied frame line positions with the wide conversion factor, not doing anything about the optical aberrations of the converter lenses. And believe me, they have many. Distortion, chromatic aberration, centering errors, you name it, the converter has it.

Most of these aberrations can be safely ignored as nobody takes real images with a viewfinder. One of them however, distortion to be exact, is a huge problem. It enlarges the center portion of the image and compresses the edges, making the effort of precise frame line positioning futile.

Given the immense power of today’s iPhone GPUs, we set out to get rid of wide converter distortion forever. And I’m pleased to tell you that we succeeded: the Mark II sports real-time distortion correction! Following is an example of its power.
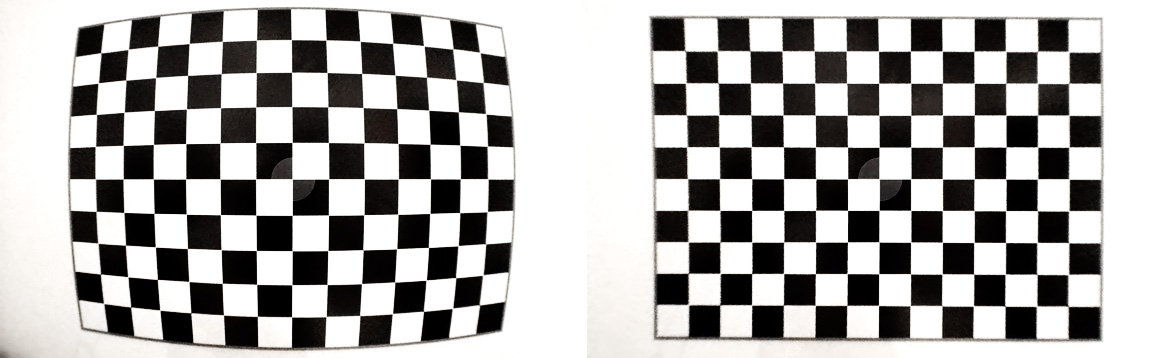
Before and after distortion correction

Before and after distortion correction

ALPA’s ACAM Super Wide Converter exhibits about 11% barrel distortion (on the left). Which is completely eliminated in the Mark II (on the right). Yes, resolution suffers, but it is pretty much enough for viewfinder use. There’s also some darkening on the lower left corner (the converter vignettes heavily and asymmetrically on the iPhone 5s – which isn’t a big issue after the correction).

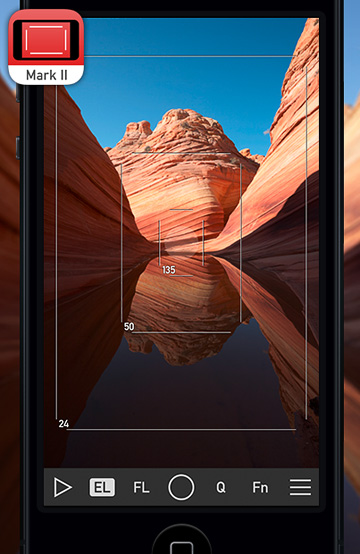
With the corrected view we can simulate super-wide lenses, which is a blessing for landscape and architecture photography. But I also regularly use the ALPA’s iPhone Holder together with the ACAM SWC as a viewfinder for my Canon TS-E 24 pano stitches. Here’s a screenshot I took on my old iPhone 4 while composing The Circle.

IMG_1631

Composing a stitched pano

Note that the iPhone 4 isn’t fast enough to do the correction at full Retina resolution – all other supported iPhones (4S/5/5S) are.

At launch we’ll support ALPA’s ACAM SWC, but the lab and the measurement technology is ready, and we’ll add adapter/device combinations as we measure them. On the device front, iPhone 4/4S/5/5S are supported.

So if you regularly shoot wide, or want to get a tool that allows you to visualize tilt/shift stitches, then head to the Mark II’s site and sign up for a beta. Seating is limited, so hurry! Then it’s time to order an ACAM SWC from ALPA.
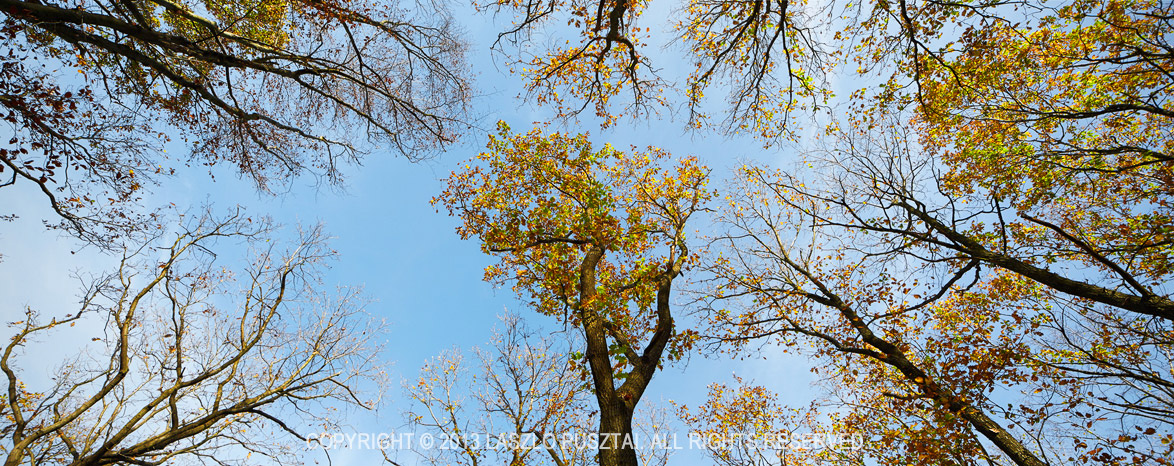
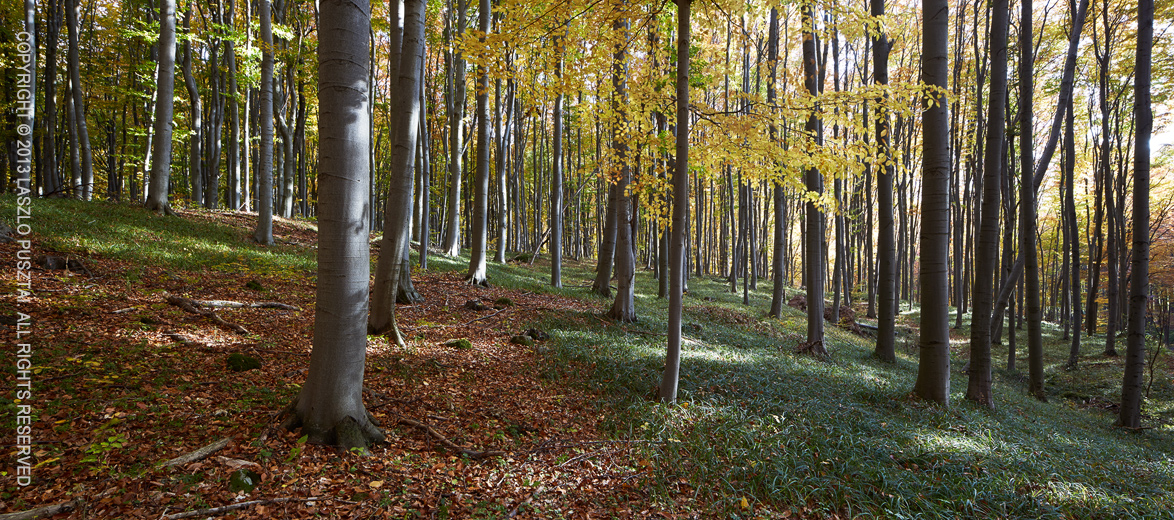
The Circle

I love the 5:2 aspect ratio. And I dislike the majority of the “trees from below” kind of images. But this afternoon I was unable to resist the temptation to turn my pano shooting rig upwards – the scene was simply too graphic to ignore.

The Circle

The Circle

And like all of my 5:2 images, this one really shines on a 40 cm x 1m print.

Composing Stitched Images Made Easy

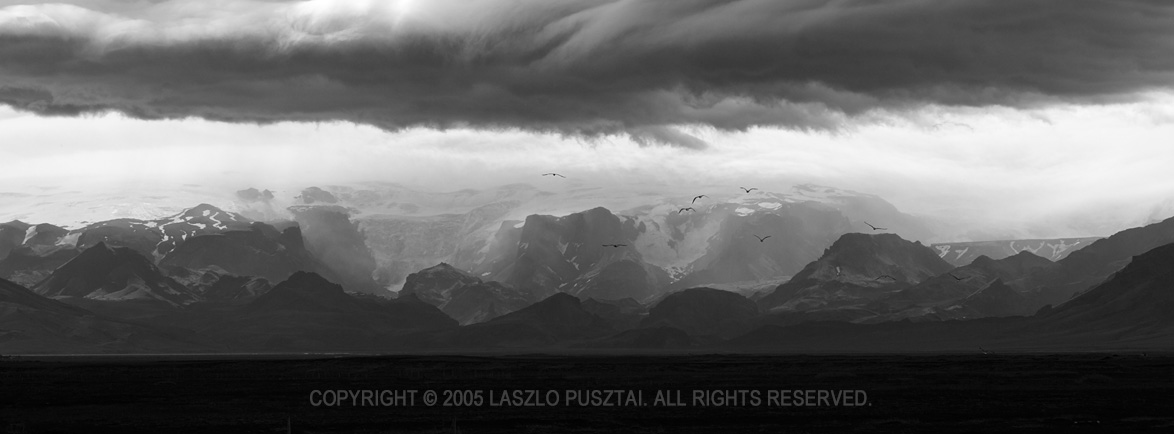
As you probably noticed from my posts, I’m a huge fan of Canon’s TS-E 24mm f/3.5L II lens. One of the reasons is that I can make pixel-perfectly stitch-able 2.4:1 wide panoramic shots – like the one below – with it. The only difficulty in making those images was composition: it isn’t easy to visualize a shot when you only see half of it.

This image is a stitch of two frames: one taken with the lens shifted all the way to the left, while the other with the lens shifted to the right. Extreme edges cropped.

This image is a stitch of two frames: one taken with the lens shifted all the way to the left,
while the other with the lens shifted to the right. Extreme edges cropped.

But that difficulty is past now.

A couple of weeks ago I received a package from ALPA, containing their brand new ACAM Super Wide Converter. They sent it for certification with our upcoming Mark II Artist’s Viewfinder app, and also for my personal use. It was like Christmas for me. Quick first tests showed that the adapter has a conversion factor around 0.5x, which number was later confirmed with formal measurement in our lab. In other words, you can simulate a 17mm lens attached to a full frame 35mm using that. Or you can view almost the whole wide frame that will result from the TS-E stitch!

This is no small feat: you can walk around carrying a finder and checking lots of stitched composition without actually setting up the camera. And the actual capture needs less than half of the time it used to require.

The whole setup

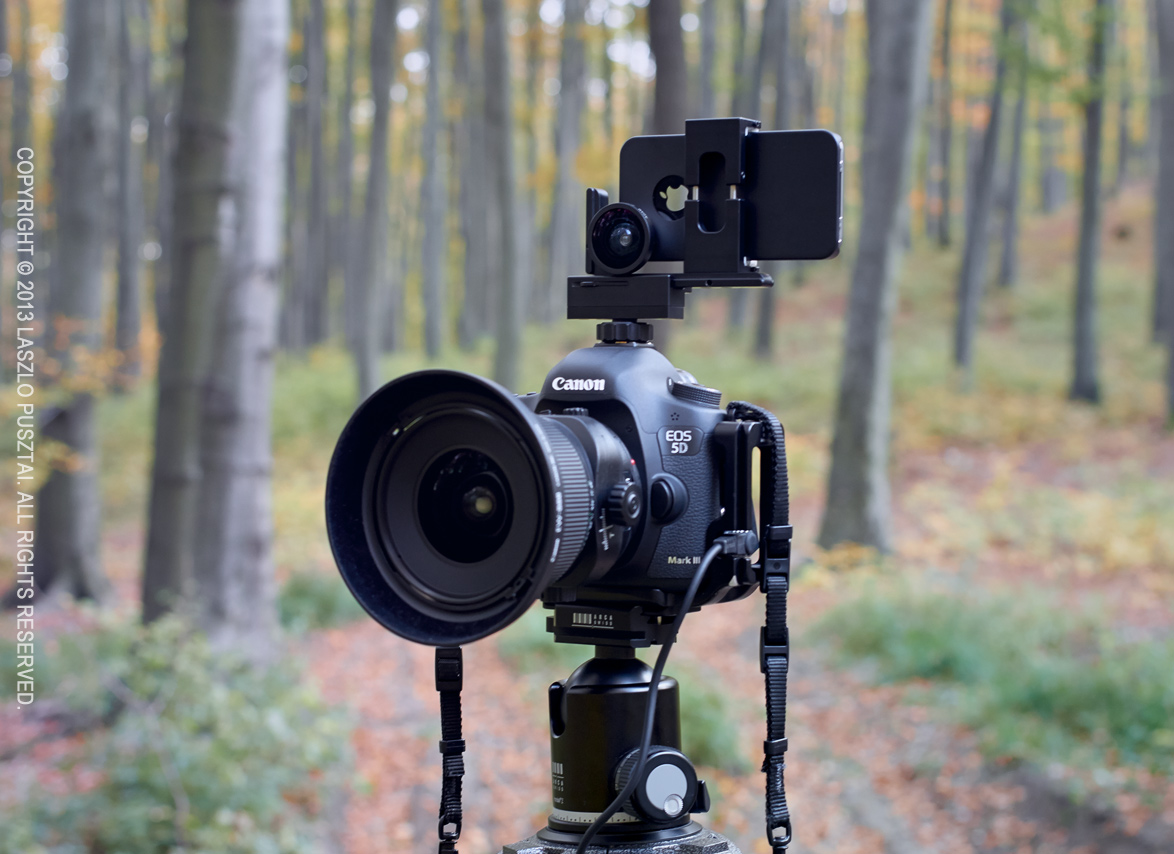
The following image shows the setup I use for taking the images for pano stitches.

My stitched pano setup

My stitched pano setup

The camera and lens is nothing special, however the thing on top is. Attached to my iPhone is the ACAM wide adapter. The phone is held in position (note that the lenses are centered to avoid horizontal parallax) by an ALPA iPhone Holder. This is the Mark I, they now sell the Mark II complete with the wide angle adapter. As the holder was designed to be used on ALPA cameras, thus I also use an ALPA hot shoe mount adapter.

How much? – you might ask. You should log in to ALPA’s site to see their current prices, but as a guide: this whole viewfinder setup will set you back around $1150 (including the holder, hot shoe adapter, ACAM wide adapter and our Viewfinder iPhone app). If you think that’s a lot for a viewfinder, I recommend you to check out prices on a Linhof 45 Multifocus Viewfinder, for example (hint: it is around $2000 for way less functionality).

The ACAM wide adapter itself selling for less than $60 is extremely affordable considering what you get in exchange. I recommend every serious landscape and architecture photographer to check out this solution. Paired with our upcoming Mark II Artist’s Viewfinder it offers unprecedented value and functionality.

Update 11/20/2013

Today we announced the beta of Mark II Artist’s Viewfinder that sports real-time distortion correction for the ACAM SWC, making the above rig much more valuable. Read my post about it.

A View from Edelweissspitze

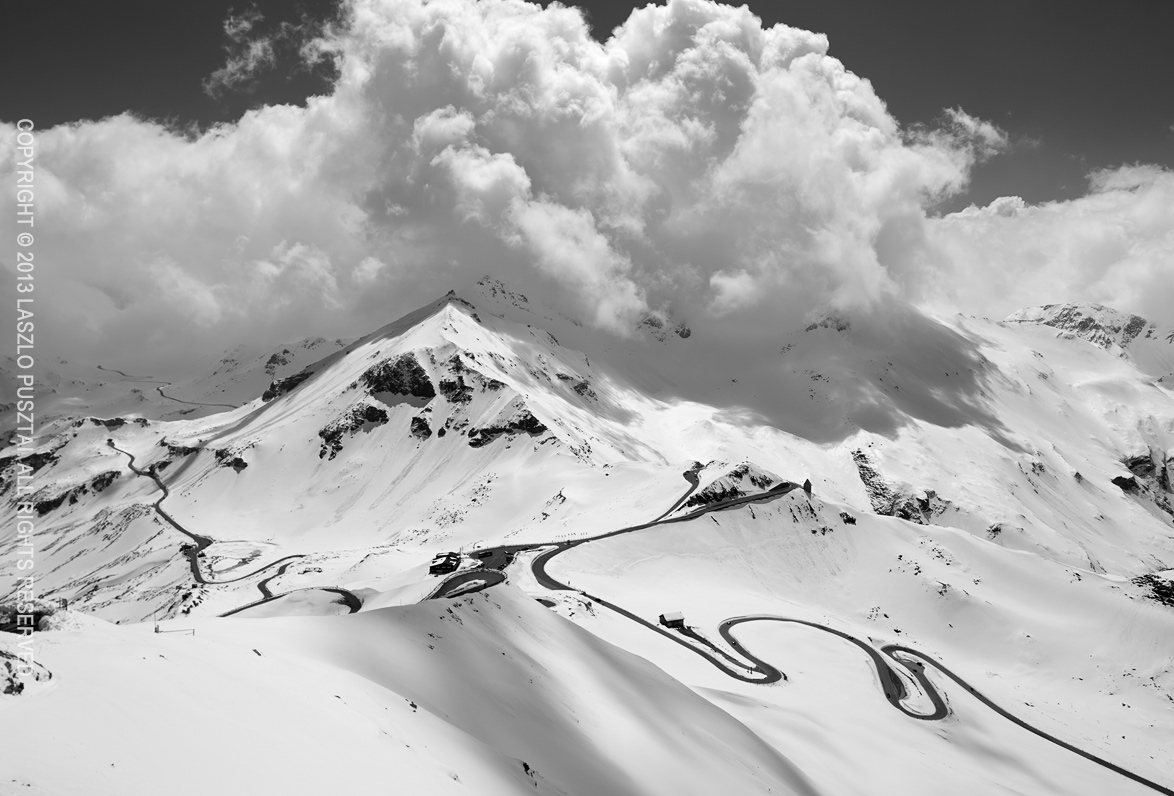
During our former Austrian vacation we spent a day driving the Grossglockner High Alpine Road. The image below was made after lunch from Edelweissspitze, a 2571m high peak. Meandering below is the high alpine road.

A View from Edelweissspitze

A View from Edelweissspitze

How to Make Focusing a Tilt/Shift Lens Easier

The tilt movement is used in technical cameras as well as DSLR tilt/shift lenses to precisely adjust where the plane of focus is on the image. Focusing with tilt is a tedious process (described here and here), but the results always worth the time!

There was a big pain point in using DSLR T/S lenses: checking what you have done. The viewfinder isn’t enough for that with today’s high resolution bodies, so you have to zoom in and check different points on the image using magnified live view. The adjust either tilt or focus. Then check the points. Then refocus… I had some images where I spent more than half an hour on fine tuning focus!

I said “was” – as it was the case before Kuuvik Capture’s Split View feature came along. I’m using this since I was halfway into developing the first prototype, and man, it can save lots of time! No, it won’t think instead of you, but the ability to quickly and visually asses what you have accomplished is priceless. It is also a great tool for learning how to focus a tilt/shift lens.

So watch the video below, and if you are using a Canon EOS-1D X, 5D Mark III or 6D with any of Canon’s great tilt/shift lenses, then grab Kuuvik Capture’s beta now! It’s that good (OK, don’t believe me, try it for yourself ;)).

Click here to watch it on our YouTube channel.

Practical Limits of Enlargeability

I have been asked numerous times about how big a print can be made from a digital image. Up until recently, the answer was quite easy: one would need a 200 PPI or higher resolution image for matte papers and 210 PPI or higher for semigloss surfaces. Canvas is a much more forgiving medium, one could go much lower with careful processing. My biggest enlargement, from a 4.5 megapixel original, was printed on Hahnemühle FineArt Canvas in 36 x 100 cm size. This was shot with an 1D Mark II, so this is a 35x enlargement. The print was made at 90 PPI. Yes, this was a result of several hours of careful editing and a matching media choice.

This is a crop from a 8MP image. The biggest print that still looks great is 38×100 cm. But this is an exception in enlargeability, not the norm. Subject matter really helps here.

Of course high resolution is a must for hyper-realistic prints. Posters can be made at much lower resolutions. But I’m not interested in making posters at all. I even wrote an app (PrintCalc), that can calculate all this resolution requirement stuff for you.

To put it another way, digital prints were limited by the sensor’s resolution.

In these days, however, we face another limits. Diffraction, depth of field and lens quality. Let’s take a Canon 5D Mark III for example. The full frame sensor at 22MP starts to get diffraction limited below f/10. The 7D at 18MP is visibly diffraction limited at f/8. The problem is worsened if you want big prints. One often overlooked attribute of depth of field is that it gets shallower as you make bigger enlargements. But you can’t stop down to increase depth of field at your will, because diffraction kicks in. This might, or might not be a problem depending on subject matter.

For landscapes, diffraction puts an upper limit to practical enlargement ratio. You can only go larger if you use a bigger sensor. For other subjects, where you can shoot at wide apertures, this isn’t that big of a problem, so you are limited by the number of pixels. Speaking of the number of pixels: DxO’s new “perceptual megapixels” ranking is a good indicator what kind of resolution a lens can give you. You can increase sensor resolution, but the lens will still be a limiting factor. Think about this perceptual megapixel number as the one you can use as the basis of maximum print size calculations. Look at the best lest they tested to date: Canon’s EF 300mm f/2.8L IS II USM. It can fully utilize a 21MP sensor, but you’ll end up around 14MP on a 18MP APS-C sensor (the 7D).

So it’s easy to see that blindly increasing sensor resolution in any given format above lens capabilities and so much that is severely affects usable apertures is not the smartest thing.

What is that practical limit? I found that about 20 times enlargements (in linear dimensions) make great hyper-realistic prints, keeping ill-effects at a minimum. This translates to about 50 x 75 cm (20 x 30″) for full frame and 30 x 45 cm (12 x 18″) for APS-C. Regardless of megapixels. Of course you’ll need to hit the 200-210 PPI minimum, which is about 11-12 MP for APS-C and 23-24 MP for full frame. But increasing the sensor’s resolution beyond these points will only allow to reap the benefits of oversampling, and not really allow bigger prints at the same quality (not to mention increased storage requirements).

Want bigger? There’s only one way with today’s technology: increasing sensor surface. Basically we have to paths in pursuing bigger recording area:

  • Go medium format. Digital 645 will give you images that can be printed at 80 x 110 cm (30 x 40″) – from an 50 MP or larger file. This costs a lot.
  • Stitch several images together. I routinely use my TS-E 24mm lens to get images equivalent in size to a medium format sensor (36 x 48 mm). This is more work, but at the fraction of the cost of medium format.

20x enlargements are far better than you could achieve (in high quality) from film. This is actually at least one format size better (full frame 35mm beating 645). But remember that every technology has practical usage limits, and make them work for you – don’t blindly believe manufacturers’ marketing stuff.