The Volcano Dreams

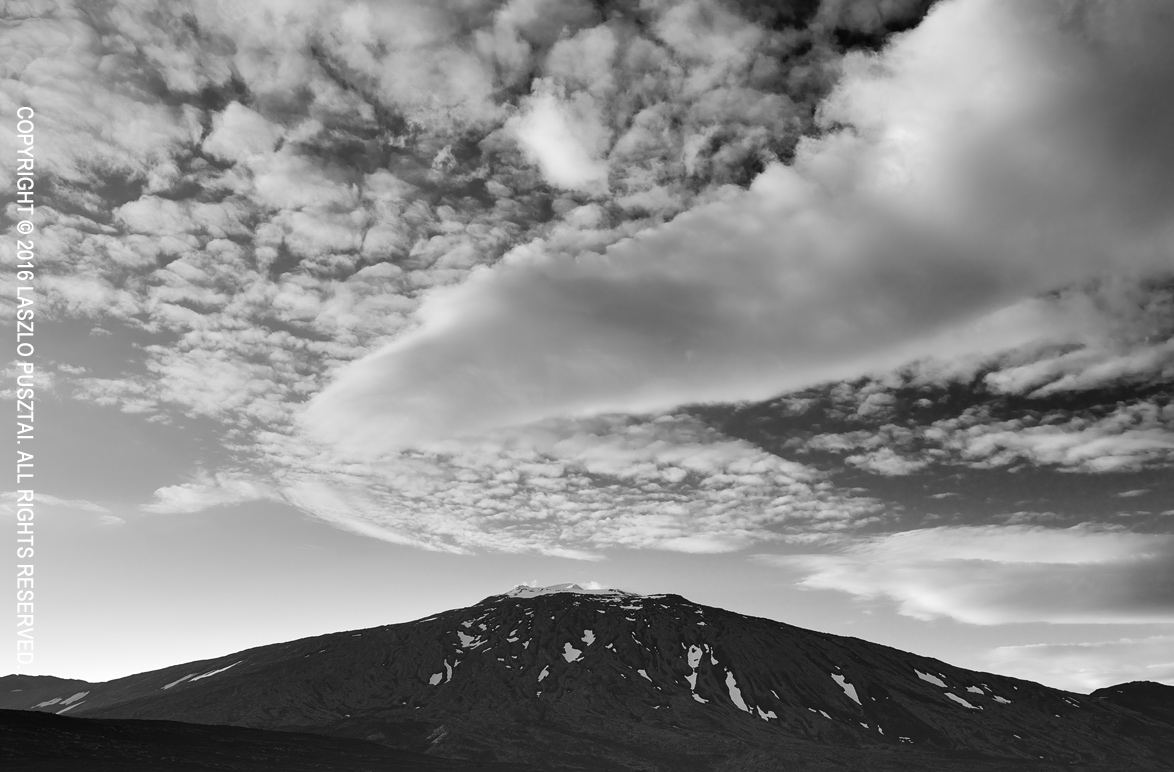
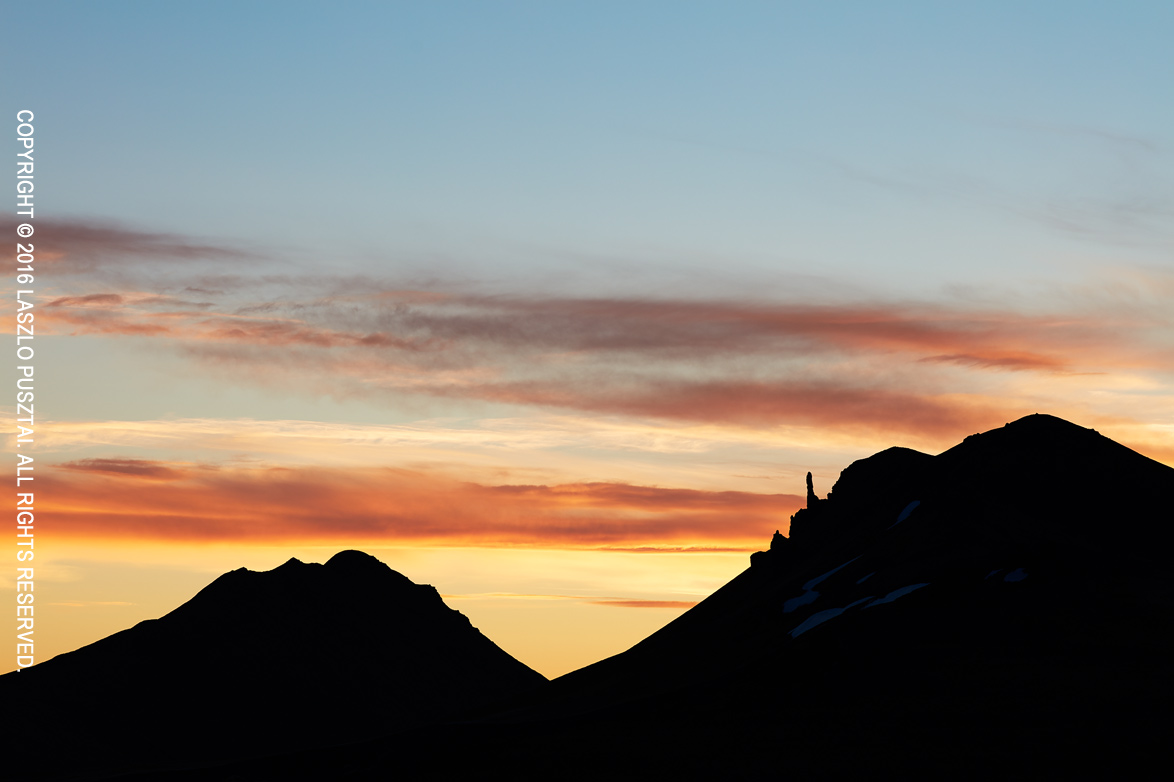
Snæfellsjökull is dormant for the last 2000 years or so. But on warm summer evenings it dreams. And sometimes the waggish sky revels these dreams.
The Volcano Dreams

The Volcano Dreams

Canon 5DS R with the Otus 1.4/28. I was looking for the perfect place the photograph the mountain, which seems to have less snow that I used to see in the past. Finally I gave up, but when we stopped for a totally different reason this scene started to unfold before my eyes.
A New Day Begins in Fjallabak

Driving the Ladmannalaugavegur and the Fjallabaksleið north in the morning can be quite a challenge. The Sun shines right into your face in several sections, and it’s hard to separate the black road from its black surroundings.

This challenge is not without reward, though. You encounter otherworldly formations and scenes, ones that makes this place really special. Just like the spire on the image below.

A New Day Begins

A New Day Begins

Taken with the 5DS R and Zeiss Apo Sonnar T* 2/135.

Bláhnúkur Sunset

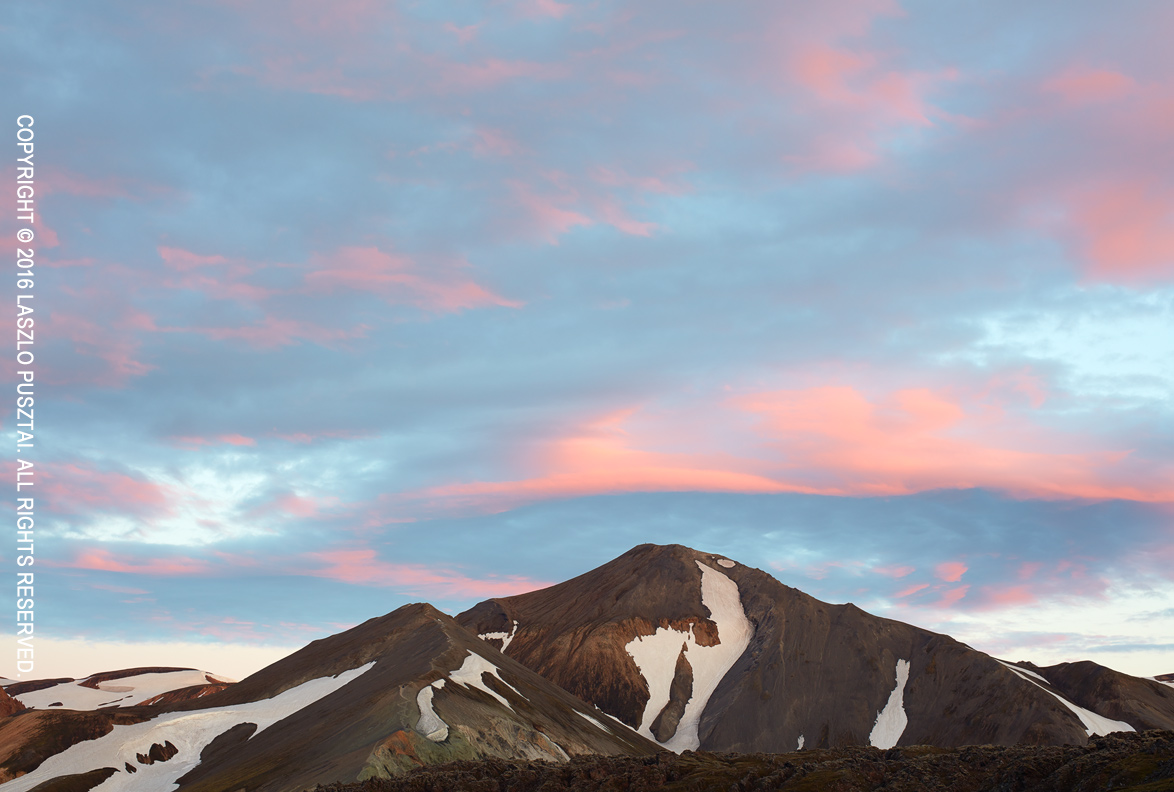
Unlike several things in Iceland, Landmannalaugar changed very little over the last decade. Well, the road seemed a bit worse (more washboards), despite my car having better suspension and tires than a vanilla 4×4, and thus more suitable for this type of roads.

I’ve been there a couple of times before, mostly in heavy rain and overcast days. But the last evening was spectacular. This is undoubtedly an advantage of living close to a subject and being able to go there anytime the weather is good.

Bláhnúkur Sunset

Bláhnúkur Sunset

The detail my 5DS R and Otus 1.4/55 delivers still amazes me. But the real icing on the cake is how the Zeiss renders the image.

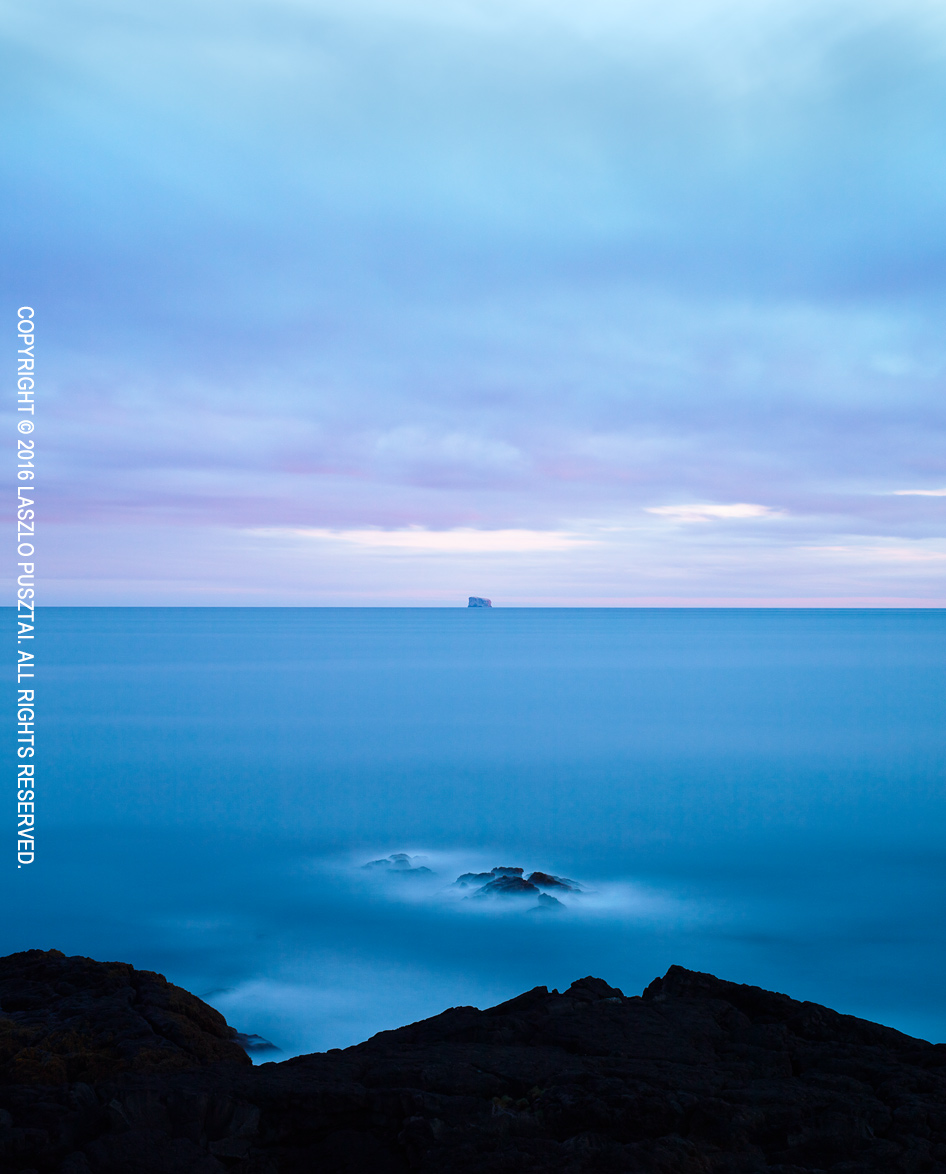
Eldey Blue Hour

While waiting for the car’s coolant leak fix, we’re limited to exploring areas closer to Reykjavík. But there are a couple of interesting places in the Reykjanes peninsula, so there’s no time wasted. One of my favorites is the area surrounding the Reykjanesviti lighthouse.

It was 10 years ago that I photographed Eldey island (the 70m bare rock that’s the home of the largest gannet colony in the North Atlantic). At that time I experimented with infrared, so I tried long exposures now.

Eldey Blue Hour

Eldey Blue Hour

Taken with the 5DS R and Zeiss Otus 1.4/55 plus the LEE Big Stopper and another 3-stop ND stacked. The exposure time was 10 minutes. To my surprise, these exposures ended up quite noisy until I turned on long-exposure noise reduction (dark frame subtraction) in the camera. The auto setting doesn’t seem to work.

This dual ND setup needs a bit of edge sealing. As usual, gaffer tape to the rescue… My favorite tape now is the microGAFFER, which occupies only minimal space.

Dual ND edge sealing

Dual ND edge sealing

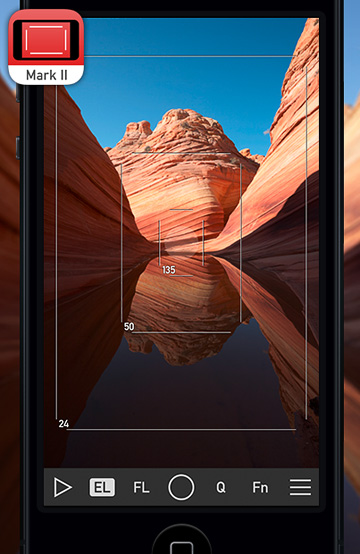
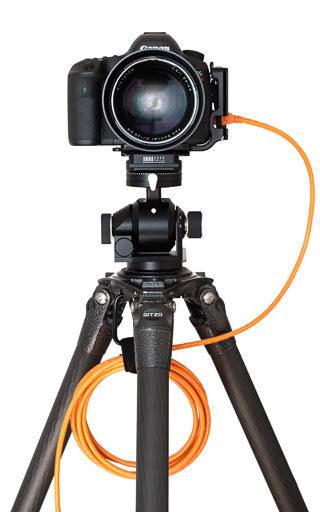
You may wonder why I used the good old cable release instead of Kuuvik Capture. Well, it’s pretty hard to do that with the USB cable left on your desk at home…

Zeiss Distagon 2.8/15 After the Surgery

I bought the 2.8/15 last December with the specific intention to use it with my LEE filter system. The stock lens doesn’t allow this, because of the integrated, non-removable hood. The plan was to get the lens, play a little with it, and send it back to Zeiss for a hood removal surgery if it turns out to be a keeper.

As I wrote in my first impressions piece, it was a love at first use. So the lens went back to Zeiss in January. They offer the hood removal modification for 250 Euros (+VAT).

Snowless Winter

Snowless Winter

A couple of weeks later I got the modified lens, but I noticed during the very first test that left side performance has dropped considerably. I know, the 5DS R is a merciless beast, but I also knew that the lens could perform better. So immediately contacted Zeiss about the issue.

What followed is a story of exemplary customer service. I’ve sent a few test images, and after a bit of discussion they recommended a focal flange distance adjustment to let the lens focus a little beyond the otherwise hard infinity stop.

A short technical explanation why this was a good idea: all my Zeisses have pronounced field curvature – ie. when I set the focus for the image center, sides may become soft, and when focusing for the best corner performance, the center goes out of focus. This is business as usual with the 5DS R and high performance lenses.

The 15mm Distagon’s image field is arching away from the camera on the sides, meaning that I would need to focus beyond infinity to bring the corners into focus. But the hard infinity stop did not allow this. This is something you won’t see on twenty-something megapixel cameras, but the 5DS R is more than demanding.

The lens went back to Zeiss again, and after some more discussion we agreed to stick with the original plan: adjust the focal flange distance. During which I received way more information than a usual service would ever send. Focus variation test results from their lab and such. The goal was to extract every last bit of performance possible while obeying the laws on physics and the realities of manufacturing tolerances.

With the fine-tuned lens in my hand, I was curious to find out the results.

Distagon 15mm with no hood

Distagon 15mm with no hood

Honestly, I’m impressed. Left side performance is better than ever. Although there’s still a bit of difference in optimal focus distances between the left and right, that’s nothing I can’t mitigate with proper depth of field selection and focus bracketing. What surprised me is that peak center performance is also higher now.

The moral of the story: when you approach a service with such a claim, they usually tell you that the lens performs “within specifications” (which is a polite way of saying that they don’t care). Been there, done that. But not Zeiss. They were keen to provide me the best possible instrument for my ultra wide angle photography – and they succeeded.

Oh, and regarding the surgery – the hoodless lens have some 6mm smaller diameter than the original. It’s a better fit in my bag now. A screw-in metal front lens cap was also included in the modification package, but I’m using a 95mm Otus lens cap instead. It’s much easier to handle, and the risk of scratching the front element is way less with a plastic lens cap.

  ☕ ☕ ☕

Did you enjoy this post? Consider buying me a coffee if so.

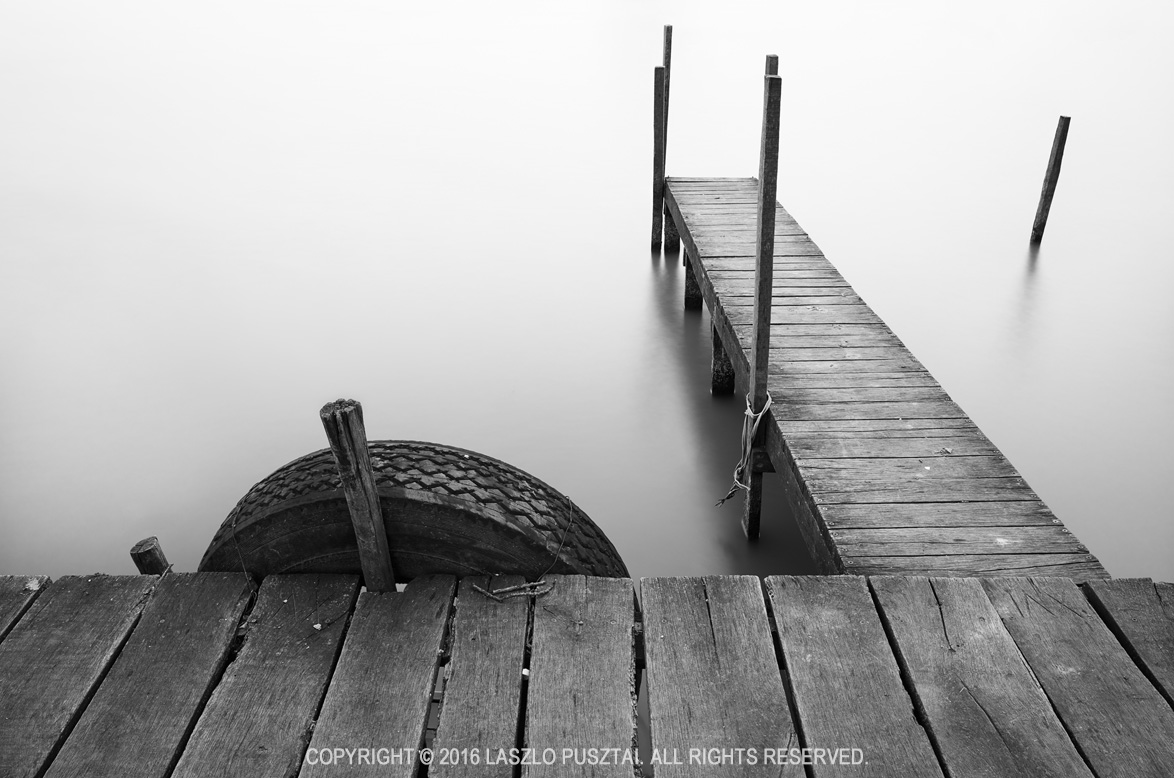
Focus Stacking with the Otus 1.4/28

Last weekend I had a little time to play with the Otus 1.4/28. I was at Lake Tisza, but the light was suboptimal to put it mildly. So I decided to make a test shot to check how focus stacking will work with the Otus 28.

Why would you need focus stacking in the first place with such a wide angle? Well, if you have a brutal 50 megapixel sensor, with a lens that’s sharper in the corners than most lenses in the center, you don’t want to throw that resolution away by stopping down below the diffraction limit.

For this test I ended up using f/6.3 and taking 6 slices.

Early Spring Pier, Lake Tisza

Early Spring Pier, Lake Tisza

It was a quite a bit windy, and I wanted to smooth out the waves using the 10-stop LEE Big Stopper. I had to realize that I ran out of gaffer tape (unfortunately the Big Stopper on the Otus 28 leaves quite a gap at the sides), so I used my heavy cotton dark cloth to keep unwanted light from hitting the front element.

The dark cloth covered the entire camera, but it was quite easy to focus on the 11″ screen of my MacBook Air using Kuuvik Capture. The images were focus stacked in Photoshop CC.

And the result? Perfect front-to-back, corner-to-corner sharpness. It’s simply amazing.