One of the things I had learned during the last decade is that image making is a pursuit that involves a healthy amount of plastic bags and gaffer tape to solve various problems.
Let’s take the following image for example.

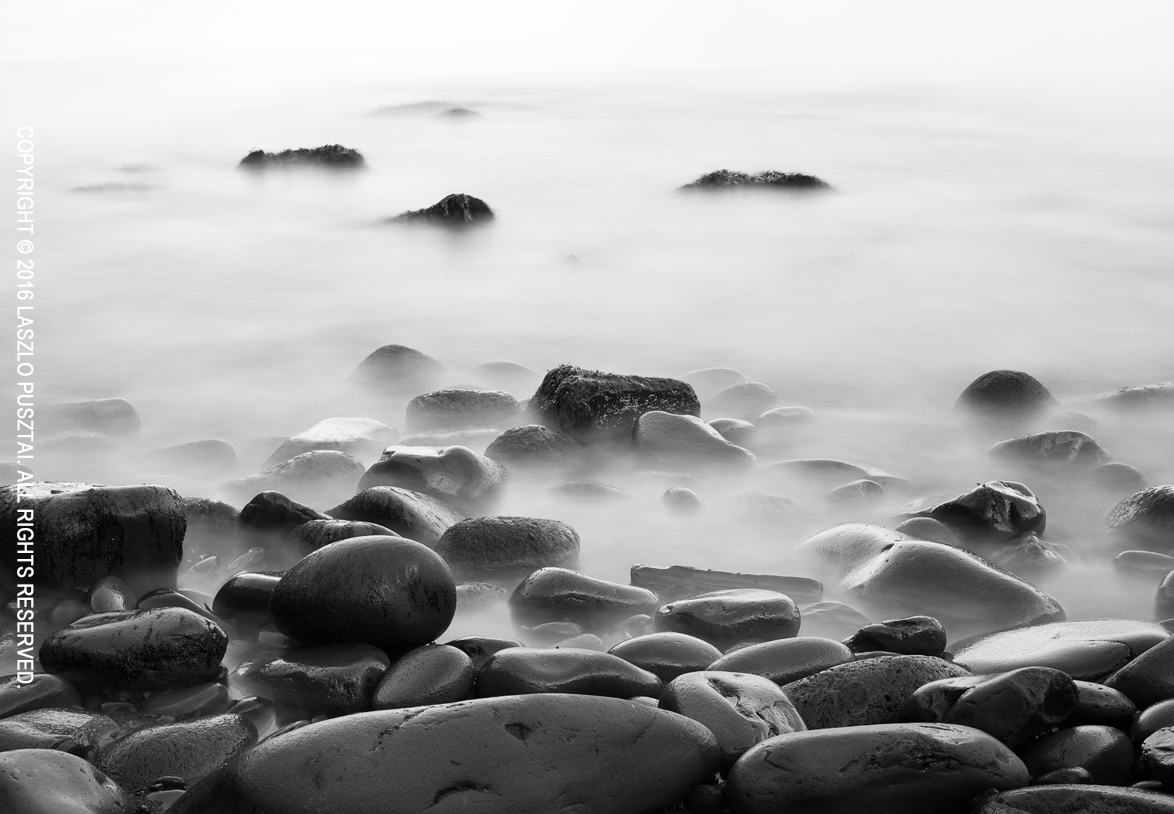
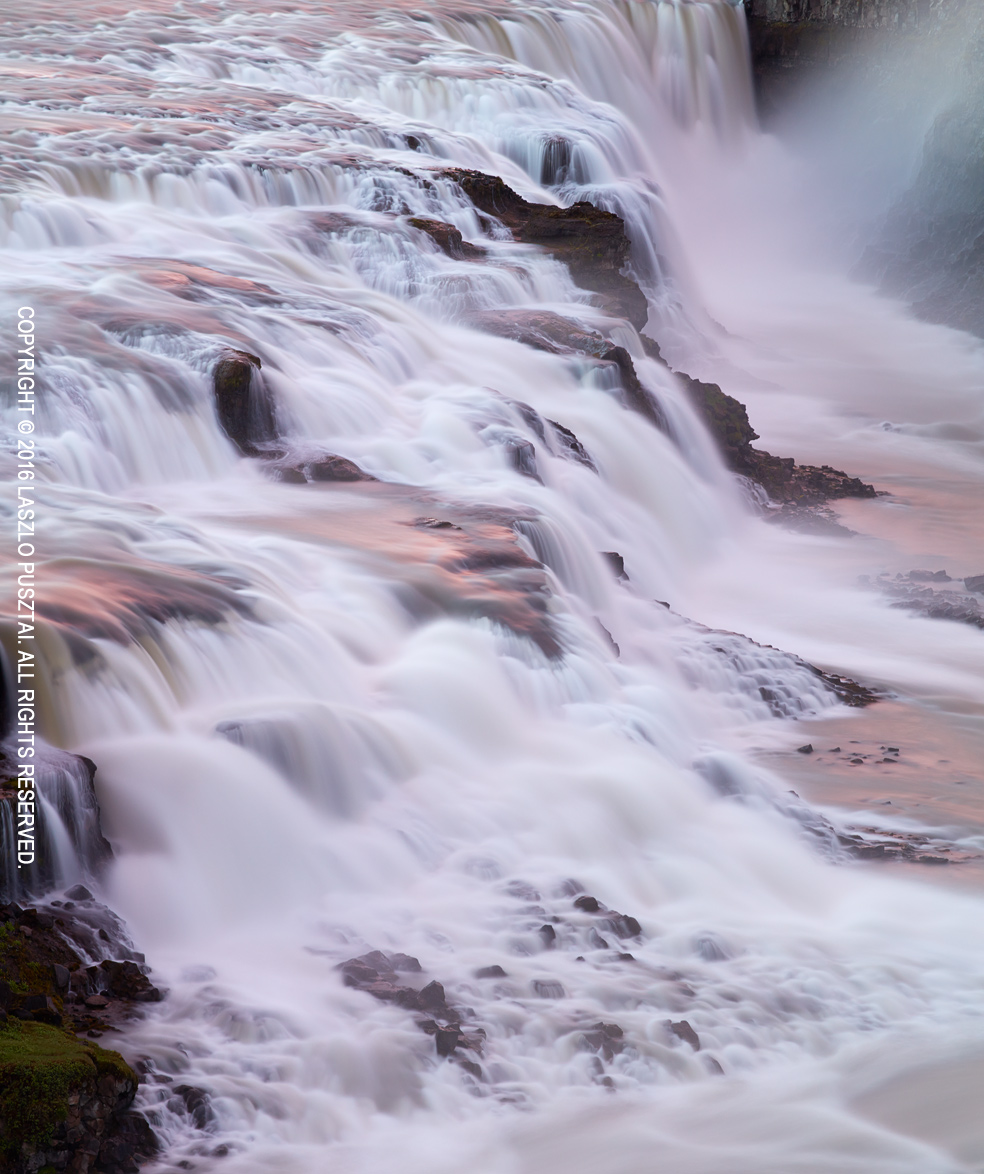
Smooth and Rough
There was a light rain when we arrived, not to mention the water droplets from the waterfall that the wind slammed in our face. It was a blessing to walk the scene with the Mark II Artist’s Viewfinder with no need to open the backpack and soak several lenses just to find a composition.
In my favorite composition (of the several I tried in just a few minutes) I wanted to emphasize the clash of dark rough rocks and light smooth water. So I needed a long exposure to smooth out the water flow. Unlike the 5DS R, none of my Zeiss lenses are weather sealed. And water accumulating on the LEE Big Stopper is also problematic. Since I don’t carry an umbrella (which would be the trivial solution), I used the largest water-resistant thing in my bag: the Shadepirate flag in the plastic bag I used to carry it in.
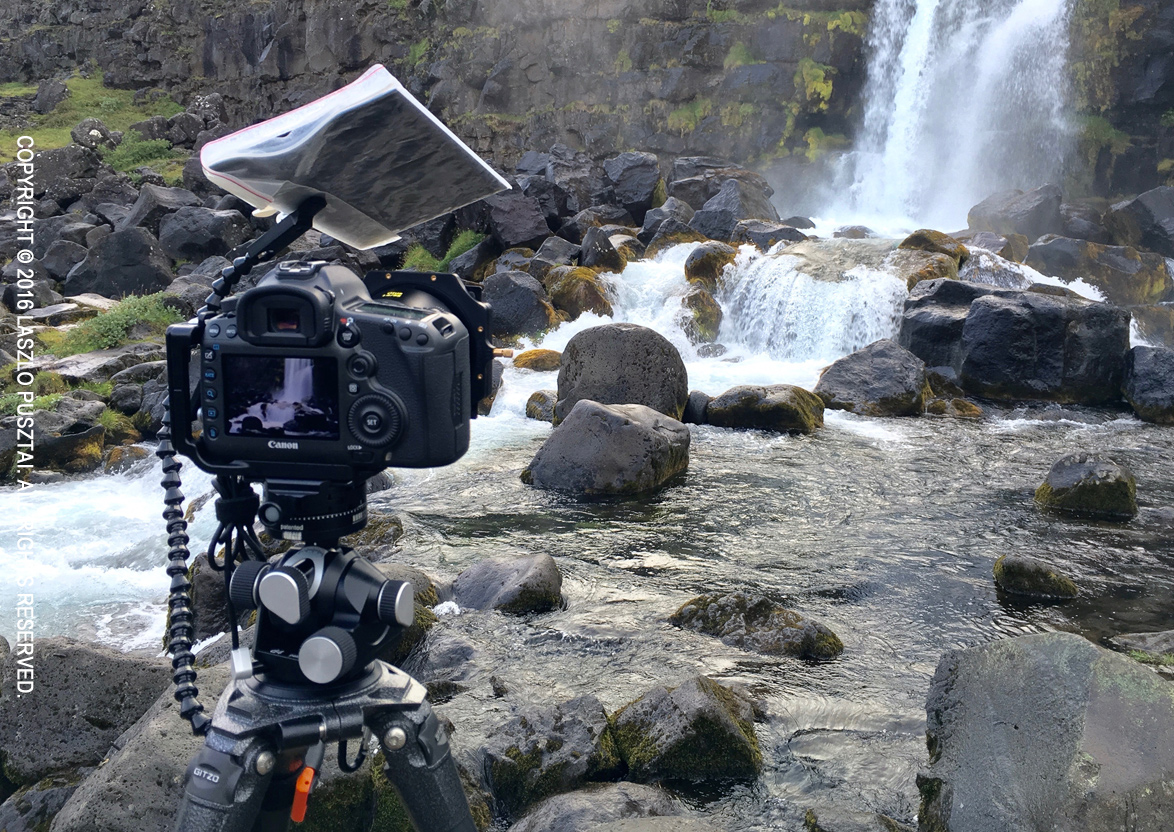
Shadepirate flag functioning as an umbrella
Some extra light also came from the direction of rain/water so the flag actually served double-duty. The setup worked quite well, and had to wipe just a small amount of water from the filter between exposures.