The EOS R Diary : RF 50mm f/1.2L USM

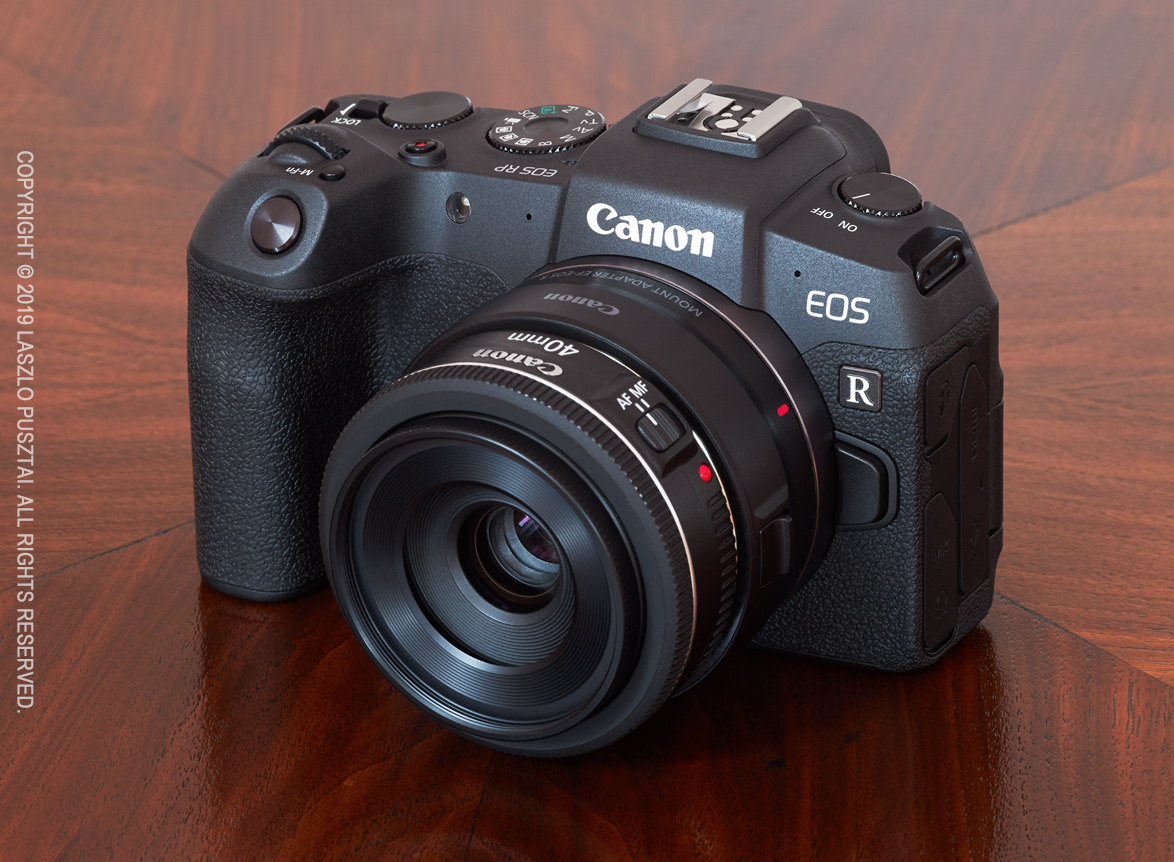
As I did mention in the first installment of this diary, one of my reasons to get an EOS R was the RF 50mm f/1.2L USM lens. You might have read in other reviews that it’s worth to buy an EOS R just to be able to use this lens. Well, this isn’t an exaggeration. On my subjective lens quality scale it scores great.

My subjective lens quality scale have eight levels: awful, weak, mediocre, decent, good, great, excellent, and exceptional. To put you in perspective, I consider the Zeiss Otus 1.4/28 and Rodenstock HR Digaron-S 100mm f/4 to be exceptional. The Zeiss Otus 1.4/55, the Zeiss Apo Sonnar 2/135 and Rodenstock HR Digaron-S 180mm f/5.6 are excellent. The Canon EF 400mm f/4 DO IS II USM and EF 500mm f/4L IS II USM scores great. And the Canon EF 35mm f/2 IS USM gets a good rating. Keep in mind that these are subjective ratings, and sometimes a lens moves from one class to another in my view. But generally everything at great or above have very good image quality and is a joy to use.

Compared to the Otus 1.4/55

The 50/1.2 is roughly as big, as heavy and almost as expensive (2000 vs 2700 EUR net) as the Otus 1.4/55 – one of my all time favorite lenses. Let’s first see why I think that the Otus is a better choice if you don’t need autofocus.

Must be careful with strong backlighting

Two things. Well, actually three. The first is that the 50/1.2 is rather susceptible to flare, while you can basically shoot into the Sun with the Otus with zero flaring. It was quite shocking to realize this after all those years spent with flare resistant Zeiss glass. So you have to be careful when shooting backlit scenes with the 50/1.2. But this explains the oversized lens hood…

The second is very strong vignetting. It is easily correctable in post-processing, though. But keep in mind that vignetting is visible even at f/8.

Last, and maybe most importantly, the 50/1.2 breathes like hell. This practically renders the lens unusable for near-to-far focus bracketing. In comparison, the Otus breathes way less, but still exhibits some image size change.

Focus breathing refers to the image size change when focusing distance changes. All lenses breathe by default – unless they are corrected for it. The 50/1.2 doesn’t seem to be corrected much.

Why Does One Want the 50/1.2?

Simply put, this is the finest 50mm autofocus lens I have ever used. Focus acquisition is quick, despite the motor has to move 340g of glass and metal around. But this snappiness is not a surprise since the the focusing motor is borrowed from the new 400 and 600mm super telephoto lenses. The only issue is that Dual Pixel AF systems are totally blind to horizontal detail, and you’ll have problems focusing on the edge between the ocean and the sky, for example.

Of course one wants an f/1.2 lens for bokeh. And the 50/1.2 will not disappoint here. Although depth of field is razor thin, and you’ll end up stopping down a bit. But in any case, out of focus areas are rendered in a creamy smooth way, with nice transition between sharp and unsharp. This reminds me how German glass renders, and not typical for Canon. Out of focus areas are also free from contamination (colored haze, chromatic aberration, etc).

Nice creamy bokeh

The image above was shot for my favorite confectionery, and shows not just the beautiful bokeh, but the high degree of freedom from aberrations (look at how the metal bowls are rendered, despite being shot through the side glass of the fridge and under spiky, cold fluorescent light).

This freedom from aberrations is what I want in a lens these days. This ensures a transparent, airy rendering of the scene. Just the way I see it.

Colorwise the 50/1.2 has bit warmer atmosphere than I would prefer (like the 500/4). I do prefer the colder images Zeiss glass produces. I sincerely hope that Canon will finally introduce some consistency into how its lenses render. The Zeisses I use are consistent, but Canons are all over the place. The 50/1.2 would be a good reference rendering style for future Canon lenses.

With that said, I do like the images from this lens. They look natural and are full of detail. And yes, we arrived to one of the prominent features of the 50/1.2 – its high resolving power. While the EOS R isn’t a very high resolution camera, the 50/1.2 is in the same league as the Otus 55 and HR Digaron-W 70 on this body. Image field also seems to be rather flat (unlike the Otus, and most Zeiss lenses, where you should be very careful with focus placement).

The following image is just a handheld shot, with no tripod and focusing at the center. It had to be corrected for vignetting, though. It was shot at f/8, as the EOS R is a medium resolution camera and you don’t have to worry about diffraction. Which makes the EOS R and 50/1.2 combination a very easy to shoot one.

Natural color and plenty of detail

Construction and Handling

It is a large lens. Thicker than the Otus 55 because of the focus motor. Thicker than it would be convenient even for my large hands. But you’ll get used to it. I did. And the lens hood is humongous… At least it’s a constant diameter design, so no extra space is needed for the hood in your bag.

Fortunately inner focusing is employed here, as I have severe aversion to protruding lens designs. But the front of the lens is not weather sealed, meaning that a 77mm protector is advised to be used is inclement weather conditions.

Speaking of inclement weather. My very first shot with the Otus happened on a cold November morning. My hand literally froze to the lens (and I was wearing a light glove). So the use of plastic as the exterior is very welcome on the 50/1.2.

As I did mention in my EOS R customization post, focus ring rotation behavior on my EOS R (ill-named as sensitivity in the menu) is linked to rotation degree, resulting in 360 degree focus ring rotation, which is quite nice for manual focusing. I still think that rotation speed sensitive behavior is useless.

It’s Almost Always in My Bag

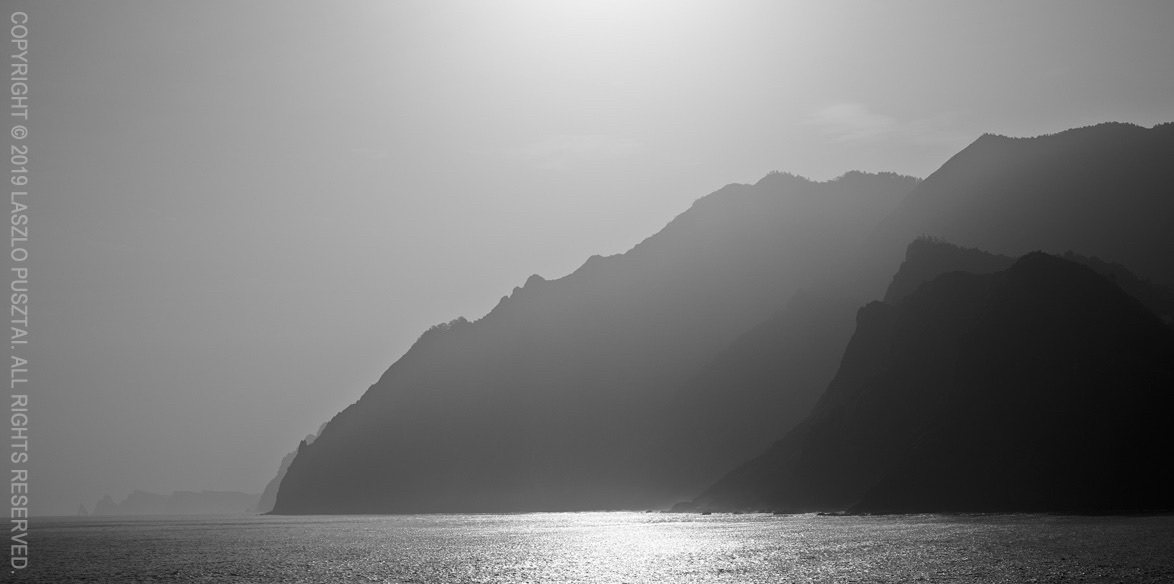
When I shoot from a car or boat, and have capacity to carry a secondary bag, then the 50/1.2 and the EOS R comes with me. It was rather surprising, since the 5DS R and Otus combo is a much better one. Well, except that the R system is way easier to shoot, and reach for it when I have no inclination to set up a “proper” camera.

All in all, if you can live with its shortcomings, the Canon RF 50mm f/1.2L USM could be a very nice and high performance addition to a serious photographer’s toolkit.

  ☕ ☕ ☕

Did you enjoy this post? Consider buying me a coffee if so.

Canon EOS RP : My New Toy Camera

Previously held by the Canon EOS 100D (aka Rebel SL1), the toy camera is a special position in my photographic arsenal. The toy camera has to be small, light, relatively inexpensive, but simultaneously required to be a full featured camera, with at least decent image quality, suitable for a minimum of 30x45cm print size. And it must be a camera that’s a joy to shoot with.

The toy camera slots below my travel camera. I reach for it when even a lightweight travel system is too much. It’s always used in a no tripod, single lens configuration (I’ll refer to that single lens as the toy lens). It comes with me on short trips and sometimes on daily walks. When I anticipate good opportunities and want something significantly better than a smartphone camera.

For a very long time there weren’t any serious contenders for this position. But the RP took over quickly and effortlessly.

The EOS RP with the smallest and lightest “RF” lens: the EF 40mm f/2.8 STM on the EF-RF adapter

Originally I had been quite reluctant to get one, and honestly, I would completely ignore this camera if we hadn’t needed one for software development purposes. Then, as usual, I brought it with me on a few shoots, and the unexpected happened. I realized that:

The RP is an interface design masterpiece

Saint-Exupéry phrased what I consider one of the most important ideas every designer should internalize:

“Perfection is achieved, not when there is nothing more to add, but when there is nothing left to take away.”

Being a perfectionist, I strive to live along this line. This is not just reflected in our apps, but we also constantly in the process of slimming down our daily lives, cutting the unnecessary. The unnecessary, which only bogs you down in the long run.

Being a perfectionist requires effort and courage. It’s much easier to litter a camera with tons of stuff (customizable buttons for example) fearing what some half-educated reviewer or user might say. The designer has to analyze what’s really needed, and be brave to leave the unnecessary out. All the while keeping an eye on important things, because taking too much away could seriously impair usability.

I leave it to the reader as an exercise to analyze contemporary camera designs and decide which ones are littered with an overly huge number of (mostly customizable) controls and which ones are practically useless because the designer went too far with removing stuff. Canon does it mostly right (that’s one of the reasons I still shoot Canon), with occasional bad moves (like the direct print button, Wi-Fi button and the M-Fn bar) that tend to die out quickly.

The RP is one quick control dial closer to perfection for its use case (light travel/all around camera) than the 100D was, and also one M-Fn bar closer than the R.

Higher end Canons have two control dials (the main dials and the quick control dial). Lower end (Rebel) Canons have one dial (the main dial) and a button to switch the dial between two modes. They also either have a joystick or a 4/8-way controller, but never both. Since the joystick and the n-way controller have pretty much equivalent functionality, I agree with this approach. Adding a joystick along an n-way controller just increases ambiguity, and I consider it a bad choice. Yet so many people whine about the absence of a joystick on the EOS R…

The RP inherited the extensive (but not over the top) pro level customization capabilities of the EOS R, so it was pretty easy to configure everything the way I like. No button or dial left unused, and no function I need left unassigned. It’s pretty much perfect. The only difference from the R’s configuration is the AF point selection button. On the R it cycles focusing modes, but on the RP this function isn’t assignable to the button. So I left it on default, meaning that the AF point selection button is the entry point for both focusing mode selection and live view zooming. A little more button presses, but still not a big deal, as they are both infrequently used functions.

Both the control layout and the body shape contribute to great ergonomics and comfort, outclassing the 6D Mark II easily. I’m not a fan of the combined quick control dial/n-way controller solution on the mid-range Canons, and the RP definitely feels to be in a league above the mid-range offerings.

Build quality

Strong plastic over a metal core (sensor chamber). It’s rigid enough where precision counts, and the plastic shell guarantees that your fingers will not freeze onto the camera on cold November dawns. It’s also not the squeaky plastic that you may be familiar with on the 5D Mark II or M50. This was a really pleasant surprise.

I suspect that this construction is more than enough to dissipate the heat generated by still capture. Video might be different. But as I mentioned numerous times, I don’t shoot video, and if I did, I would get a real, proper video camera. And not blame an otherwise great $1300 full frame still camera that it can’t cook my dinner and can’t record cinema-grade 4k footage for hours in the summer heat.

The shutter button was another surprise. I grown to hate clicky shutter buttons (featured on all entry level Canons). So when I pressed the shutter on the RP for the first time, I started smiling. Both the half and full press positions are detected with a Hall effect sensor (or similar), so there’s no clicky noise, just like on my 1/5/7 series cameras, and on the EOS R.

Not all is rosy though. You notice the first sign of cost cutting with the fold-out LCD. The hinge is rather wobbly, noticeably so even in the fully closed position. And lacking any sealing gaskets, the battery/card door is clicking. This is caused by the tiny play (0.2mm or so) in the door’s lock and the spring that pops the door open. I might get used to it.

What bothers me the most is the image quality on the back LCD. For some reason, the edges of characters and icons are not solid, but have a pixelated/jagged appearance. I did notice this on the M50 for the first time, and now on the RP. It only affects the back LCD, the viewfinder is fine. Moreover, the screen looks gorgeous during firmware updates, so it’s not a hardware issue. Whether its just a marketing tactic to make the camera look and feel cheaper, or have a real technological reason behind it (some sort of power saving and/or heat dissipation technique) is unknown at this point. I’m not an expert in LCD drivers, so if anyone have a clue, please let me know.

Battery life

Well, power saving techniques are a question of life and death when you have a large sensor and a tiny battery. The RP performs a tad better than the M50, with a considerably larger sensor and a fractionally larger battery.

Eco mode is highly recommended, though. I did a few 4-hour sessions, with Eco mode on, and the battery indicator after 200-250 frames still reported full (meaning it was more than 50%) in each session. I did recharge the battery after each session. Nevertheless, I consider a second battery a must.

To be continued…

I had a pessimistic point of view when I started working with the camera. But the RP managed to get more attention and love. The transition happened after opening a few files in Photoshop, and seeing what this tiny little thing is capable of. For less than $1500 (including the EF 40mm f/2.8 pancake).

I know that the sensor is from the 6D Mark II (with slightly modified microlenses), the LCD is shared with several models, and the viewfinder is the same as the M50’s, but still, it’s hard to believe that Canon makes any direct profit on this camera. I sincerely hope it does.

In the right hands the RP is significantly more capable than the price, the spec sheet, a few reviews, and the cat & dog (not to mention New Orleans cemetery) pictures on some online outlets would suggest.

As soon as Capture One starts supporting the RP I will be in a position to comment on image quality of the toy camera + toy lens system, which I’m sure most of you are interested in. I did a few comparisons with Adobe Camera Raw converted files, and they look roughly as one would expect. Day and night better than what the 100D (and even the much newer M50 + EF-M 22/2 combo) produced, but far from what you get with an 5DS R + Zeiss/Rodenstock combination.

Fun tip: downsized to 6.5 megapixels (1/4 size), you get gorgeous, lively images…

I would not buy the RP as a serious main camera. And it’s totally unsuitable for sports/action/birding. There are much better options for those. But as a take everywhere and enjoy playing with camera, whose images can print nicely at 40x60cm, it’s absolutely great. Assuming that you pair it with appropriate lenses. But that’s a topic of another discussion.

The EOS R Diary : Remote Release Options

Seascapes tend to cry for long exposures. When I spend a week-long vacation on a small island, it’s definitely something I do a lot. And for this I need three things: a good tripod, a neutral density filter and some kind of remote release. The tripod (especially one suitable for travel) was a subject of my previous post. For ND filters I use LEE products for a very long time (I may write about them). But let’s concentrate on the remote release for now.

EOS R + EF 35 f/2 IS + LEE ProGlass IRND (15 stop if memory serves)

Exposure time for the above image was 80 seconds in bulb mode. Fortunately the R has a built-in bulb timer (although its user interface leaves me wanting), so you don’t have to time the shot manually (or use a TC-80N3 or equivalent controller). But triggering the exposure (long or short) is way more convenient, and less prone to camera shake, with a remote.

I have a Canon TC-80N3 for as long as I can remember. Unfortunately the R has an E3 socket, and getting an N3 to E3 adapter seems to be harder than flying to the Moon. Since I already got a BR-E1 bluetooth remote for the M50 (haven’t really used that camera before selling it and haven’t used the BR-E1 once with the M50), I thought that I would be able to use it with the R.

Technically yes, you can. But the Canon bluetooth (as well as the infrared) remote control user interface is so ill designed that you don’t really want to use it. The issue is that you are forced to set the 2s self timer/remote drive mode, otherwise the remote will not work. It is a royal pain to change it every time I switch between tripod mounted and handheld shooting (which happens a lot on vacation-type trips). Plus there’s no half-press on the remote’s button, which I use to exit image preview after a shot has been taken. It should work exactly like the normal cable release, and there’s no excuse why it isn’t.

So this led me to the good old Canon RS-60E3. It’s tiny, inexpensive, weighs nothing, needs no battery, doesn’t generate electrosmog, and works exactly as you would expect it to work. What a relief after struggling with the bluetooth remote for a week! As an added bonus, the RS-60E3’s plug does not protrude from my Kirk L bracket. I highly recommend it (and also recommend to stay away from the BR-E1, unless you absolutely need to go wireless for triggering the camera from a longer distance).

Of course you can use a proper tethering app, like Kuuvik Capture. That is what I normally do, but no one wants to lug around an extra notebook on a vacation. Then there is the Canon Camera Connect app, which I don’t use because I don’t agree to Canon’s privacy policy, and because no Canon app lives up to my expectations (that’s why Kuuvik Capture was born).

I’m currently very happy with the RS-60E3. I’m sure it won’t last a decade, but it’s cheap enough so that I don’t care. Will just buy another if this one breaks.

  ☕ ☕ ☕

Did you enjoy this post? Consider buying me a coffee if so.

The EOS R Diary : Kirk L Bracket

I use L brackets for basically every camera I have (the only exception is the 7D Mark II, because I haven’t found a bracket that isn’t unwieldy). The first one that became available for the EOS R was Kirk’s BL-R, so I ordered it immediately. Some 5 weeks later, in early January, the bracket finally arrived.

It is a lightweight and slim bracket, but I had to carry out a few modifications to fix its shortcomings. You can see the completed version on the following image.

Customized Kirk BL-R bracket

First and foremost, had to round some corners that tend to punch a hole in your palm if you handhold the camera with the bracket installed. Once mounted, I almost never remove the bracket, so this is a big issue for me. It’s the same design flaw that plagues Kirk’s 5D3/5DS/5DSR bracket, and the very same fix: file off the offending sharp corners.

Another problem with the vertical arm is the posts designed to support the top of the bracket. Both of these posts supposed to touch the metal of the camera body, and I’m sure they will leave scuff marks. “Fortunately” one of them doesn’t even touch the metal (there’s a half mm gap). So I placed little gaffer tape pods on the end of both posts (more on the one that didn’t reach the camera). Now they do safely what they intended to do. I would expect Kirk to come up with a design where a large post rests on the rubber cover. There would be plenty of space for that, just above the port covers.

And lastly, removed the hex wrench and its holder mechanism from the base plate. I don’t see a point in including a wrench within a plate, but this seems to be the current “innovation”. This shaved off 9g, and the bracket now weighs a mere 82g. Almost half of the weight of my 5DS R bracket…

With these modifications in place, the BL-R performs very well. It adds a welcome weight to the camera, making it balance much better with the large and heavy RF 50/1.2 lens.

Speaking of large and heavy lenses. I expect upcoming high-end RF lenses also to be large and heavy, and would have loved to see a bracket with dual attachment points, just like Kirk’s 5D3/5DS/5DSR bracket. The bracket on my 5DS R is rock solid, with no movement of any kind, which cannot be said for any of the single attachment point brackets I’ve tried. Yes, the problem lies in the camera’s mounting screw, which allows for tiny little, but still noticeable movement. And I still have vivid memories of what happened when the tripod screw got ripped off from my 1D Mark II.

I would only recommend the BL-R bracket if Kirk fixes the aforementioned shortcomings. Or if you are willing to follow my path and fix them for yourself. For $120, the bracket isn’t expensive. But buying it for $120 and spending a few hours on making it usable turns it into an expensive piece of gear.

The EOS R Diary : Customizing Controls

I highly regard the contemporary Canon DSLR user interface design. It provides a great experience out of the box, with just the right amount of customization abilities. The EOS R clearly inherits a lot from this. And it is good. But is also inherits from the PowerShot / EOS M cameras, and from the prevailing over-customization mania, which isn’t.

Late Fall Sunset – EOS R + RF 50/1.2

All three of my current DSLRs (1DX II, 5DS R, 7D II) are configured to have the exact same control layout, so that I can pick any of them and everything is in the place I expect it to be. My goal with customizing the EOS R is to make it as much identical as possible to my DSLR setups.

Please keep in mind that this customization is designed for my still (mainly landscape) photography. I don’t shoot video.

If you haven’t done so, it is now time to read chapter 5 and chapter 7 of the EOS R user manual. I’m not going to replicate what’s there, and how to set the mentioned options.

Dials

The mail dial controls aperture in manual mode, as I use Av and M modes 99% of the time, so I prefer aperture to be on the same dial. Its direction is reversed, so that turning it to the right will add more light.

The quick control dial is used to set shutter speed in manual mode. Otherwise it is used to set exposure compensation. Its direction is reversed, too (there’s one setting that applies for both dials). As a side note, I disregard any camera with a dedicated exposure compensation dial that cannot be used for anything else. I’m glad Canon finally abandoned that concept even on the M series.

Feedback to Canon: +/- 3 stops of compensation range isn’t always enough. It should be +/- 5 stops, like on any recent single digit Canon DSLR.

The lens control ring is configured to set ISO, but only while metering is active. The ring on the RF 50/1.2 is a tad too loose to be used without an interlock. There’s one drawback for the latter: auto ISO cannot be set with the control ring this way.

Focus ring rotation behavior (ill-named as sensitivity in the menu) is linked to rotation degree. Honestly, I wouldn’t have bought the camera without this option. I find it totally impossible to manually focus with the rotation speed sensitive behavior.

Buttons

The EOS R team did a great job with minimizing the number of physical buttons. Well, actually went one button too far with removing seldom used stuff.

I strongly believe that metering and AF should be on separate buttons, so the shutter release half-press only initiates metering on my cameras. AF ON turns focusing on, with a side effect of also initiating metering. But the general idea is to be able to release the shutter without AF, and this configuration makes it possible.

M-Fn has AE lock and hold assigned. Like on all my cameras. This is really handy when shooting frames for a stitched image and want to ensure the same exposure for the entire series, but also enjoy automatic exposure setting to get into the ballpark of the final exposure.

In general, I prefer to place all-point, auto point selection AI Servo AF to the * button, but unfortunately it’s not an option on the EOS R. So it toggles between one shot and servo AF for me.

I configured the AF point button to switch directly between AF methods. This is something I use a lot, and I also limit AF methods to face+tracking, single, expand area (both) and zone AF.

Cross keys are set to move the AF point around, with the center Q/SET button set to reset the AF point position to the center of the screen. The erase button has the exact same functionality, but its way more natural to press the center of the cross keys to move to the center instead of finding another button.

While we are here, there are a few things where I would welcome a change in further firmware releases.

Feedback to Canon: During picture taking the erase button has the fixed functionality of resetting the AF point to the center. This is rather cumbersome, as I described above. Instead, the erase button should have assignable functionality during picture taking, for example one can assign the depth of filed preview to it (since there’s no physical DoF preview button on the camera – the place I think Canon went too far with button removal).

Feedback to Canon: During image playback, every single contemporary single digit DSLR can be configured to use the SET button as a magnification button. I would welcome this option on the R, or at least an option to be able to switch the SET button’s functionality with the magnify button.

The Mosquito Hut – EOS R + EF 35/2 IS

MODE is left at its default function. Let me stop here for a moment. There is sizable hysteria around Canon’s choice of the mode button instead of the mode dial. Well, the MODE button comes from 1-series DSLRs. And it is rather convenient if you shoot tethered. For example you can switch the shooting mode from within Kuuvik Capture. Try to do that with a mode-dial-equipped camera when it is mounted 4 meters high. Yes, I do prefer to have a MODE button.

I’m glad that there’s a video record button, and that I’m not shooting video. This button is a key element of my customization. It’s assigned function is DIAL FUNC. The R lacks the usual camera-top buttons like WB, drive mode, ISO, etc. DIAL FUNC is an amalgamation of those. After pressing the DIAL FUNC button, you can choose between different functions with the quick control dial, as well as different values of the chosen function with the main dial. Up to five functions can be selected for DIAL FUNC. I have ISO (for cases when the attached lens have no control ring, and for selecting auto ISO), drive mode, and metering mode (I usually leave it on evaluative, but there’s no way to set it via the menu).

And finally, the LCD illumination button is used for just that. No inadvertent switching between different top LCD information modes, thank you.

Touchable Thingies

A controversial topic, I must admit. Yes, the M-Fn Bar is a gimmick, and I would prefer a display mode selection switch in the same place. But touch and drag AF is genuinely useful. Actually so much, that I constantly find myself reaching for the LCD even on the 5DS R and 1D X II…

So let’s see first how I configure touch and drag AF. Positioning is relative, as I wasn’t able to develop a muscle memory for absolute positions. And only the right side of the screen is active, as I want to drag the AF point with my finger, not with my nose.

The M-Fn Bar is arguably a thing that needs to be worked around. It’s safety lock is upsetting, but without it you’ll definitely change settings inadvertently. But there’s a solution! The multi-function lock that I never ever used on any of my cameras before the R. So the LOCK button locks the M-Fn Bar for me (only works during shooting, and NOT during playback, though).

During picture taking, the M-Fn Bar’s assigned function is to zoom in and out on live view. This is a seldom used function for me on a travel camera. And on a tripod, I can safely disengage the lock with no fear to make an uncorrectable error.

During playback the right side of the control toggles between one and zero star rating.

Conclusion

The EOS R is a rather minimalistic camera. This isn’t bad. On the contrary, I enjoy shooting with it mostly because it lets me focus on the bare essentials. I know from experience how much thinking goes into making a camera minimalistic. So hats off for the EOS R team.

But you definitely have to think about your needs and configure the camera for those. The all too common “I want it all, just in case” thinking will not work here.

  ☕ ☕ ☕

Did this post help you? Consider buying me a coffee if so.

The EOS R Diary : Whys

This is the first installment of what I plan to be a long(ish) series of posts about my experience with the Canon EOS R system. Yes, while I’m not a big fan of mirrorless in general, I bought an EOS R along with an RF 50mm f/1.2L USM lens. Why?

First and foremost for software development and testing purposes. ShutterCount was the first and as far as I know still the only app that can read the shutter counter of the R (plus the M50). Kuuvik Capture provides tethered shooting support for the EOS R for macOS Mojave users as well (Canon’s own software is not supported on Mojave).

And there’s another reason. I have been looking for a camera system that requires less disciplined technique than my 5DS R plus Zeiss/Rodenstock glass for a very long time. For those occasions where spending half an hour on a single frame isn’t feasible (think travel, for example). What the 5DS R produces is pure magic, but sometimes I would love to stop down beyond f/7.1 or have auto-focus.

November Sun – EOS R + RF 50/1.2

I had tried many options: APS-C, full frame, medium format. From Canon, Nikon, Sony, Fuji and Hasselblad. And they all failed. Either in the image quality department, or I just gave up amidst frustration because of their awkward user interfaces.

Regarding image quality, I look at the whole imaging chain. The EOS R, with the RF 50/1.2 and Capture One as the RAW converter is capable of producing excellent image quality. (Lesser RAW converters, such as Lightroom or DPP, produce lamentable results, so everything I say here refers to Capture One converted files.) No, it’s not in the league of a Zeiss Otus or a Rodenstock HR-Digaron on the 5DS R, but close enough so I don’t regret leaving the big boys at home.

The freedom those larger pixels and AF brings is charming. I do warn people longing for high resolution cameras that it’s hard work to use them properly. The R’s full frame sensor with 30 megapixels is a little more than what I would consider as an easy-to-shoot camera, but still manageable. And the resulting images can be printed quite large.

As you probably guessed, I like the camera. It won’t replace any of my DSLRs, but already opened up new possibilities, and hope it will do even more in the future.

This brings me to the next why.

Based on the exorbitant amount of negativity on the net about the R you may think it’s a bad camera. Well, from my experience it’s clear that, to put it mildly, most of those reviewers aren’t on the top of their craft. And all this darkness irritates the hell out of me. I expect Canon to make the paying customer (me) happy. I don’t care if the professional we-know-everything-better haters aren’t happy.

Each camera offers a feature set for its target audience. If it’s not for you, then move on, choose another one that fits your needs better. Finding workarounds and solutions to make a system a better fit for one’s needs is a sign of intelligence. Yet I seldom run into constructive and helpful writings. The stupid mud-slinging that goes on and on is a sign of arrogance. Honestly, some of those guys should seek immediate medical assistance.

With that said, if I had been in charge of leading the camera’s development, there are things I would definitely have done differently. But as someone who does user interface design for more than three decades, I can understand the motivation behind most of the team’s decisions. And as someone who knows way more about the internal working of Canon cameras than any of the regular reviewers, I’m confident that in the upcoming diary entries I will be able to shed light on the whys of the EOS R.

That’s for the introduction, next time I’ll discuss camera customization. Homework: download the camera’s user manual and read chapter 5 and chapter 7.