The Depth of Field Conversion Factor

It is widely known how sensor size influences angle of view (the value describing this called focal length conversion factor, or field of view conversion factor, or simply crop factor). But what about depth of field?

You won’t find too much literature on depth of field equivalence on different formats. This is possibly because the majority of DoF calculators are inherently flawed, and you can’t arrive at the correct result using them. More on this later – now let me ask you a question:

I photograph a scene with a full-frame 35mm camera using a 50mm lens. The lens is focused to 10m distance, and the aperture used is f/8. I will print the image at 30x45cm size. What lens and aperture should I use on an 1.6x crop factor APS-C sensor camera if I want the resulting print to look the same? By same I mean identical framing and identical depth of field. Of course both prints are viewed from the same distance.

Please spend a minute thinking about it before reading further.

:

Ok, now we can discuss the results!

The focal length part is easy: just divide the full-frame focal length by the crop factor.

50/1.6=31.25

I tell you the correct answer to the aperture part before delving into the the details. You should do the same: divide the full-frame aperture by the crop factor.

8/1.6=5

That is, you have to use a wider, 31.25mm lens and open up the aperture to f/5.

So the depth of field conversion factor is same as the crop factor. Frankly, this simplifies how one can quickly calculate it in the field.

The Math

I’ll let you do the actual calculations as an exercise (optionally you can read my solution here), but definitely want to talk about the correct way of calculating depth of field. We usually start with determining the hyperfocal distance H.

H=f2Nc+f

Where f is the lens’ focal length and N is the F-number. As the focal length is negligible compared to the hyperfocal distance, in practice we can safely use:

Hf2Nc

The problem child is c, which denotes the circle of confusion. No it’s not a group of photographers arguing about depth of field, this number represents the amount of blur on the sensor plane that is still perceived as sharp detail on the final print.

c=tan(π180Re)Dvm

Where Re is the resolution of the viewer’s eye expressed in cycles per degree, Dv is the viewing distance in millimeters, and m is the print’s magnification (calculated as the print’s linear dimension divided by the sensor’s linear dimension).

As you can see the circle of confusion depends on the print’s magnification, the viewing distance and the viewer’s eye condition. Any depth of field calculator that doesn’t let you input these values is just a waste of time. Actually those unusable calculators just take a fixed c for some smallish print size and less than 20/20 eye condition. But to arrive at the correct depth of field equivalence factor you have to begin with a correct c.

Note that sensor resolution does not play a role in circle of confusion and thus depth of field. It limits maximum magnification (that still looks good), however.

From here the near and far depth of field is calculated with the following equations (or their approximations).

DoFn=HsH+(sf)HsH+s

DoFf=HsH(sf)HsHs for s<H

Where s is the subject distance.

Interesting Consequences

Diffraction limited depth of field is the same for any two sensors having the same number of megapixels. Even if they have different diffraction limited apertures. That is, the diffraction limited aperture is an 1.6x smaller F-number for an 1.6x crop factor camera than for an equal megapixel full frame camera.

f/5.6 maximum aperture zoom lenses on APS-C cameras are a joke. Who would want to shoot with a f/9 lens on a full frame camera?!?

You need wider maximum aperture lenses on APS-C cameras than you would on full frame. The new Sigma 18-35 f/1.8 lens is a good step in this direction.

You can capture the exact same looking image on an APS-C crop sensor camera that you could on a full frame one. You’ll just need a wider, faster (and higher resolution and more expensive) lens.

RAW File Bit Depth Changes with ISO

Let’s begin with the fact. The usable bit depth of your RAW file depends on the ISO used to shoot the image.

I discovered this while working on the RAW histogram feature in Kuuvik Capture. To make the RAW histogram usable, we have to scale the data coming from the RAW file. This scaling ensures that the left side of the histogram represents pure black and the right side represents pure white. Technically scaling is done by first subtracting the black level from each pixel, then mapping pixel data from the [0, white saturation] interval into the [0, 1] interval.

Black level is the value your sensor emits when no photons reach a given pixel. This is calculated utilizing a black masked area along the edges of the sensor (see my former post on this).

White saturation is the value from the given pixel when it’s completely full – that is more photons reaching the pixel will not generate a higher value. This depends on physical attributes of the sensor. We do a series of measurements for each sensor to determine its value. The higher the white saturation the more tones your RAW file contains.

What surprised me during the initial white saturation measurements is that with most of Canon’s cameras this value changed as I changed the ISO. Some cameras even present different white saturation in different exposure modes (Av and M for example).

The following graph shows the result from these measurements converted into usable bit depth for four cameras up to ISO 6400.

bit-depth-vs-iso-2For the mathematically inclined, usable bit depth is calculated with the formula:

$latex \log_2 (w – b)&s=1$

Where $latex w&s=1$ is the white saturation and $latex b&s=1$ is the black level.

The roughly 0.3 bit difference between the lowest and highest values doesn’t seem that large at first sight, but this means that you lose 15% of the tones at ISO 640 compared to ISO 800. To put it another way it’s a 1/3 stop difference.

Implications

Avoid non-full-stop ISOs.

The truth is that both ISO 500 and ISO 320 are exposed at ISO 400, putting a 1/3 stop “digital exposure compensation” value into the RAW file. For the ISO 320 setting this produces an overexposed image, which should be pulled down 1/3 stop. The downside is that you lose 1/3 stop of both tonal and dynamic range. The upside is that there will be less perceived noise, which can be helpful in some situations (and which is the basis of lots of false myths)

Avoid ISOs < 200 on crop-sensor Canons.

As you can see on the graph above, bit depth on these machines are less below ISO 200 than on or above it.

What about the 1D X?

Some of the 1-series bodies are not prone to the 1/3 stop bit depth loss. For example the 1D X starts to show this behavior at ISO 12800. The 1Ds Mark III produces the exact same bit depth at each ISO. And the 1D Mark IV works like the 5D Mark III.

So my practice is to use just full-stop ISOs and forget about ISO 100 on crop-sensor bodies.

Focus Bracketing Comes in Kuuvik Capture 1.1

kc-focus-bracketToday I practically finished the focus bracketing feature in Kuuvik Capture. Of course it has to pass our rigorous testing procedure, but the features are considered final.

Speaking of the features. You can drive focus starting from either the closest or from the farthest point, in small/medium/large sized steps. What those steps mean is camera body and lens specific (a totally arbitrary value actually), so you have to test it before starting the bracket. Hint: Command + arrow in live view mode drives focus by small steps, while Command + Shift + arrow drives it in medium steps.

You can expose up to 30 images in a focus bracketed sequence. It can also be combined with mirror lock-up and the intervalometer, as usual. At the end of the sequence we try to focus your lens back to the starting position, but don’t rely on it if you need accurate positioning – some lenses are really crappy in this regard and are unable to drive focus by the same amount back and forth.

kc-15-bracketWe have also changed the maximum number of shots you can expose in other bracketing modes to 15. As you can see on the bracketing monitor, this number is usually more than the exposure range your camera is capable of, but some of you requested it, so we added it.
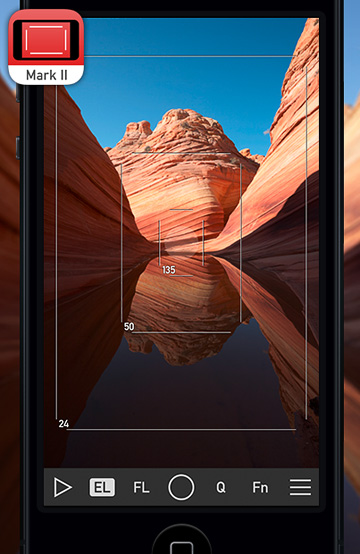
Version 1.1 is in private beta right now, and it is planned to be release early July. It will be a free upgrade for current Kuuvik Capture users.

Forest Railway Tranquility

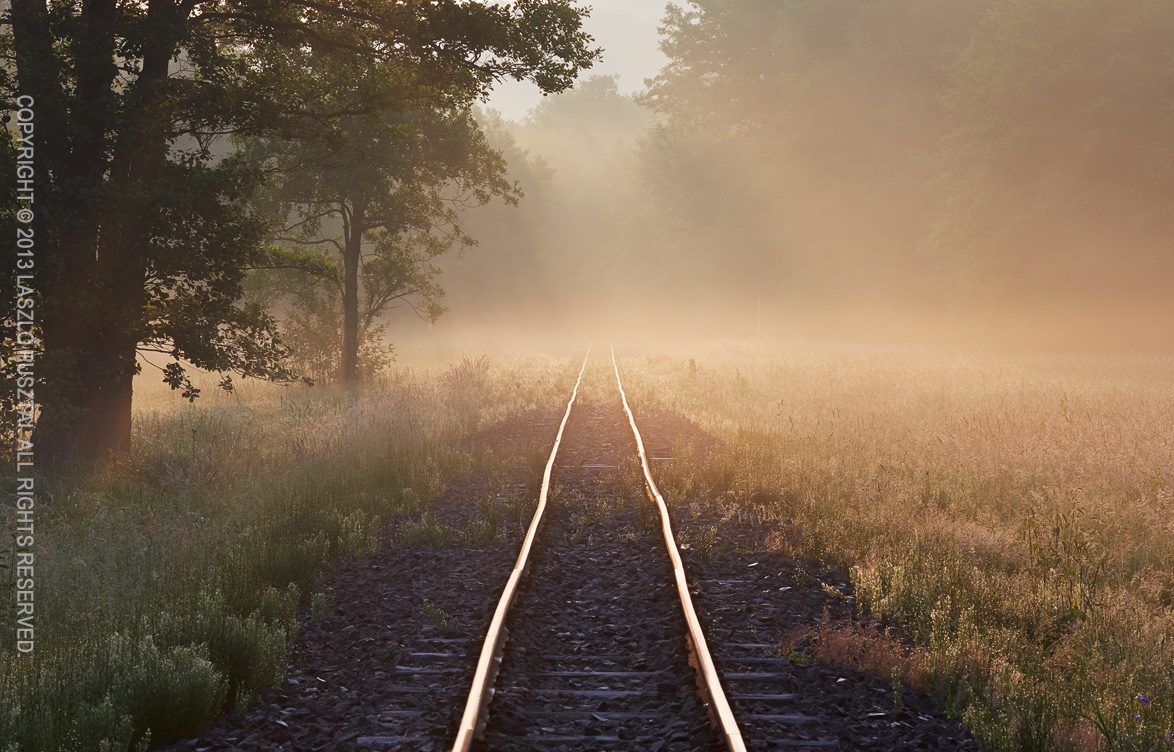
To access some of the most beautiful parts of Zemplen’s forest railway you have to cross a swamp (which you can also see on my “Bigfoot” shot). Crossing was a piece of cake on the way to this place, and the light and atmosphere was as gorgeous as it gets on a midsummer morning.

Forest Railway Tranquility

Forest Railway Tranquility

On the way back, well, my rubber boot’s leg proved to be just about an inch shorter than it would be necessary to cope with the water… The moral of the story: don’t be lazy to dig out a longer boot from you car’s trunk when you cross a swamp (yes I had a longer boot in the trunk with me).

But I think this image well worth the small inconvenience of having some water in my rubber boots. And yes, Canon’s 135mm f/2L is a wonderful lens.

A View from Edelweissspitze

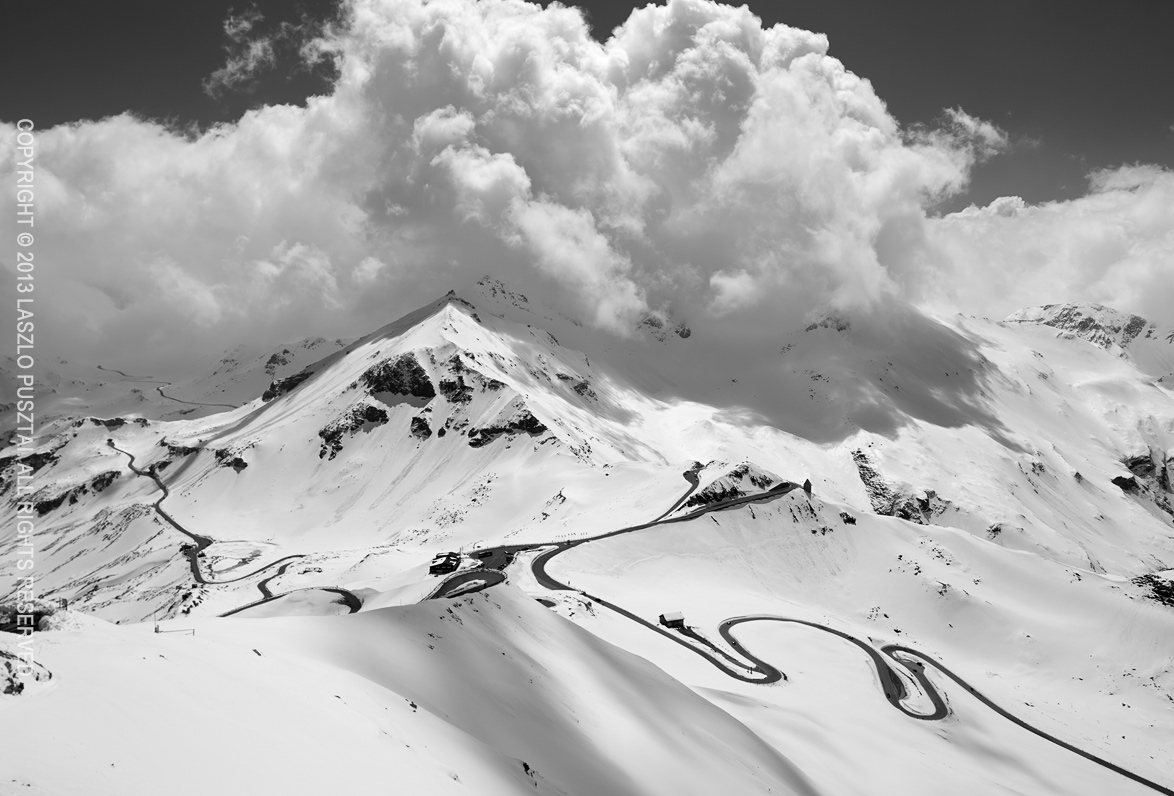
During our former Austrian vacation we spent a day driving the Grossglockner High Alpine Road. The image below was made after lunch from Edelweissspitze, a 2571m high peak. Meandering below is the high alpine road.

A View from Edelweissspitze

A View from Edelweissspitze

Canon WFT-E7 First Impressions

There are situations when you need remote camera control. No, I’m not speaking about the “let’s control the camera from an iPad two meters away” kind of pointless exercises, I’m talking about real needs. Think about cameras mounted on the roof of the stadium, situations where you would scare wildlife away with your presence, or downright dangerous places where you don’t want to spend more time than absolutely necessary.

I bought Canon’s Wireless File Transmitter WFT-E7(B) to assist in implementing some of my photographic ideas, and also to develop network (both wired and wireless) tethering support for Kuuvik Capture. While it’s clear that Canon’s transmitters are not standing in the forefront of today’s technology, if you could live with their quirks and limitations, then they could do the job well.

The Pricing Issue

Well, I paid 520 EUR (roughly $675, excluding taxes) for the WFT. Although this is some $175 less than the list price, it is pretty expensive. The bill of materials for this device is hardly more than $50, so this asking price is a bit irritating. As a comparison: an Apple Airport Extreme base station that packs comparable amount of software costs $179. Considering the functionality of the WFT, my opinion is that Canon could sell huge amounts of these at $199 or even at $299. But the $849 list price is simply unrealistic.

The bad news is if you need full, 100% USB-equivalent remote control functionality, then you have to swallow the price, and buy the device. There are some products, such as Camranger, that offer partial solutions, but you need a WFT for the whole thing.

Integrated Wi-Fi (and WFT software) on the 6D certainly points to a good direction, and I hope more cameras with integrated WFTs will follow. This is how it should be done in 2013.

The Hardware

When the first wireless transmitters had appeared for Canons, they were ugly bricks that connected to the camera with a cable, but in exchange they supported multiple cameras. Then Canon made their mind, and started to sell dedicated transmitters for each camera model (think 5D2 and 7D). With the WFT-E7, the ugly brick returns. In theory it will support future cameras, but I found no sign on the Net whether it works with anything except the 5D3. I plan to investigate this in the near future.

Its exterior finish acts like a dust magnet, and also files off small skin particles of your hand, so it’s a challenge to keep it clean.

Mounting the WFT is another challenge. I’m using Arca-Swiss compatible tripod heads/plates, so screwing the WFT under my camera is not an option. As a short term solution I simply attached a keyring to the supplied neoprene case, and hung the device on my tripod hook. In the long term the keyring will be replaced with a carabiner that will attach to that hole on the tripod base. Canon packages two cables with the device: one is too short and the other one is too long for me. This is why I reel up and velcro the longer cable to the case.

The good news is that the WFT is powered by the same LP-E6 battery that powers the 5D3.

Operating Modes

You can choose from the following operating modes (which are mutually exclusive):

  • Remote camera control (EOS Utility).
  • WFT Server, which is a web-based remote control facility.
  • You can upload your shots to an FTP server.
  • Show your images on a DLNA compatible TV set.
  • Can sync time between cameras.

The only mode that gives you full remote control is the EOS Utility mode. This is what I’m using, so will skip the others.

Network Configuration

This is the first quirk. For some unknown reason, the device can’t operate as an access point. So you either connect it to an existing network; bring your own access point (another box, batteries, etc); or create and use an ad-hoc Wi-Fi network (which can work only in “g” speed, and its WEP encryption isn’t something considered secure). This is a major oversight on a $675 device.

I won’t talk about basic network configuration, because you can find pretty good and detailed guides at Canon’s Digital Learning Center. I will, however, talk about another quirk: pairing.

Pairing

To control a WFT-equipped camera, you have to pair it to the computer and application you plan to use it from (I’ll call this computer/application pair an endpoint).

You must configure your networks settings on the 5D3 using the Connection wizard. No matter how experienced you are in IP network configuration, this is the only way you can get your WFT to do the pairing at the end.

Below is a screenshot of the network camera manager in the private beta version of Kuuvik Capture 1.1 showing my paired (and connected) 5D Mark III.

Network camera manger in Kuuvik Capture 1.1 beta

Network camera manager in Kuuvik Capture 1.1 beta

Working with the WFT

This is the best part: once paired and connected, you can forget about the WFT. Everything looks and works as if your camera was connected via USB. Yes, Wi-Fi can be slow (especially ad-hoc “g” speed networks), so large RAW file downloads can take a while. But otherwise the functionality is completely identical.

You only have to pair your WFT to Kuuvik Capture once, but you must watch for the connection sequence later on. WFTs advertise themselves on the network using Bonjour. When you turn on a paired WFT, it will advertise itself for a minute. During this time Kuuvik Capture (or another software) must connect to it. If the camera does not receive a connection request within a minute, it will shut down the WFT! From this point on things become pretty stochastic. Sometimes after a while the camera turn the WFT on again, sometimes you have to disable and re-enable EOS Utility mode on the camera to retry the connection.

The recommended sequence is:

  • Start Kuuvik Capture.
  • Turn on the paired camera. It might need half a minute or so to start advertising itself. When it appears in Bonjour, Kuuvik Capture will automatically connect to it.

Conclusion

During the last few weeks of testing the WFT-E7 worked as expected – offering stable, completely USB-equivalent connection. I don’t have a reason no to be satisfied with it. I just try not to think about its price.

Oh, I’m sure 6D owners will break into a smile seeing the ugly brick hanging under my tripod…

  ☕ ☕ ☕

Did you enjoy this post? Consider buying me a coffee if so.