This is the second installment of my ongoing EOS-1D X Mark II review. You can read Part 1 here. My other posts comparing effective reach of the 1D X II with the 7D II and focus drive speed of different cameras including the 1D X II may also be useful for you.
Dynamic range
You may already saw at the usual camera testing sites that the 1D X Mark II has a dynamic range that’s practically identical to the competition, so “Canon is back in the game”. While this is true, let me approach the topic of dynamic range from another angle. Which is prints. I know that only a few of us print anything at all, and that may explain the number of people obsessed with the extreme dynamic range of today’s sensors. But in reality it is a double-edged sword.
Ink on paper has about 6 or 7 stops of dynamic range, so if you have anything with more range, you may need to be careful when preparing the prints to keep pleasing tonal relationships and prevent posterization. Too much contrast after setting the black and white points could also be an issue that needs to be mitigated. So the saying “be careful what you wish for – you may get it” is really holds in this situation.

Puffin Portrait at Látrabjarg
Of course it helps in exposing naturally high dynamic range subjects, like the blacks and whites of puffins. But the dynamic range collapses quickly with increasing ISO, so you may not have that much to work with.
All in all, the 1D X Mark II is state of the art, but I had no complaints about the 5DS R either.
High ISO
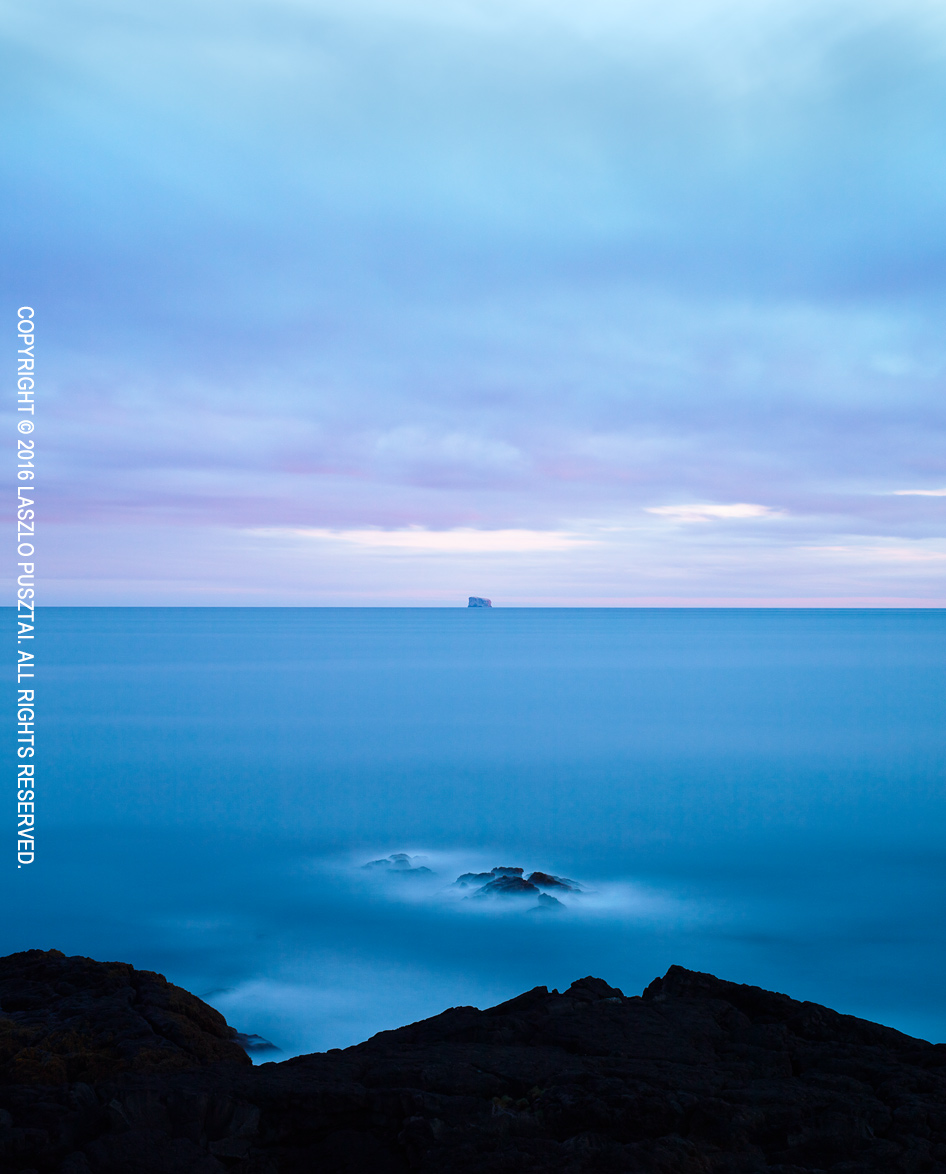
As I mentioned in Part 1, I print large, and thus resolution is an important aspect of all images I keep. And despite the hype (may I call it marketing bullshit?) of the camera seeing in the dark in those extremely high ISOs, I consider 6400 the maximum usable ISO. Fine details are starting to get eradicated at 3200, though. The only use I have for the higher values is for preparing long exposure compositions.
I use the camera a lot with the 500mm f/4L IS II and the 2x III teleconverter, and my base ISO in this case is 800 – resulting in very clean images. The following image was taken with this combo at ISO 3200 during the Icelandic summer night.

Redshank at Night
RAW file bit depth changes a little with ISO changes. You get the highest usable bit depth (13.81 out of the theoretical maximum of 14) between ISO 125 and 200. At ISO 100, you get 13.71 bits, and 13.65 bits between ISO 320 and 51200. Higher bit depth meaning better tonal separation. I still have a habit to only use whole stop ISOs to avoid the ill-effects of digital compensation when using third stop values. At low ISOs (100 and 200) you have to make a tradeoff between dynamic range (better at ISO 100) or bit depth (better at ISO 200) based on what you photograph.
CFast 2.0 image corruption
Firmware 1.0.2 has been released yesterday to address the possible image corruption with SanDisk CFast 2.0 cards. I also experienced a corruption on my Lexar 3500x card. It looked different than the SanDisk issue, the image was cut after a few kilobytes. I don’t know whether the culprit was the card or the camera, but installed firmware 1.0.2 nonetheless. Should the problem happen again, I’ll let you know.
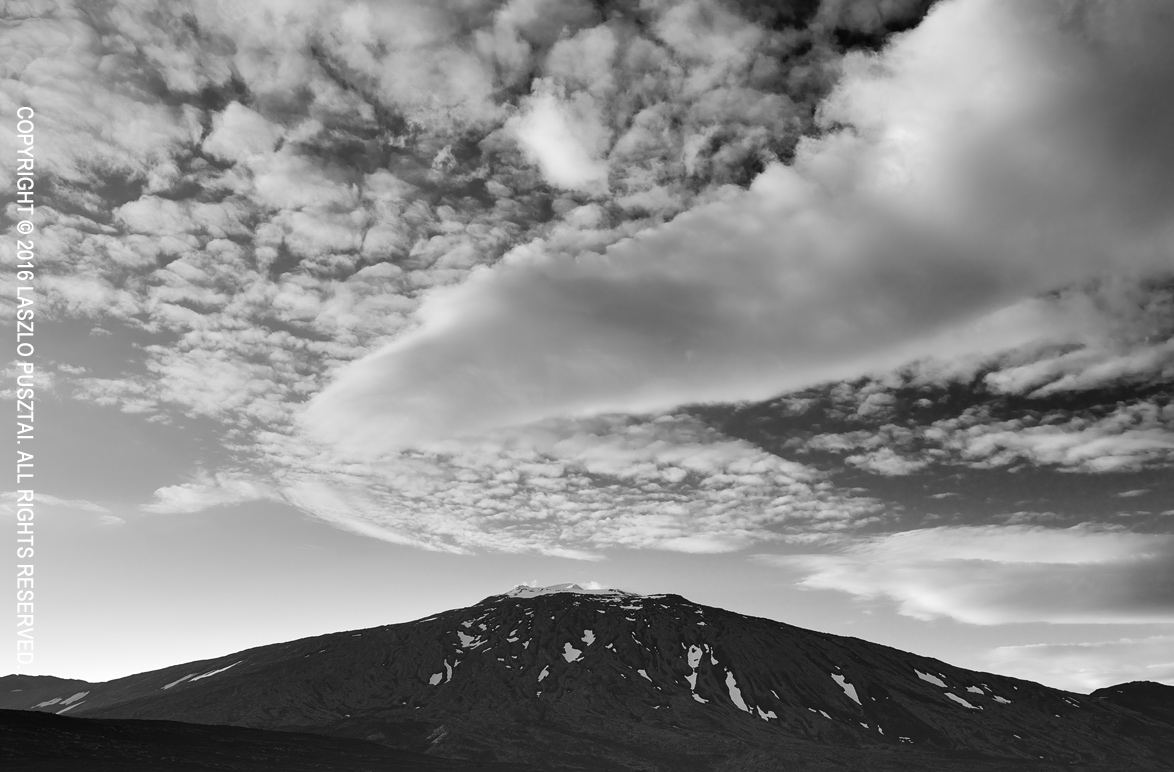
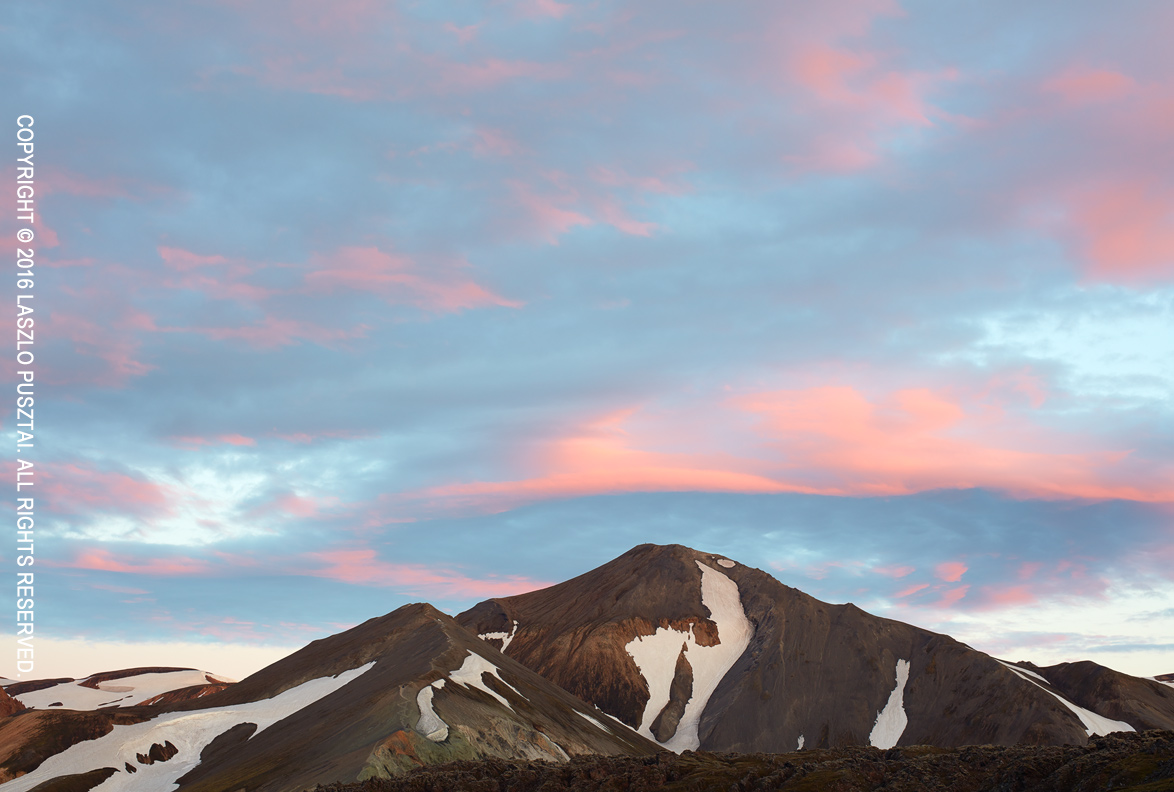
Resolving fine details
While shooting a couple of long exposure images, picked up the 1D X Mark II with the Zeiss Apo Sonnar T* 2/135 lens to make some detail shots, just like the following one. Handheld, since the tripod was already occupied by the 5DS R.
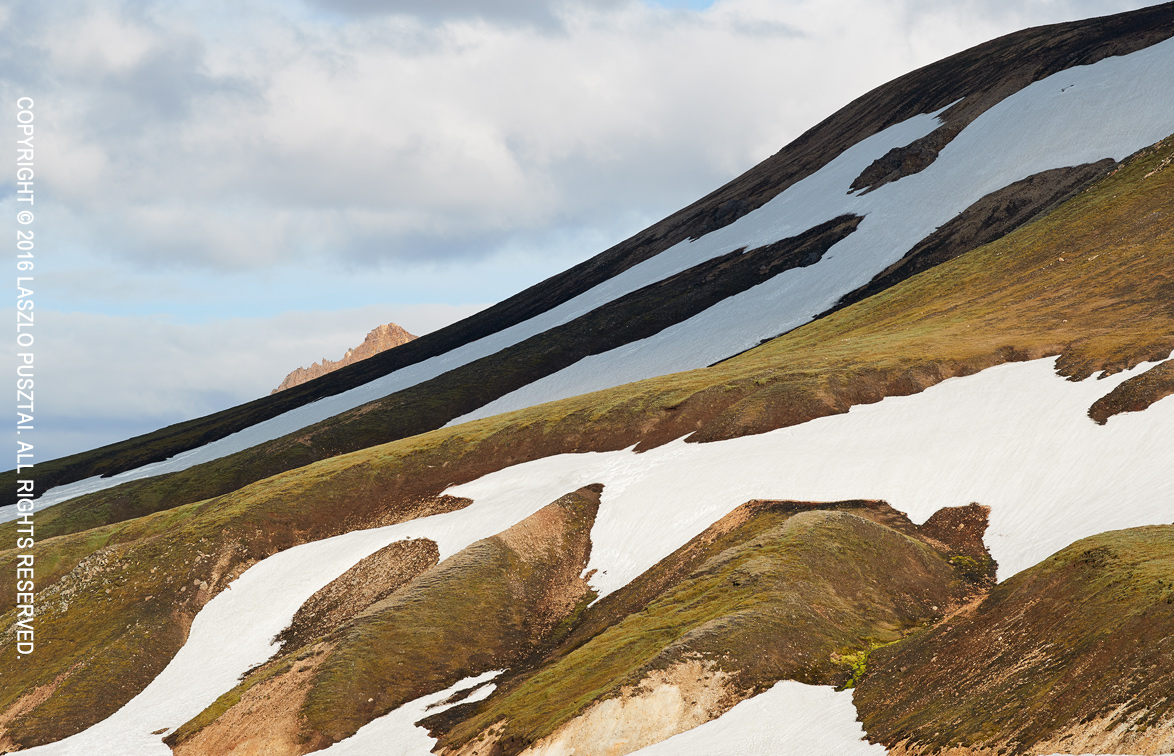
Landmannalaugar Detail
The camera is prominently useful for landscape work. While not in the realms of the 5DS R in terms of sheer resolving power, the images are full of fine details. It seems that Canon opted for a weaker anti-aliasing filter in this case (unlike my old 1D Mark II, which had a pretty strong blurring filter).
Due to the relatively low resolution, less shooting discipline is required. Shooting a 135mm manual focus lens handheld is not a problem (something I failed to do successfully with the 5DS R quite a few times). It is also less demanding on lens quality (although using high quality glass pays off), and you can stop down to f/11 without diffraction becoming an issue. All these add up to a more casual shooting experience than the 5DS R.
So I arrived to a very interesting point. While both the 5DS R and the 1D X Mark II have their strengths in different areas, and I prefer to choose them based on these strengths for each image, the other one could do almost as well. I would be in deep trouble if I could keep only one of them.
To be continued…