While Waiting

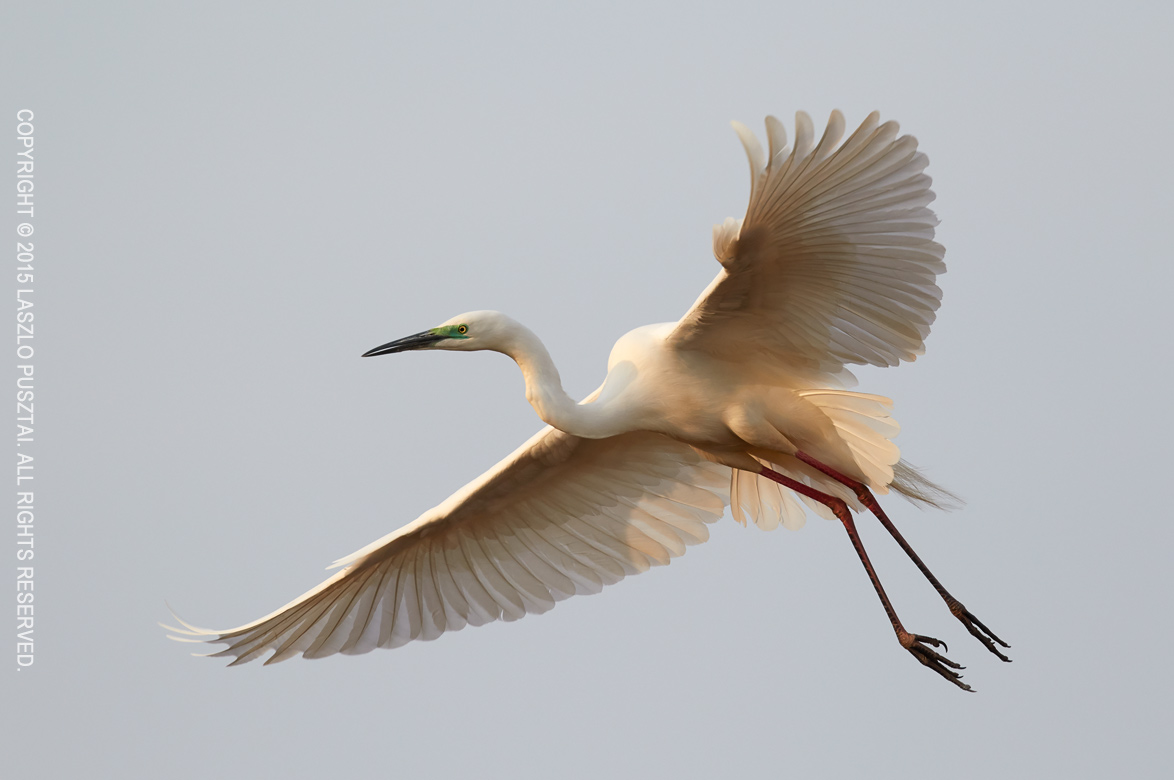
I’m waiting for several things to arrive. For egrets, herons, and my 1D X Mark II. And while waiting, I’m sifting through last year’s images. The one below was made with the 7D Mark II and the then new EF 500mm f/4L IS II USM lens (plus the 1.4x III teleconverter).
Egret Landing

Egret Landing

This is a deadly combination that brought me a bunch of great images during the last twelve months. I’m curious whether the 1D X Mark II will replace the 7D Mark II in my bag. Weight, size, reach, convenience are all factors – not just speed and image quality. I’m really really curious. But don’t worry, I’ll let you know once the 1D X Mark II is in my hands.
Imminent Storm

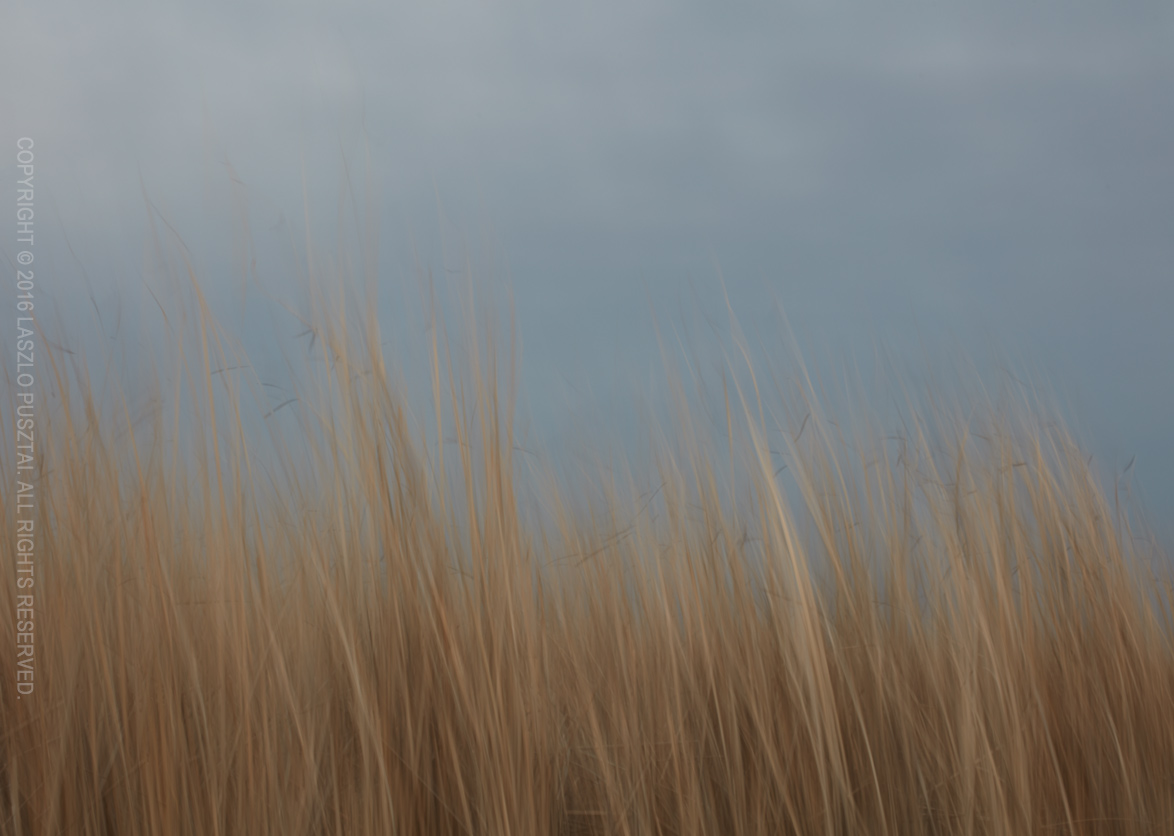
On the evening of April 1st, a serious gale hit Lake Tisza. Of course I was out on the lake looking for images. After the first gusts I decided that it’s better to pack and go. But… I quickly made a few frames.

Imminent Storm

Imminent Storm

I wouldn’t have thought that one of my strongest images will lurk among those. It’s a huge departure from my usual style. It’s an image straight out of the camera – even the slightest post processing attempt weakened it.

Unfortunately the web sized reproduction does not let it go through entirely – and even the large version needs time to fully appreciate it. Look at the image. Let is sink. Smell the oncoming storm.

Oh yes, shot with the Zeiss Otus 1.4/55 on the Canon 5DS R. I can hardly wait to see it on large canvas.

Kuuvik Capture 2.3 Released

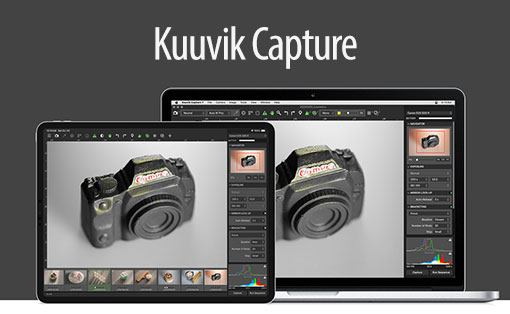
kc2icon@2xVersion 2.3, bringing Canon EOS 80D support to Kuuvik Capture 2 is now available on the Mac App Store.

Since Canon introduced quite a few changes with this body, I had to update both the camera control and the RAW decoder in my Digital Camera Library.

And at this point let me add a few personal comments on the 80D.

While the improved low ISO dynamic range is a welcome addition, this camera is a step back in a few regards. First, it’s not fast enough to support multi-point live view (formerly known as split view). It’s an unfortunate trend with Canon’s newest mid-range cameras: both the 70D and 700D were multi-point live view capable, and none of their replacements/successors are.

Second, the removal of the shutter count feature (it does not affect Kuuvik Capture per se, but indeed affects my ShutterCount app).

Third, Wi-Fi is still on the verge of being unusable. I’ve already mentioned sub-par 70D/6D Wi-Fi transfer speeds in the version 2.2 release announcement post. With the 80D, I was enthusiastic about the Easy Connection option, that is designed to create the camera’s own access point, and to allow using EOS Utility mode with no existing network needed. The idea is something you would expect in 2016, but the implementation is crap. And I’m not talking about the inability to specify a password for this network, but the extremely slow transfer speed. I measured speeds south of 30mps – which is half of the already slow speeds of the mid-range bodies.

Thus, I recommend to stick with using an existing Wi-Fi network and to avoid the Easy Connection option completely. Fortunately using an existing network is not slower than the 70D was (but it’s not faster either).

I took over Kuuvik Capture last year, and decided that I will not release a Windows version. This allowed me to remove former platform independent code and to do Apple-specific optimizations and speed up the app considerably. The code base is large, so this optimization process is still in progress – and this release also includes a few. They are not user visible, but you might notice them here and there. (For the technically inclined – I had eliminated a bunch of memory copy operations between the Digital Camera Library and the user interface.)

On the user-visible changes front, Split View had been renamed to Multi-Point Live View. I think it’s more clear what the feature does this way, plus Apple introduced a completely different Split View into OS X – and wanted to avoid any confusion.

The update is free for existing Kuuvik Capture 2 customers. New users can download Kuuvik Capture 2 from the Mac App Store.

For more information about the app, please visit it’s microsite, or check out my posts.

Spring is Approaching

Spent the last weekend on Lake Tisza. It was clear that spring is approaching, but everything was still a bit dormant. Bulrush and reed haven’t turned to green yet, and birds were scarce. A few weeks and this place will be noisy from herons building their nests. But at the moment it’s tranquil, only the reeds rustling in the wind.

Spring is Coming

Spring is Approaching

Shot with the Canon 5DS R and Zeiss Otus 1.4/55. This image is a good example when one doesn’t need an extremely sharp lens – yet the Otus excels with its transparent and airy rendering. Also used a LEE Little Stopper to lenghten the exposure.

ShutterCount on iPhone and iPad

My ShutterCount app is now available on iOS!

It runs on 64-bit devices running iOS 9 or later (that is: iPhone 5s or later, iPod touch 6, iPad Air or later, iPad mini 2 or later, iPad Pro).

Since Apple does not provide a way to control a camera via USB from an iOS device, ShutterCount Mobile relies on Wi-Fi or Ethernet connection and thus supports cameras having one of those. Either built-in, or utilizing an external Wireless File Transmitter.

So at the moment it will work with the following Canon EOS cameras: 6D, 70D (using built-in Wi-Fi); 5D Mark III, 7D Mark II (using WFT-E7 transmitter); 1D X, 1D C (using built-in Ethernet or WFT-E6 transmitter).

Feature-wise it is equal with the Mac version – besides a simple reading it sports history logging, with the ability to copy the logs into Apple’s Numbers or Microsoft Excel. Plus you can access these logs through iTunes file sharing.

Because of the network connection required to the camera, you’ll need to do an extra step before the reading – pair the app and the camera. ShutterCount relies on the camera’s more advanced EOS Utility connection mode (and thus will not work with the simple smartphone connection mode). Mind this when establishing the connection.

I’ve recorded a short video showing the entire pairing and reading procedure between an iPod touch and my EOS 7D Mark II. The camera is connected through a Canon WFT-E7 transmitter using an Ethernet cable to our office network, while the iPod is connected to the same network via Wi-Fi.

Click here to watch the video on our YouTube channel.

Towards the end of the video I make three test shots and power cycle the camera to show the updated shutter count. Note that the camera needs some time to register itself on the network, and that pairing needs to be done once – the next time the app will automatically recognize the camera.

This automatic connection remains in effect until you either pair the camera to another app (Kuuvik Capture for example), turn off the network connection on the camera, or quit (I mean force quit, pressing the Home button is not enough) the app on the iPhone/iPad.

You may want to read my previous post on Canon EOS camera pairing and the ShutterCount FAQ for additional pairing tips.

ShutterCount Mobile is available on the App Store.

Zeiss Distagon 2.8/15 After the Surgery

I bought the 2.8/15 last December with the specific intention to use it with my LEE filter system. The stock lens doesn’t allow this, because of the integrated, non-removable hood. The plan was to get the lens, play a little with it, and send it back to Zeiss for a hood removal surgery if it turns out to be a keeper.

As I wrote in my first impressions piece, it was a love at first use. So the lens went back to Zeiss in January. They offer the hood removal modification for 250 Euros (+VAT).

Snowless Winter

Snowless Winter

A couple of weeks later I got the modified lens, but I noticed during the very first test that left side performance has dropped considerably. I know, the 5DS R is a merciless beast, but I also knew that the lens could perform better. So immediately contacted Zeiss about the issue.

What followed is a story of exemplary customer service. I’ve sent a few test images, and after a bit of discussion they recommended a focal flange distance adjustment to let the lens focus a little beyond the otherwise hard infinity stop.

A short technical explanation why this was a good idea: all my Zeisses have pronounced field curvature – ie. when I set the focus for the image center, sides may become soft, and when focusing for the best corner performance, the center goes out of focus. This is business as usual with the 5DS R and high performance lenses.

The 15mm Distagon’s image field is arching away from the camera on the sides, meaning that I would need to focus beyond infinity to bring the corners into focus. But the hard infinity stop did not allow this. This is something you won’t see on twenty-something megapixel cameras, but the 5DS R is more than demanding.

The lens went back to Zeiss again, and after some more discussion we agreed to stick with the original plan: adjust the focal flange distance. During which I received way more information than a usual service would ever send. Focus variation test results from their lab and such. The goal was to extract every last bit of performance possible while obeying the laws on physics and the realities of manufacturing tolerances.

With the fine-tuned lens in my hand, I was curious to find out the results.

Distagon 15mm with no hood

Distagon 15mm with no hood

Honestly, I’m impressed. Left side performance is better than ever. Although there’s still a bit of difference in optimal focus distances between the left and right, that’s nothing I can’t mitigate with proper depth of field selection and focus bracketing. What surprised me is that peak center performance is also higher now.

The moral of the story: when you approach a service with such a claim, they usually tell you that the lens performs “within specifications” (which is a polite way of saying that they don’t care). Been there, done that. But not Zeiss. They were keen to provide me the best possible instrument for my ultra wide angle photography – and they succeeded.

Oh, and regarding the surgery – the hoodless lens have some 6mm smaller diameter than the original. It’s a better fit in my bag now. A screw-in metal front lens cap was also included in the modification package, but I’m using a 95mm Otus lens cap instead. It’s much easier to handle, and the risk of scratching the front element is way less with a plastic lens cap.

  ☕ ☕ ☕

Did you enjoy this post? Consider buying me a coffee if so.