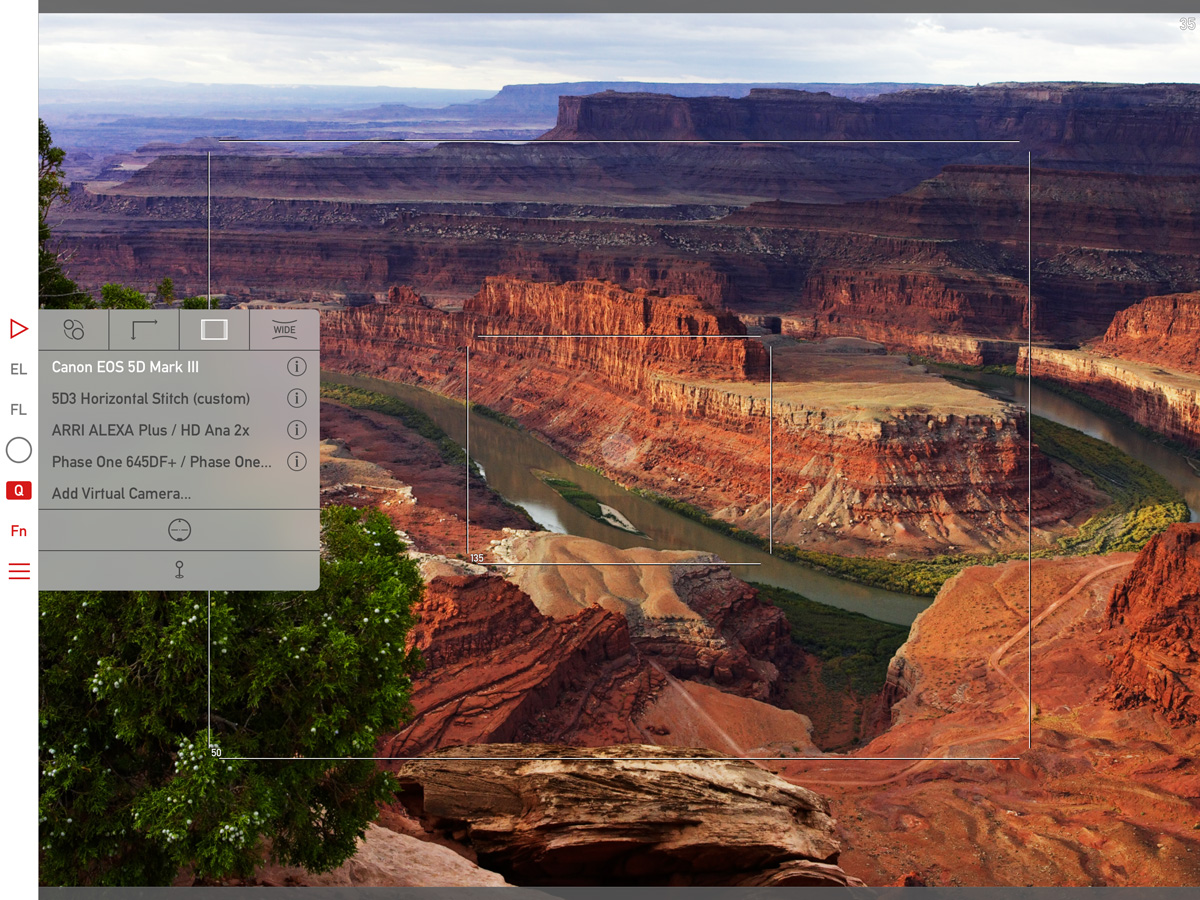
Christmas arrived early this year for me – the sleigh disguised as a DHL truck… In the package there was a box containing a Canon-mount Zeiss Distagon T* 2.8/15 lens. After the usual shots around the house, I decided to visit my favorite lens torture place.
I usually check basic lens functions here, look for centering errors and such. Just to get a feeling of how the lens will perform.
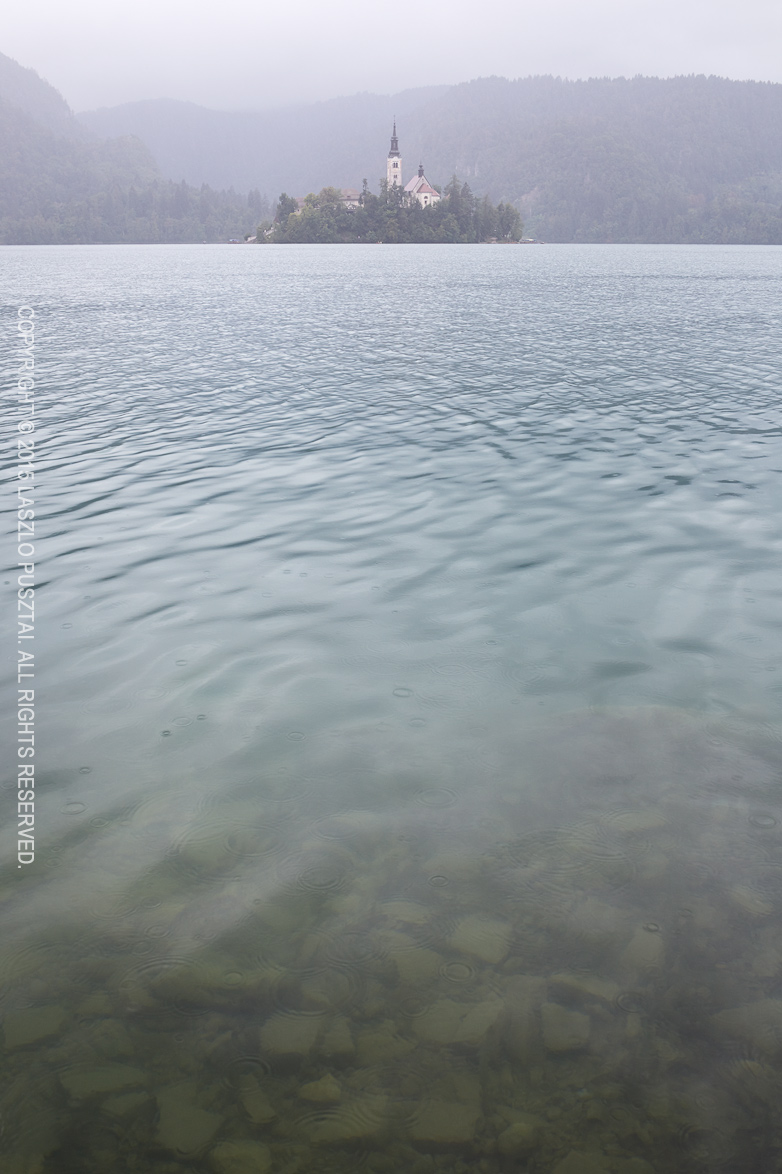
Today it was a foggy, damp evening, with a light drizzle. I had absolutely no intention to make an image. But the 15mm Distagon surprised me big time. This is my third Zeiss, and they have a common trait: the ability to render even the most mundane subjects in an interesting and pleasing way.
Case in point:
Foggy, Damp Evening
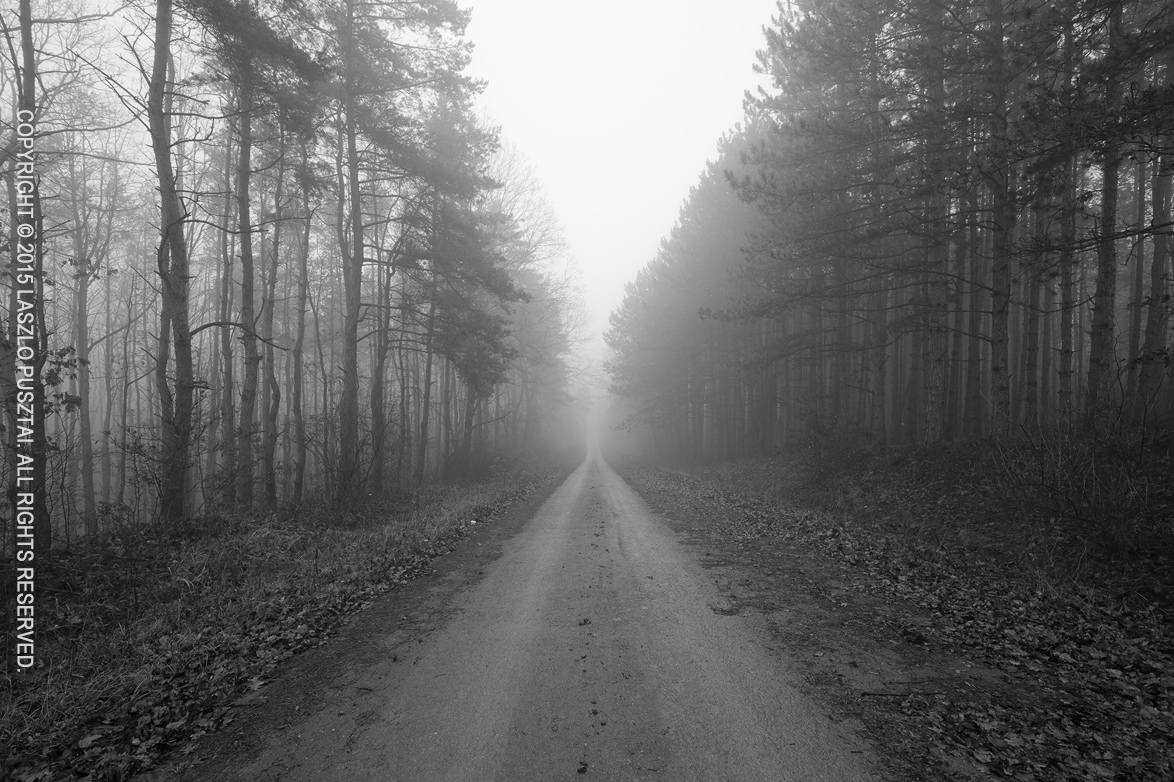
The 2.8/15 draws a true-to-life, well balanced image. No signs of the “tingling” behavior of Japanese designed glass (both Canon and Sigma are similar it this regard). It’s interesting that I experienced the same with hi-fi equipment in the past. Well, cultural differences and preferences at work.
I just prefer the Zeiss look.
15mm is the widest focal length I’ve ever used (17mm being the second widest). I like the interesting and dynamic perspective ultrawides can produce, and after a decade of working with them I find 15mm pretty easy to work with. Much easier than 17mm was.
I’ll spend some time shooting the lens during the holidays, and will share my further impressions. In January the lens will go back to Zeiss for a little surgery: to get rid of that useless lens hood and make it compatible with my LEE filters. More on this later.


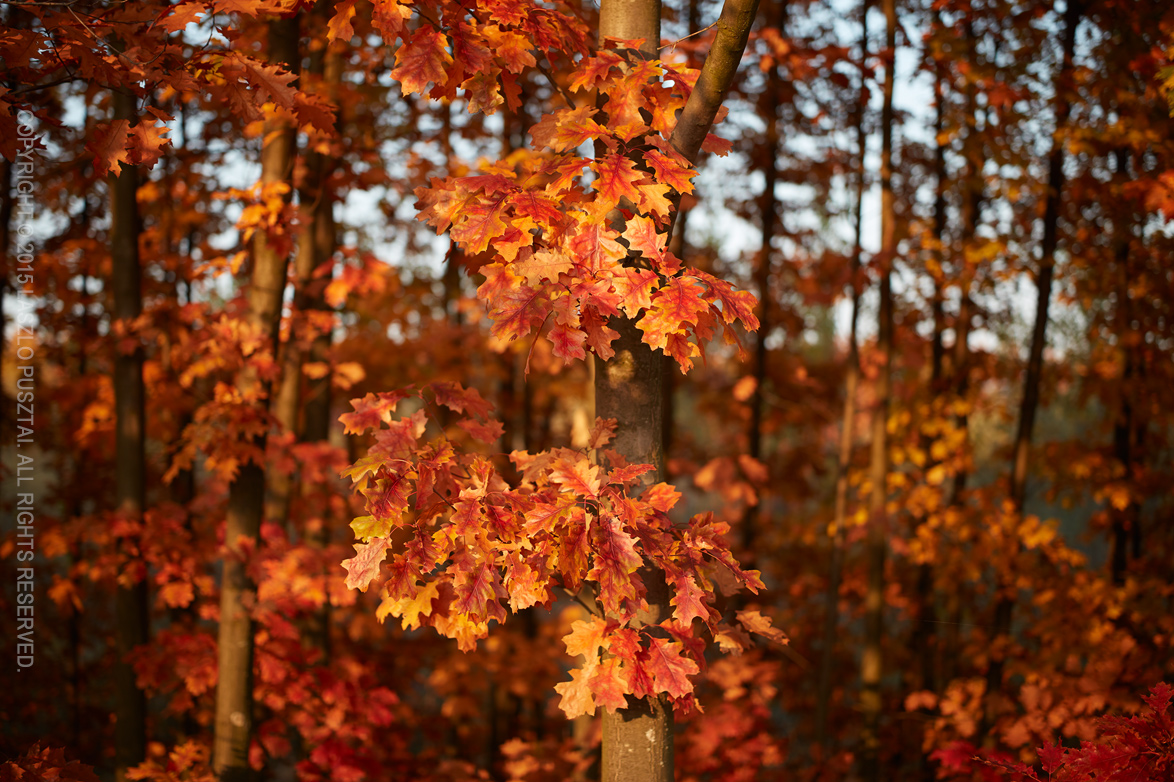
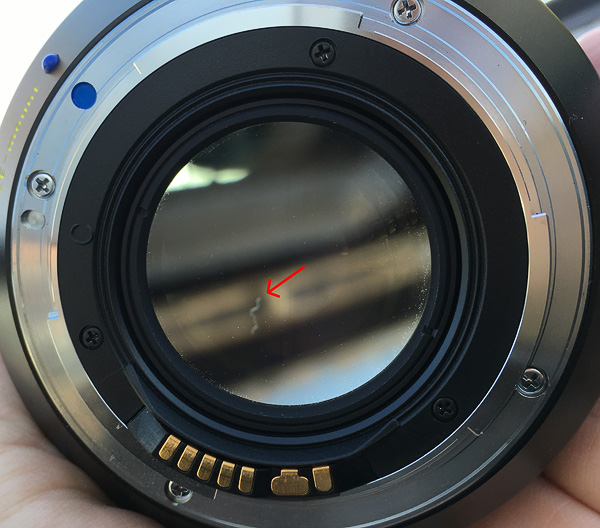 At the end of the very first morning I touched the rear lens element. And when I started to clean it, I noticed a long lint (thread? hair?) inside the lens. It was visible on the very first shots I made of the lens for the insurance company.