Composing Stitched Images Made Easy

As you probably noticed from my posts, I’m a huge fan of Canon’s TS-E 24mm f/3.5L II lens. One of the reasons is that I can make pixel-perfectly stitch-able 2.4:1 wide panoramic shots – like the one below – with it. The only difficulty in making those images was composition: it isn’t easy to visualize a shot when you only see half of it.
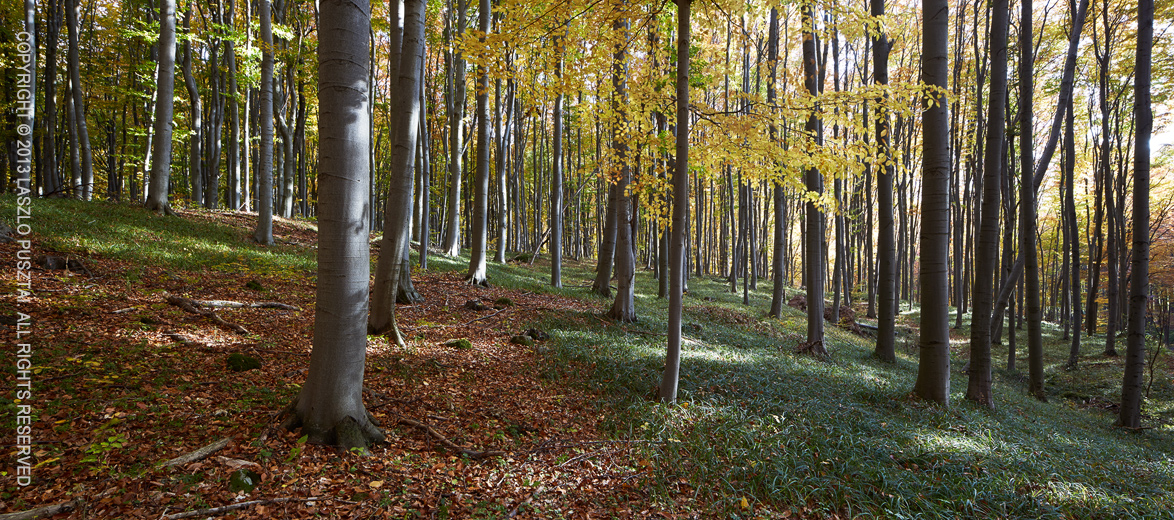
This image is a stitch of two frames: one taken with the lens shifted all the way to the left, while the other with the lens shifted to the right. Extreme edges cropped.

This image is a stitch of two frames: one taken with the lens shifted all the way to the left,
while the other with the lens shifted to the right. Extreme edges cropped.

But that difficulty is past now.

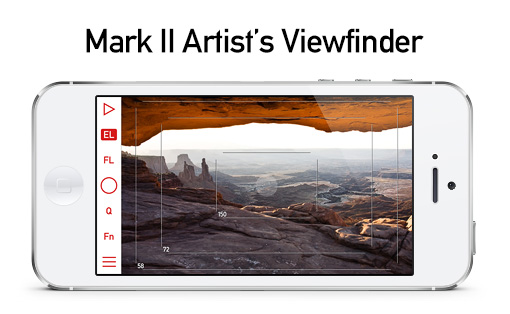
A couple of weeks ago I received a package from ALPA, containing their brand new ACAM Super Wide Converter. They sent it for certification with our upcoming Mark II Artist’s Viewfinder app, and also for my personal use. It was like Christmas for me. Quick first tests showed that the adapter has a conversion factor around 0.5x, which number was later confirmed with formal measurement in our lab. In other words, you can simulate a 17mm lens attached to a full frame 35mm using that. Or you can view almost the whole wide frame that will result from the TS-E stitch!

This is no small feat: you can walk around carrying a finder and checking lots of stitched composition without actually setting up the camera. And the actual capture needs less than half of the time it used to require.

The whole setup

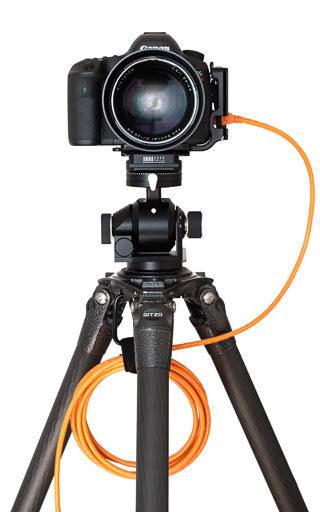
The following image shows the setup I use for taking the images for pano stitches.
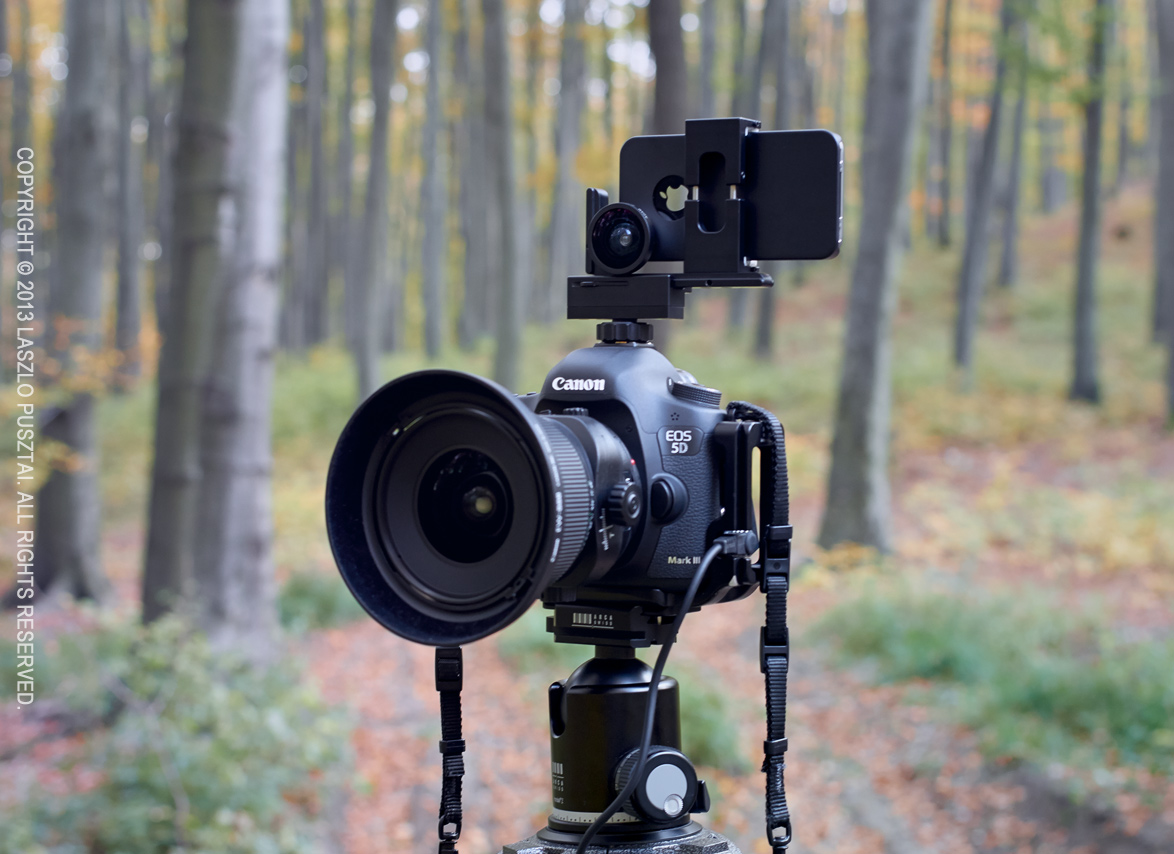
My stitched pano setup

My stitched pano setup

The camera and lens is nothing special, however the thing on top is. Attached to my iPhone is the ACAM wide adapter. The phone is held in position (note that the lenses are centered to avoid horizontal parallax) by an ALPA iPhone Holder. This is the Mark I, they now sell the Mark II complete with the wide angle adapter. As the holder was designed to be used on ALPA cameras, thus I also use an ALPA hot shoe mount adapter.

How much? – you might ask. You should log in to ALPA’s site to see their current prices, but as a guide: this whole viewfinder setup will set you back around $1150 (including the holder, hot shoe adapter, ACAM wide adapter and our Viewfinder iPhone app). If you think that’s a lot for a viewfinder, I recommend you to check out prices on a Linhof 45 Multifocus Viewfinder, for example (hint: it is around $2000 for way less functionality).

The ACAM wide adapter itself selling for less than $60 is extremely affordable considering what you get in exchange. I recommend every serious landscape and architecture photographer to check out this solution. Paired with our upcoming Mark II Artist’s Viewfinder it offers unprecedented value and functionality.

Update 11/20/2013

Today we announced the beta of Mark II Artist’s Viewfinder that sports real-time distortion correction for the ACAM SWC, making the above rig much more valuable. Read my post about it.

Mark II Artist’s Viewfinder Announced

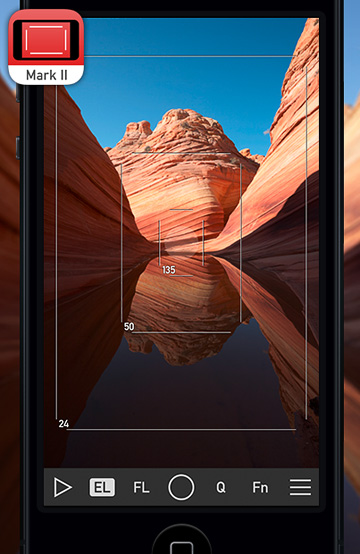
The worst thing in developing cutting edge software is that you can’t share your excitement the moment you achieved something great. And by the time you can publicly talk about it the excitement is long gone. So this is a special moment for me: talking about an app that’s still in the works, although the major pillars are already in place. And this app is the successor of our Viewfinder family, the Mark II Artist’s Viewfinder.

vf2header2

There isn’t a single piece of code that we haven’t touched during the making of the Mark II. Everything is modernized, made simpler, faster, and better – and have its design updated.

The flat, simple design iOS 7 brought resonates with me deeply. So my goal was to create something that looks every bit as great as it works. I can go on for hours telling stories, and probably will during the coming weeks (just keep in mind that finishing the app is my top priority right now).

For now I’d like to present you a list of what’s new (from the announcement press release):

  • By utilizing the Retina display, frame lines are now 1/3 of their former width. This, along with their increased opacity and contrast, results in drastically improved visibility and reduced interference with the composed shot.
  • The main screen now handles like a camera, complete with auto-exposure lock, auto-focus lock, AF confirmation beep and single shot/continuous AF support. A new Quick Control Screen for accessing frequently needed functions and a customizable Fn Key make the new app more productive.
  • The Mark II can save clean full-resolution photos with location and simulation metadata, so it can be also used as a regular camera.
  • The number of simulated equipment setups (now named “virtual cameras”) was increased from 4 to 20. The number of custom cameras and backs was increased from 5 to 20 each. The number of custom focal lengths per virtual camera was increased from 3 to 20.
  • A new menu system is provided for configuring non-simulation parameters of the app.
  • Track logs can be managed from within the app, with no need to connect to a computer via iTunes File Sharing.
  • Quick Lens Change for quickly modifying the lens list of the active virtual camera.
  • Automatic, configurable length image review (can be also turned off).
  • All features and cameras of the former Pro and Cine editions are now available in a single app, no additional in-app purchases needed

And were are already working on cool things that aren’t even on the list ;)

So make sure to visit and keep an eye on the app’s new microsite, available at: https://www.direstudio.com/viewfinder.

Focus Bracketing Comes in Kuuvik Capture 1.1

kc-focus-bracketToday I practically finished the focus bracketing feature in Kuuvik Capture. Of course it has to pass our rigorous testing procedure, but the features are considered final.

Speaking of the features. You can drive focus starting from either the closest or from the farthest point, in small/medium/large sized steps. What those steps mean is camera body and lens specific (a totally arbitrary value actually), so you have to test it before starting the bracket. Hint: Command + arrow in live view mode drives focus by small steps, while Command + Shift + arrow drives it in medium steps.

You can expose up to 30 images in a focus bracketed sequence. It can also be combined with mirror lock-up and the intervalometer, as usual. At the end of the sequence we try to focus your lens back to the starting position, but don’t rely on it if you need accurate positioning – some lenses are really crappy in this regard and are unable to drive focus by the same amount back and forth.

kc-15-bracketWe have also changed the maximum number of shots you can expose in other bracketing modes to 15. As you can see on the bracketing monitor, this number is usually more than the exposure range your camera is capable of, but some of you requested it, so we added it.

Version 1.1 is in private beta right now, and it is planned to be release early July. It will be a free upgrade for current Kuuvik Capture users.

Introducing Kuuvik Capture

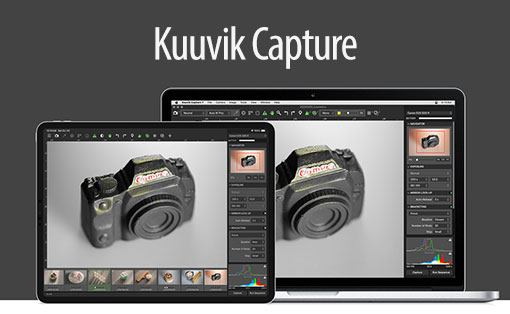
kc-IconLadies and gentlemen! It’s my pleasure to introduce something I have been developing for the past 15 months: Kuuvik Capture.
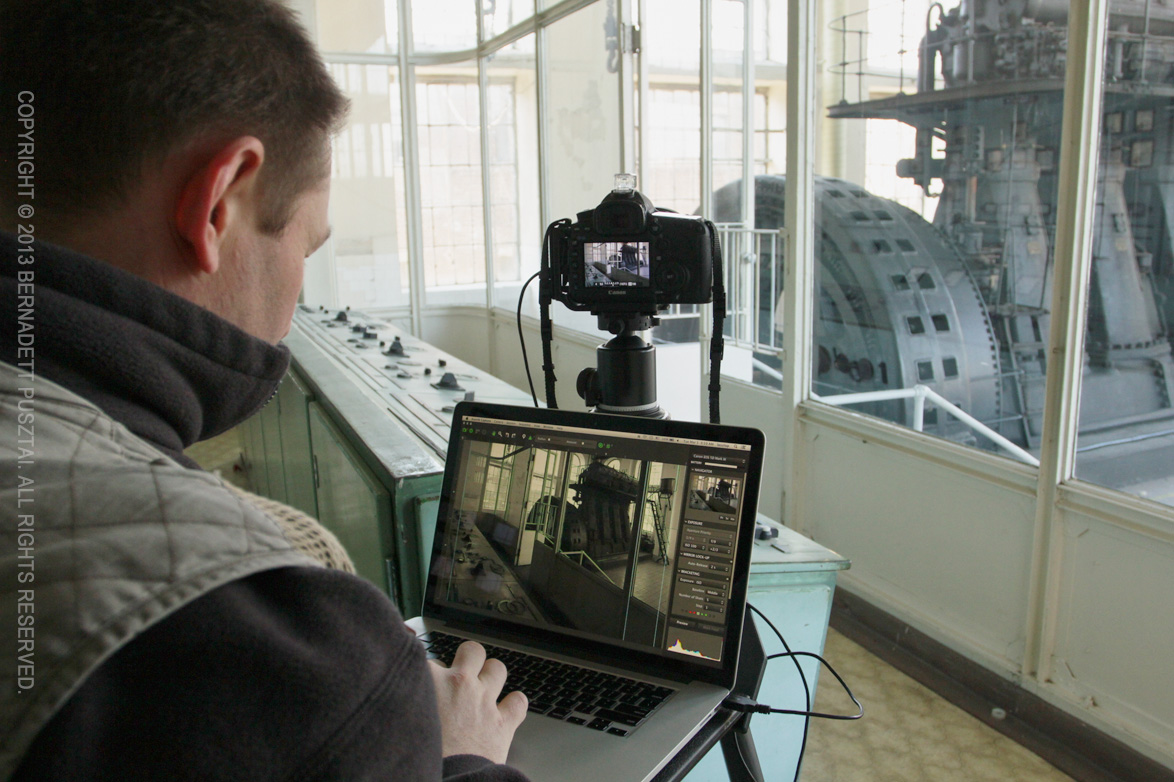
It’s simply the best tethering software for Canon that I’m aware of, sporting never before seen features like simultaneous magnified live view, a really usable raw histogram (that is, gamma corrected but with no white balancing applied), a highly useful bracketing monitor, and lots of other pretty neat stuff. The product entered public beta today, and I highly recommend you to visit the product’s homepage, sign up for the beta program and grab a copy – it’s completely free at the moment.

In the coming weeks I’ll publish a couple of technical posts about how the app works and will shed some light on a few controversial digital photography topics. So stay tuned!

kc-short-reshoot

Me re-shooting Generator Seen from the Control Room with Kuuvik Capture

But for the remainder of this week, I’m going to relax a bit, celebrate my 40th, and play a little with my new Canon 135/2 – of course tethered to Kuuvik Capture.