Last night I moved out my photo collection from my MacBook Pro’s internal SSD to a neat little Samsung T1 USB3 SSD. And since Time Machine still can’t handle backing up external drives correctly (it removes the external drive’s contents from the backup when it is not connected), I created a small script to do the backup using the good old rsync.
Backup of the T1 goes to a dedicated AFP share on my FreeBSD server (shared using Netatalk). An Elgato Thunderbolt 2 Dock provides gigabit Ethernet connectivity for the MacBook Pro. I usually see file transfer rates in the 60MB/s – 110 MB/s range from this setup. So the 3MB/s average what rsync produced here was a bit shocking.
And the transfer rate jumped up to the usual range when I downloaded something from the Internet! And went down to 3 megs when the download finished…
It seems that the nine year old version of rsync included in OS X Yosemite can’t handle the OS’s network power management features correctly. When another app wakes up the net to full speed, it works fine, but rsync alone can’t do that.
The solution is embarrassingly simple: install rsync from the ports collection. Did that, updated my script, and presto, I suddenly get transfer speeds in the 50MB/s – 80MB/s range…
☕ ☕ ☕
Did this post help you? Consider buying me a coffee if so.

 In a
In a 
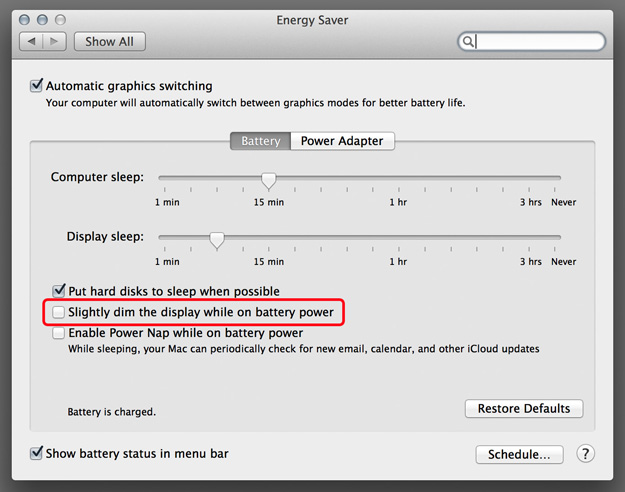
 MacBook display brightness is changed by default in whole unit steps using the brightness keys. But holding down Shift + Option while pressing the keys will change it to 1/4 unit steps – the same amount ColorEyes Display Pro (and other software) uses when controlling the display.