 This isn’t a big surprise if you followed what I have been doing lately: a high performance imaging pipeline for Technical Camera, and then USB support in ShutterCount Mobile a month ago. I have technologies at my disposal that nobody else has, so it would be silly not to make it happen.
So I’m pleased to formally announce the development of the iPad version of Kuuvik Capture 5.
Let me stay for a moment with the prerequisites. In 2015 I had re-acquired the rights for Kuuvik Capture, and started paying royalties to my original business partners. But as the app evolved, keeping the old code separate from new (so that I can calculate the amount to be paid) became a headache and a roadblock to innovation. To resolve the situation, I did redeem all future royalty payments in February, opening the door for improvements across the board. You can already enjoy these in the Mac version of Kuuvik Capture 5.
Now on to the exciting stuff!
We’re aiming for the full Kuuvik Capture 5 feature set. Complete with overlays, dual histogram, multi-point live view, and so on. Of course a few things will work differently, since there are vast differences between how you interact with an iPad and a Mac. But the basic principles will remain the same.
Both USB and Wi-Fi connections will be supported. Actually, the complete camera control and sequence automation machinery is already working. I’m going to reiterate: at the time of writing nobody else in the world has the tech required to support pro-level USB and wireless tethering with Canons on iPadOS. Period.
The iPad and Mac versions will be offered as a universal purchase. That is, if you already purchased (or upgraded to) Kuuvik Capture 5, the iPad version will be a free download.
It will require an iPad running iPadOS 13.4 or later. This is a requirement for USB tethering, plus older iPads that can’t run iOS 13 simply aren’t powerful enough for the app. If you happen to have one of those, it is a great time to upgrade quickly, because…
It is planned to be released during the summer. If I were hard pressed, I would say June, but there are way too many things that can delay a development project.
I’m currently working 7 days a week on this project, and you could encourage me to push even harder by purchasing the Mac version right now. The iPad version will be yours for free soon.

 Version 4.5 of
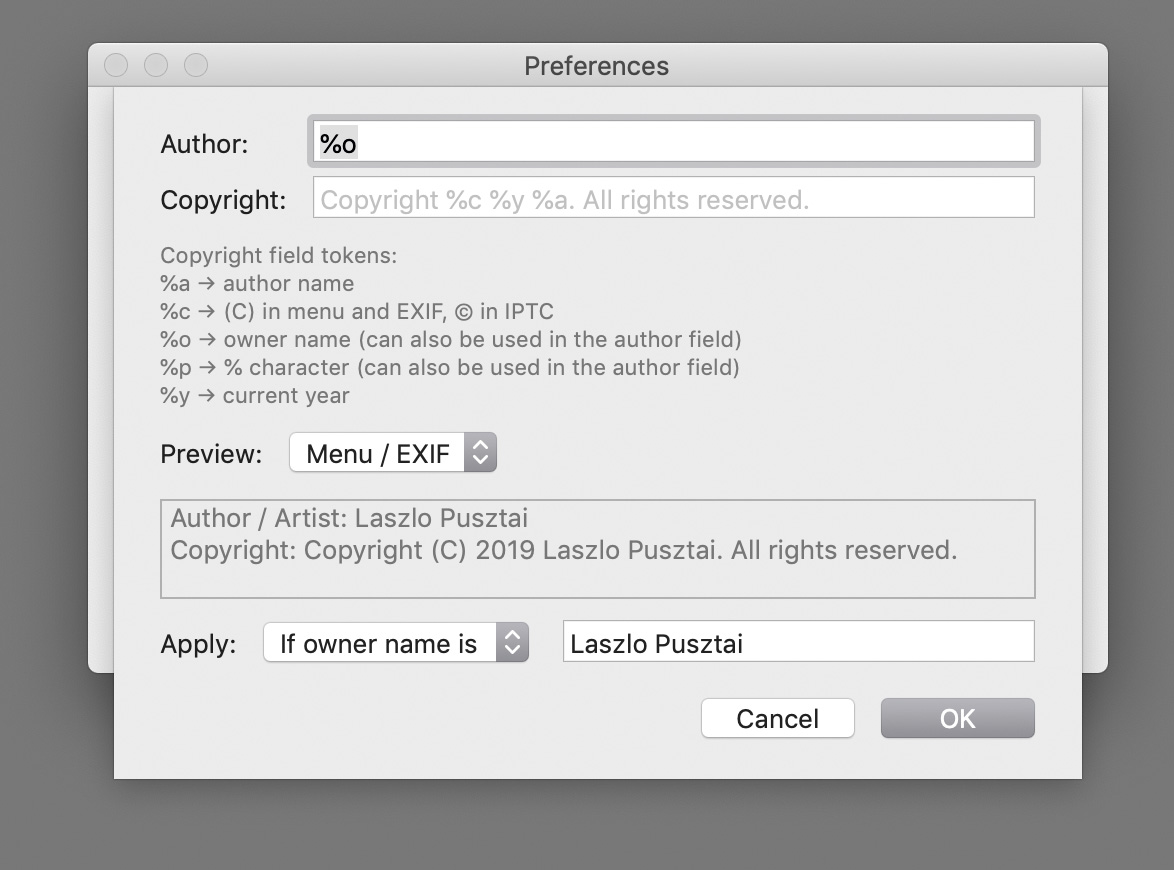


 The tool I’m referring to is called extended metadata tooltips.


