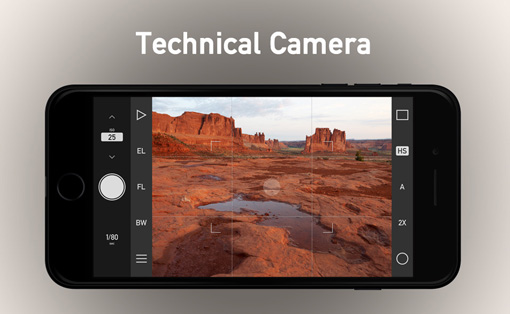
Technical Camera : Highlight & Shadow Alert

Highlight and shadow alert is a very straightforward feature of Technical Camera. As the name implies, it warns you when highlights are going to be blown and shadows are about to go detail-less black.

Highlight alert in action

For example, the red highlight alert indicates that the Sun in blown on the image above. I also used Black & White mode as the alert is more visible this way, but of course the feature works with color images. The shadow alert’s color is blue. Both alerts operate on the luminance information of the image.

You can turn these alerts on and off either via screen options (tap the rectangle in the corner, then use the exclamation mark icon – shown in this post), or by assigning the Toggle Highlight & Shadow Alert (HS) function to a Smart Function Key and using the function key.

Of course the warnings are displayed on the live viewfinder image only, they are not saved into final images.

I find these alerts indispensable for shooting on an iPhone, because it tends to overexpose images and blow highlights.

Technical Camera is available now on the App Store, at a 30% discounted price until June 14, 9:00AM CEST.

Technical Camera Available Now

Technical Camera is available now on the App Store!

Quite a few users reported that pre-orders did not work on iOS 10.3, and they unable/unwilling to update to iOS 11 because of several reasons. So we provide a 2 day introductory price period, until June 14, 9:00AM CEST.

To get started with the app, I recommend to read my how-to posts. More of them is on the way.

Enjoy!

Technical Camera : Wide Converter Support

There are occasions when the iPhone camera is not wide enough. A handful of companies (Moment, olloclip, Schneider, Zeiss – just to name  a few) realized that this is an issue, and started making converter lenses that let you shoot wider. These lenses fall into two categories: 1) well corrected for distortion – like the Moment or Zeiss, and 2) uncorrected.

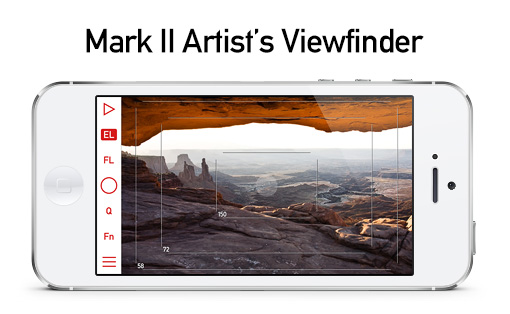
With the latter group you have severe barrel distortion. We started experimenting with these lenses for use with the Mark II Artist’s Viewfinder back in 2013. The barrel distortion basically made them unusable for simulation purposes, so we came up with a solution that’s unmatched even five years later. Maybe because it needs a lot of effort and is quite costly to implement.

The technology behind the solution is real-time distortion correction, and the associated thing in both Artist’s Viewfinder and Technical Camera is Wide Mode.

Let me show it in action before going deeper (veteran Artist’s Viewfinder users can skip this, as it’s exactly the same thing you’re used to in that app).
The top/left half of the image is what you get when attaching an uncorrected converter lens. The lower/right half is what you’ll end up after turning on Wide Mode.

This kind of correction is really important if you want to take architecture or real estate pictures – it may separate an amateurish looking image from a professional looking one.

Since distortion correction is done in software, edges of the resulting image may become soft. This is more pronounced with wider (0.5x-class) converter lenses. One possible mitigation (depending on planned image use) is using JPG Half or JPG Quarter image size for your album.

To use a converter lens with Technical Camera, you need to tell the app which lens you are using with the Wide Converter item in the menu. This will select the appropriate correction profile and conversion factor. We make dedicated profiles for each supported converter/phone combination (this is why it’s a costly endeavor). The list of profiles is continuously expanding, so if you miss something, please let us know.

We also measure the exact conversion factor for the profiles (which is usually more conservative that manufacturers tend to advertise). In Technical Camera this number is used for displaying Framing Previsor corners correctly.

But since we can’t cover every single lens on the market, there’s another neat thing: you can create a “custom converter” yourself. Since the process is exactly same for both apps, I’m not going to replicate here what I wrote about this feature when it was introduced in Artist’s Viewfinder – but I recommend you to read that post.

Ok, you have a converter selected. The lens is already attached to the phone. What’s next?

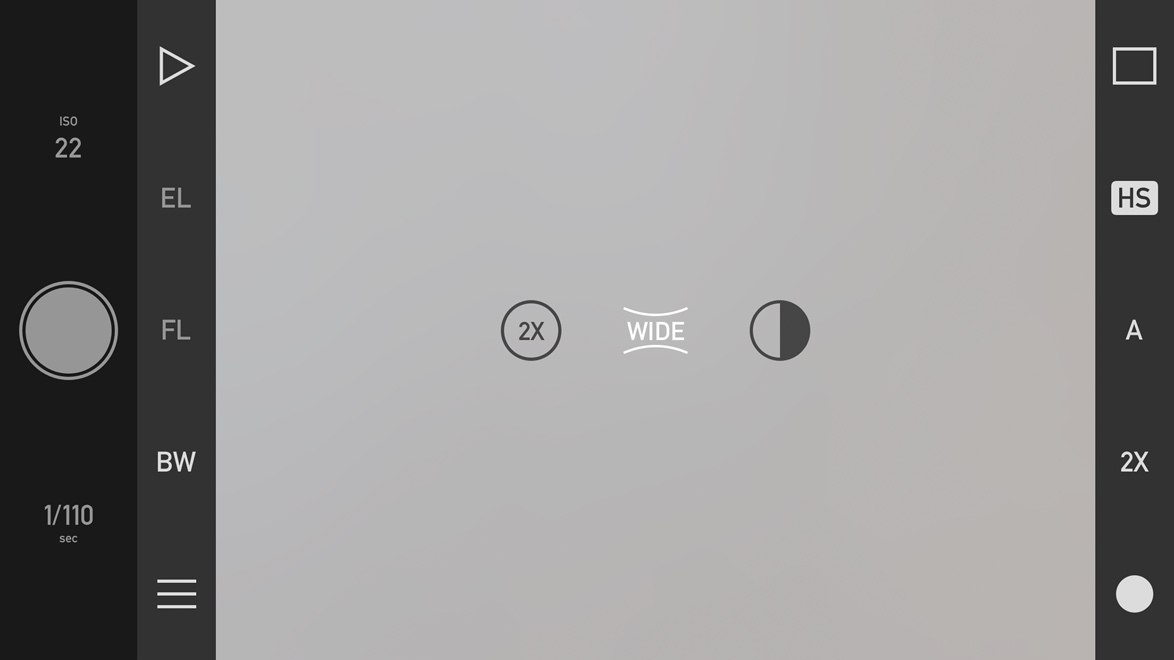
You have to activate Wide Mode. This is done with either the WIDE icon among camera options (accessed by tapping the circle icon in the corner – shown below).

Wide Mode icon on Camera Options

Or by assigning the Toggle Wide Mode (W) function to a Smart Function Key and operating that key.

That’s it. Until you turn Wide Mode off, the viewfinder, saved JPG images, and even preview images saved in RAW files will be distortion corrected.

All functions (exposure, focus, etc) operate the same way in Wide Mode, with the exception of digital zooming, which is disabled.

Technical Camera is available for pre-oreder now on the App Store, at a 30% discounted price. It will be released tomorrow.

Technical Camera : Smart Function Keys

We introduced Smart Function Keys with version 5.2 of the Mark II Artist’s Viewfinder. In Technical Camera they learned a new trick.

Smart Function Keys are customizable buttons on the app’s main screen. They are not only labeled with the abbreviation of the assigned function, but also show the state of the function. Black and White Mode is on? The BW key will indicate it. Want to quickly toggle the grid on and off? Just use the G key.

There are four Smart Function Keys in Technical Camera, shown on the following screen shot.

Smart Function Key Locations

Unlike in the Mark II Artist’s Viewfinder, EL and FL keys cannot be overridden in the app.

When a key’s associated function is active, the key’s label is shown on a white rounded rectangle (like HS on the above screen shot). In case the associated function is not available for some reason, the key will be grayed out.

Here’s the complete list of functions you can assign to each of these keys:

  • Switch Tele/Wide Cameras (2X) – available only on dual-camera devices. The key indicates an active function when the tele camera is in use.
  • Toggle Wide Mode (W) – you must set up a wide converter in the menu before using this key.
  • Toggle Black & White Mode (BW)
  • Toggle Grid Display (G) – it will toggle between the currently selected grid and no grid.
  • Toggle Framing Previsor (FP)
  • Toggle Highlight & Shadow Alert (HS)
  • Quick Album Change (A)

The app ships with a predefined set of keys, but you can always change the assignment with the Smart Function Keys preference in the menu.

What’s described until this point is exactly the same the Mark II Artist’s Viewfinder handles these keys (the assignable functions are different, of course).

The new trick is that if you press and hold a Smart Function Key for a second, it will bring up the given key’s assignment screen. You don’t have to memorize which number corresponds to a given key, just press and hold it for a second.

Technical Camera is available for pre-oreder now on the App Store, at a 30% discounted price. It will be released on June 12.

Technical Camera : Auto ISO

Technical Camera features auto ISO capabilities usually found on higher-end cameras, and are unique in a mobile photography app. Auto ISO is active during fully automatic exposure and even when you set the shutter speed manually.

The following screen shot shows its configuration screen.

Auto ISO Configuration

You specify the allowed range with Minimum ISO and Maximum ISO. The range for minimum is 25-400 plus Lowest, and for maximum it is 50-1600 plus Highest. Both in whole stop increments. But wait, what Lowest and Highest means?

Let’s take my iPhone 7 Plus for example. The native ISO range for the wide angle camera is 22-1760, for the telephoto 20-1210. These values do not fall onto whole stop boundaries. Lowest and Highest are a way to use the ends of the native ISO range. So if you set minimum to Lowest on the 7 Plus, then the auto ISO algorithm will use ISO 22 as minimum for the wide camera and ISO 20 for the telephoto. This gives a slight quality advantage over using the whole stop ISO 25 value.

Speaking of the auto ISO algorithm, it is different for fully automatic and manual shutter speed modes. In the latter, it simply keeps the ISO value within the specified range. But in fully automatic mode two additional settings come into play. With Minimum Shutter Speed you can specify the preferred slowest shutter speed. The app will begin increasing ISO from the minimum when light is low and this shutter speed is reached. If there’s enough light to work at minimum ISO, then we’ll begin to increase the shutter speed. That is, the algorithm maintains the lowest ISO possible (to avoid higher ISO noise). The range for the shutter speed minimum is 1/20 – 1/4000 seconds, in full stop increments. Given the very short focal length of the iPhone /iPad lenses, 1/20s is hand-holdable without an issue.

But why isn’t that minimum even lower? The answer is screen refresh rate. With an 1/5s exposure you can’t keep a 20-30fps refresh rate, it will drop to 1/5s. And not just that, but exposure calculation and response to lighting changes also becomes slower. That’s why we chose the 1/20s default – as a good practical balance.

There’s a trick, however. By turning on Allow Slower Speeds the app will lengthen exposures beyond 1/20s in case the maximum ISO is reached. This could be very handy in low light situations.

Don’t be afraid to experiment with these settings, since you can always reset them to factory defaults with Reset to Defaults.

Technical Camera is available for pre-oreder now on the App Store, at a 30% discounted price. It will be released on June 12.